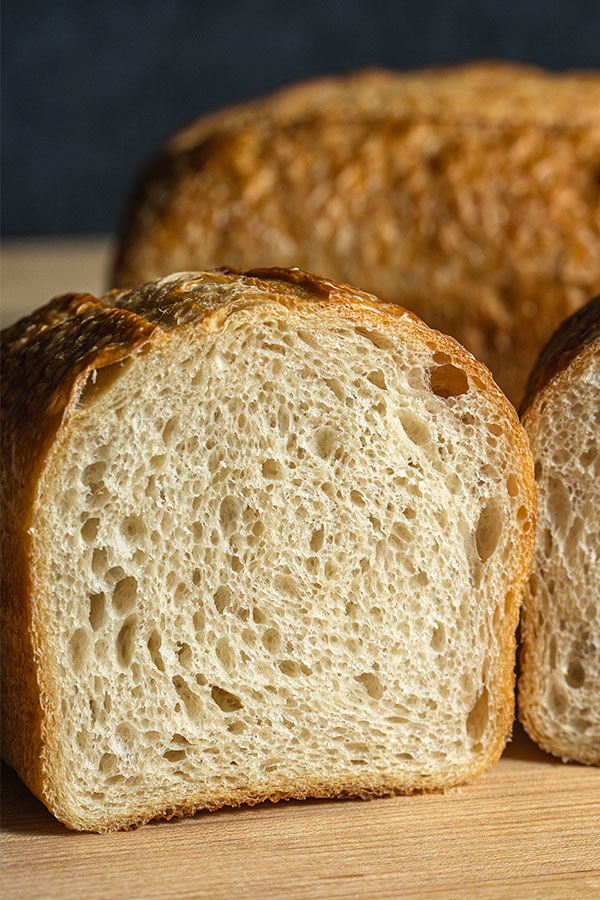
 Searching for the best sourdough pan bread recipe? This one will knock your socks, er, oven mitts off! This formula is made with our Organic Hi-Protein Bread Flour aka Organic High Mountain and features a long fermentation on both the levain and final dough. The resulting sourdough loaf has a flaky, blistered crust, uniform crumb structure, amazing chew and the perfect amount of classic San Francisco sourdough flavor (without being overwhelmingly sour).
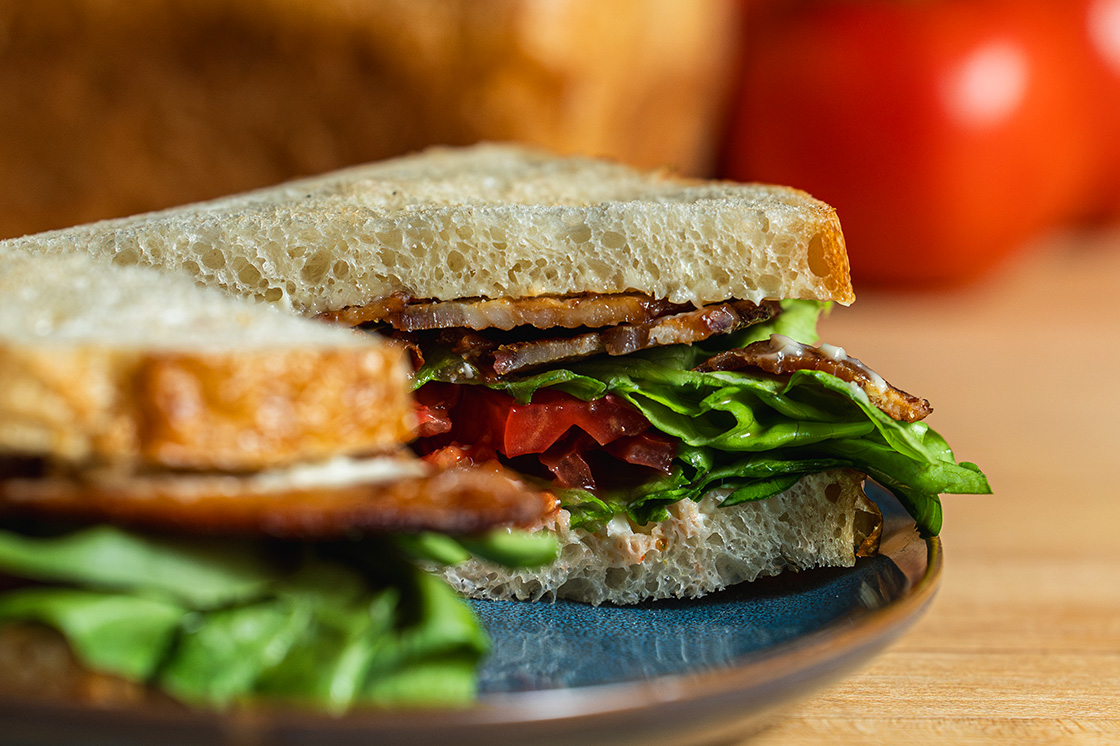
Pan bread is meant for slicing, and this sourdough is no exception… whether you slice it thick for avocado toast, thin for sandwiches, or use it as a base for Saturday morning french toast, it’s sure to be the star of the plate (or lunchbox). This sourdough will also store very well – on the counter for at least 3 days, in the fridge for even longer – which is why we created this formula to make two loaves. Let’s get to it!
Formula
Number of Units: 2 loaves / Unit Weight: 700 grams / Total Weight: 1400 grams
| LEVAIN | Fermentation: 14–15 hours at 70˚ F | |
|---|---|---|
| Baker’s % | Weight | |
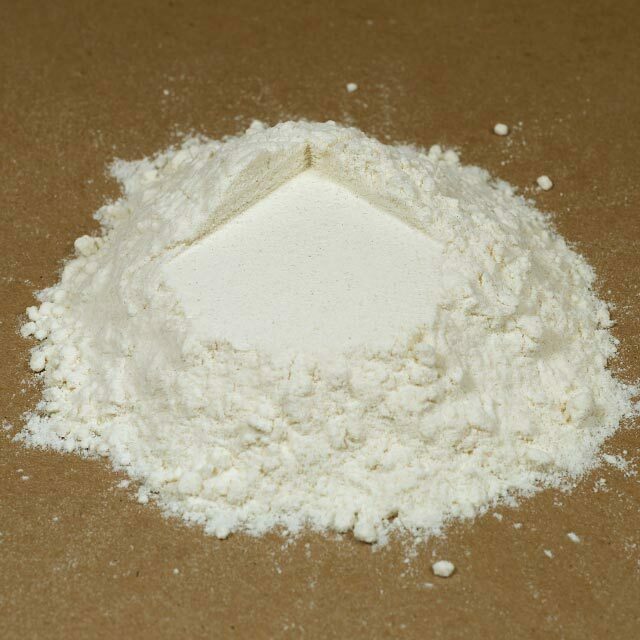
| Organic High Mountain | 100 | 153 g |
| Water | 55 | 84 g |
| Sourdough Starter | 40 | 61 g |
| Total | 195 | 294 g |
| FINAL DOUGH | Baker’s % | Weight |
|---|---|---|
| Organic High Mountain | 100 | 603 g |
| Water | 75 | 483 g |
| Salt | 2.7 | 20 g |
| Levain | 48.8 | 294 g |
| Total | 226.5 | 1400 g |
| TECHNICAL | ||
|---|---|---|
| Dough Temperature | 75–78˚ F | |
| Mixing Time* | Mixer: | Stand |
| First: | low, 5 min | |
| Second: | low/medium, 12–15 min | |
| Gluten Structure | Improved Plus | |
| First Fermentation | 1.5 hrs | |
| Folds | 1 @ 45 mins | |
| Dividing | 700 g or 2 equal pieces | |
| Pre-Shaping | Round | |
| Resting Time | 20 min | |
| Shaping | Barrel | |
| Final Fermentation | 3 hrs @ rm temp, then 12-15 hrs in fridge | |
| Baking** | 30-40 min @ 460˚ F | |
| Steam? | Yes*** | |
*Mixing time can vary depending on the mixer.
**Baking time and temperature can vary depending on your oven.
***There are many ways to create steam in a home oven, but one of the most effective is to pre-heat a shallow pan in oven with your stone or steel and, after placing the dough in the oven, pour a cup of ice into the hot pan.
Timing
Total Time: ~2 days / Active Time: 35 min / Baking Time: 30–40 min
Process
Two Evenings Before Baking
In a container with a lid or medium bowl, mix all the ingredients for the Levain together until they are thoroughly combined and there is no visible dry flour in the bowl.
Cover with the lid or plastic wrap and let it sit in a warm place for 12-16 hours.
Day Before Baking
In the mixing bowl for your mixer, combine flour and salt until they are thoroughly mixed. Then, add your levain and 95% of the water to the dry ingredients.
Using a stand mixer with a dough hook, mix on low speed for 5 minutes. Near the end of the slow mix, add the remaining part of water into the bowl. This water will help pick up and hydrate the leftover dry flour in the bowl. Stop and scrape your bowl and hook.
Once the dough doesn’t have any more visible dry flour, increase the speed of the mixer to low/medium and mix for 12-15 minutes more. This stage will help to develop the gluten structure in the dough.
When the dough is ready, it will have developed a smoother surface, pull clean from the sides of the bowl and have the ability to create a window pane. When you poke your finger through the window pane, the edges of the tear should be smooth. This is what we refer to as an “Improved Plus” mix – just shy of an Intensive mix.
Remove the bowl from the mixer and cover it with plastic wrap. The dough will now begin its first fermentation of 1.5 hours. During this time, you will continue to develop the gluten with a “stretch and fold” halfway through (at 45 minutes). Here’s how:
Let the dough fall from the bowl onto the table, scraping out the remaining dough if needed.
Take the top part of the dough, stretch it away from yourself and then fold it back on to the dough (towards yourself) about 1/3 of the way. Now, take the bottom of the dough and do the opposite: stretch it towards yourself and then fold it back over the first fold to the end of the dough.
Do the same to the left and right side.
Next, take the top of the dough mass and fold it over the center, in thirds, and continue the motion until it has rolled over with the seam-side down and smooth side up.
Slide both hands underneath the halfway point of the dough, vertically. Lift it up and place it back in the bowl allowing the ends to tuck themselves under, leaving a smooth surface on top.
Cover the bowl and let the dough rest for 45 min more.
Turn the dough out onto a lightly floured surface. Take care to not use too much flour here and while shaping… You don’t want the dough to stick to the table, but you also don’t want a lot of raw flour inside the dough.
Divide the dough it into two equal portions and lightly preshape into rounds. Let rest for 20 min on the table. Cover with plastic wrap or a towel to prevent the surface from drying out.
During this time, prepare two loaf pans by spraying with cooking spray or brushing on a thin layer of oil or melted butter.
After the rounds have rested, it’s time to shape them into barrels. To do this:
Take a piece of dough and stretch it horizontally. Then, fold the left and right sides over themselves into thirds. Next, take the bottom of the dough and stretch/fold it up to the top edge. Then, roll the top (where the two edges just met) towards you, so that the outer surface of the dough is being stretched, but not tearing. Lastly, gently roll the barrel to even out the mass, lengthening slightly to just shy of the pan width.
Place the shaped dough into the prepared pan with the seam side down and repeat with the remaining dough.
Ferment for 3 hours at room temperature, then place it in the refrigerator for 12–15 hours.
Bake Day
Preheat your oven to 460˚ F for a minimum of 1 hour prior to baking.
While your oven is preheating, check your loaves. They should be full in the pan and when you gently poke them with your finger the imprint should stay.
Tip: If they seem like they need a little more proofing, pull them from the fridge and let them sit out at room temperature for about an hour.
When you’re ready to bake, score the top of the loaves (a single score down the length of the dough is what we recommend) and place it into the oven. If you have the ability to add steam – whether from your oven or by dropping ice cubes into a small, hot pan inside the oven – this would be a great time to do that.
Bake for 30–40 minutes. Rotate the loaves half way through baking to ensure an even bake. When they’re done, the top of the bread should be visibly golden brown and the internal temperature should reach 190˚ F.
Remove the loaves from the oven and allow them to cool for a couple minutes in the pan. Then, de-pan and cool completely on a rack, 2 hours minimum.
Now, break out the bread knife and get to slicing! BLT sandos anyone?
FROM THE MILL