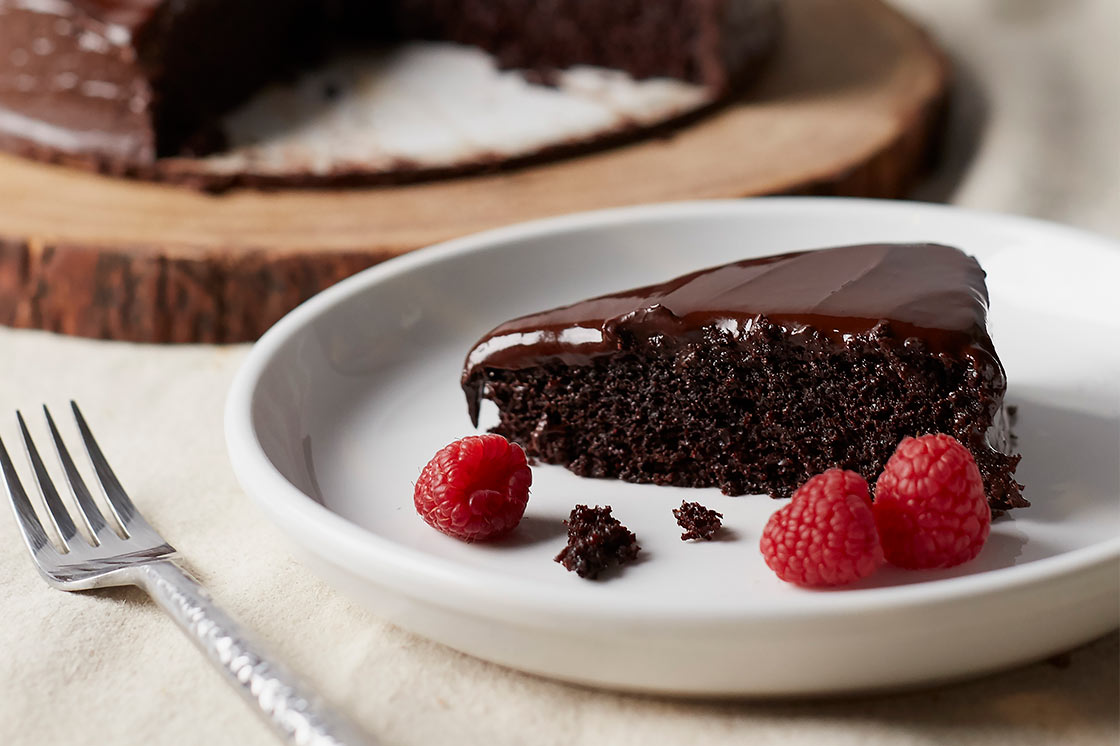
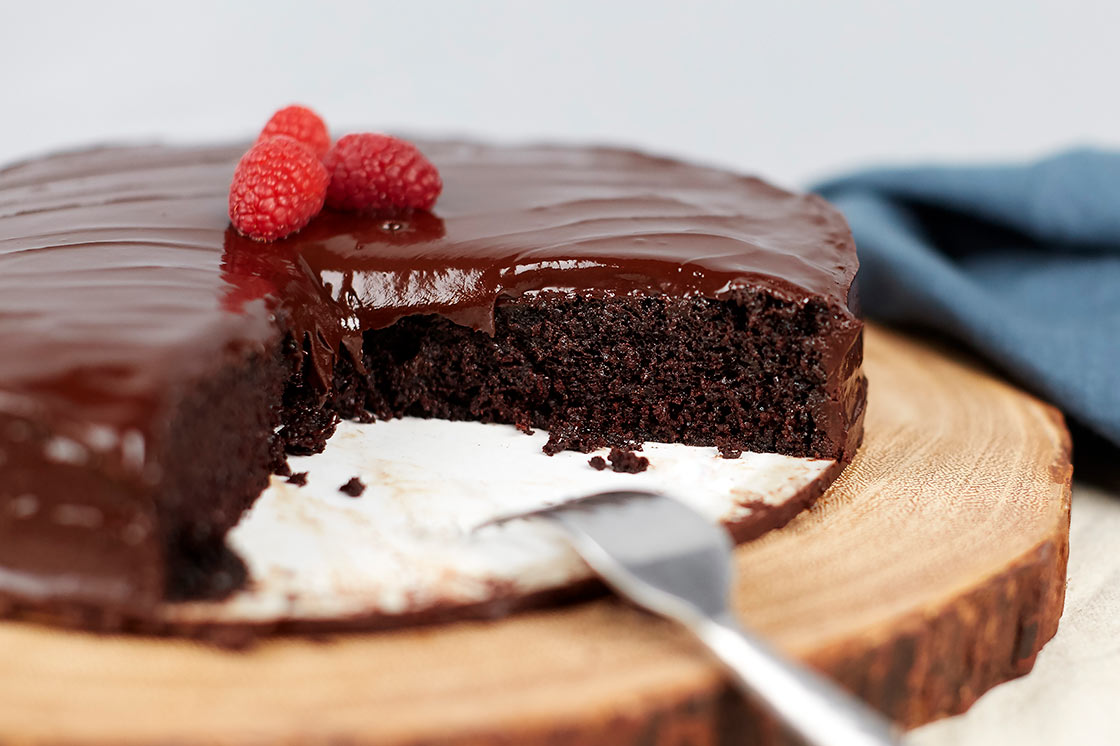
Don’t let the idea of chocolate and olive oil fool you. This unlikely pairing goes hand-in-hand with the olive oil (especially extra virgin) adding a subtle fruity note that perfectly compliments the semi-sweet chocolate. Simple, rich and accessible, this cake is made with our malted Organic All-Purpose Flour, and features a glaze (instead of frosting) that helps temper the overall sweetness of the dessert.
Also, instead of milk and eggs, this formula uses apple cider vinegar, water, and oil. Technically, this means it is a vegan chocolate cake since there’s no dairy in semi-sweet chocolate. But trust us, any preconceptions you might have about what “vegan” desserts taste like will be thrown out the kitchen window once you sink your teeth into the first bite. Yum!
Formula
Number of Units: 2 cakes / Unit Weight: 1000 grams / Total Weight: 2000 grams
| CAKE BATTER | Baker’s % | Weight |
|---|---|---|
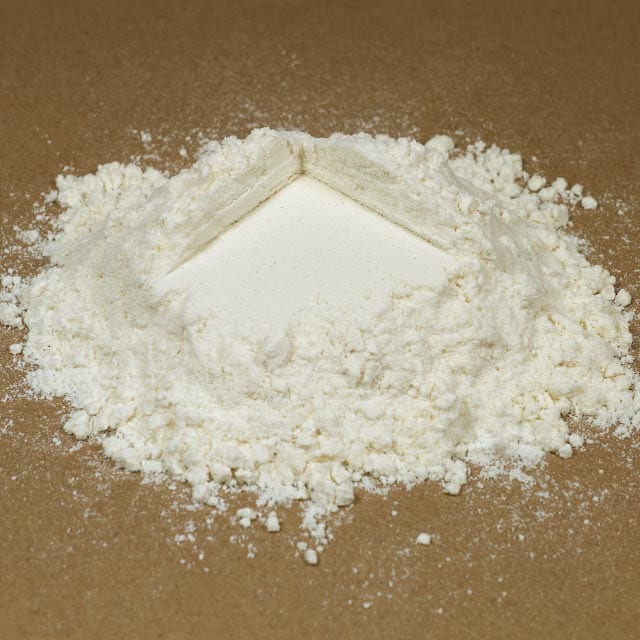
| Organic “Beehive” All-Purpose Flour | 100 | 373 g |
| Cocoa | 30 | 112 g |
| Baking Soda | 3.6 | 14 g |
| Sea Salt | 1.8 | 7 g |
| Granulated Sugar | 75 | 280 g |
| Brown Sugar | 75 | 280 g |
| Olive Oil | 62.3 | 233 g |
| Water | 180 | 672 g |
| Apple Cider Vinegar | 7.8 | 29 g |
| Total | 535.5 | 2000 g |
| TECHNICAL | |||
|---|---|---|---|
| Mixing Type | Hand | ||
| Combine | The first 4 dry ingredients | ||
| Whisk Together | Sugar and oil in separate bowl | ||
| Add | Dry ingredients to sugar/oil mixture, mix until combined | ||
| Water and vinegar to mixture, whisk until smooth | |||
| Dividing | 1000 g into 2 – 9″ x 2″ cake pans, oiled with parchment | ||
| Baking* | 30–35 min @ 350˚F | ||
*Baking time and temp can vary depending on oven.
| CHOCOLATE GLAZE | Baker’s % | Weight |
|---|---|---|
| Semi-Sweet Chocolate Chips | 63 | 315 g |
| Cocoa Powder | 7 | 35 g |
| Olive Oil | 20 | 100 g |
| Corn Syrup | 10 | 50 g |
| Total | 100 | 500 g |
Timing
Active Time: 15–20 min / Baking Time: 35–45 min / Total Time: ~1:30 hr + cooling
Process
The Cakes
Preheat your oven to 350*F. Prepare your 9” x 2” round pans with pan spray, oil, or butter and parchment paper at the bottom. To prevent a mess if your cake decides to spill over, place the cake pans onto a parchment lined sheet pan.
Sift together the flour, cocoa powder, baking soda, and salt. Set aside.
In a separate container, combine water and apple cider. Set aside.
In a separate large bowl, whisk the sugar, brown sugar, and olive oil together until it starts to look foamy.
Add the dry ingredients into the sugar + oil mixture and mix until it is just combined.
Add water + apple cider mixture into the batter and whisk until smooth. The batter will seem very liquidy, but it will firm up nicely once baked.
Divide the batter equally into the 2 – 9” pans. It should fill about ⅔ of the pan but no more than ¾ , or it runs the risk of overflowing.
Bake for 35–45 min at 350˚F, rotating them halfway through baking.
The cakes are done when a toothpick inserted into the center comes out clean or when the center feels bouncy and springs back when gently pressed.
Remove them from the oven and let cool in the pan for at least 10 min before removing from the pan to cool completely on a rack.
The Glaze
Double Boiler Method
When the cake is completely cooled, make the glaze by combining all the ingredients and whisking them on top of a double boiler until smooth.
Microwave Method
Combine all the ingredients in a microwavable bowl until there is no visible dry cocoa powder.
Microwave on HIGH for 1 min. Slowly stir the mixture and return it to the microwave for an additional 15 sec. Note: It should NOT bubble in the microwave or the chocolate will burn.
Let the mixture rest for 30 sec – 1 min to allow the chocolate to heat up internally. Stir the mixture again until it is smooth. If there are still some unmelted lumps after resting, microwave for an additional 15 sec.
Let the mixture sit for 1-3 min and stir again until smooth.
While the glaze is still warm, pour on top of the cooled cakes.
Depending on how you want the cake to look, you can either pour the glaze on top and it drip down the sides or smooth the top & sides for a more finished presentation.
Wait until chocolate sets before serving.
 Good to Know
Not all cocoa powders are the same… Natural Cocoa Powder has a lower pH (aka more acidic) which aids in leavening when paired with an alkaline such as baking soda. Dutched or “Alkalized” Cocoa Powder has been treated in a solution, which results in a higher pH. Aside from having a dark reddish tone or deep black chocolate color, Dutched Cocoa Powder benefits from the use of baking powder to help leaven baked goods.
The good news: You can use either type of cocoa powder in this formula because it includes an acid (apple cider vinegar) that will react with the baking soda to leaven the cake.
FROM THE MILL