Einkorn is an ancient grain that is also known as Piccolo Farro, as it is the smallest of the farro wheats. The grain has a low gluten content compared to modern wheat used for bread flour which can make it a bit easier to digest for those with gluten sensitivity. By itself, it would be difficult to produce a lofty bread, which is why this formula uses a pan form.
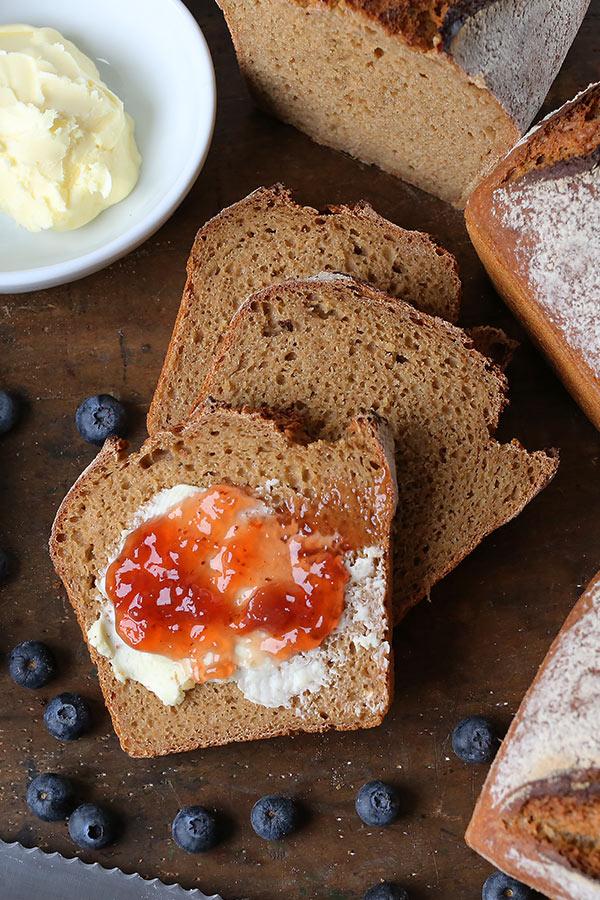
Needless to say, the sweet nutty flavor imparted by our Organic Einkorn Flour is outstanding. This 100% whole Einkorn bread is perfect for slicing. Whether you slather it with butter and jam or use it to make the best sandwich you’ve ever had, is up to you. Either way, we’re confident you’ll enjoy this tasty whole-grain bread.
Formula
Number of Units: 2 loaves / Unit Weight: 900 grams / Total Weight: 1800 grams
| PREFERMENT | Baker’s % | Weight |
|---|---|---|
| Organic Whole Einkorn Flour | 100 | 144 g |
| Water | 75 | 108 g |
| Salt | 0.3 | 0.5 g |
| Starter | 3 | 4 g |
| Total | 178.3 | 256.5 g |
| FINAL DOUGH | Baker’s % | Weight |
|---|---|---|
| Organic Whole Einkorn Flour | 100 | 815 g |
| Water | 87 | 708 g |
| Salt | 2.3 | 21.5 g |
| Preferment | 31 | 265.5 g |
| Total | 220.3 | 1800 g |
| TECHNICAL | |||
|---|---|---|---|
| Preferment – Type | Levain | ||
| Preferment – Time & Temp | 12–14 hrs @ 72˚ F | ||
| Final Dough Temperature | 75–78˚ F | ||
| Mixing Type | Hand | ||
| Gluten Structure | Short Mix | ||
| First Fermentation | 2 hrs | ||
| Folds | 3 total – 1 every 30 min | ||
| Dividing | 900 g | ||
| Pre-shaping | None | ||
| Resting Time | None | ||
| Shaping | Rounded, then oval for pan | ||
| Final Fermentation | 90–120 min | ||
| Baking* | 35–50 min @ 475˚ F | ||
| Steam?** | Yes | ||
*Baking time and temperature can vary depending on your oven.
**There are many ways to create steam in a home oven, but one of the most effective is to pre-heat a shallow pan in oven with your stone or steel and, after placing the dough in the oven, pour a cup of ice into the hot pan.
Timing
Active Time: ~35 min / Inactive Time: 16–18 hrs / Baking Time: 35–50 min
Process
The Evening Before
In a medium bowl, mix all the ingredients for the Preferment together until they are thoroughly combined and there is no visible dry flour in the bowl.
Cover the bowl in plastic wrap and let it sit in a warm place for 12–16 hours.
The Day of
In a large bowl, combine the flour and salt together until they are thoroughly combined.
Add the Preferment and about 90-95% of the water to the dry ingredient mixture and mix by hand until there is very little visible flour. Add the remaining water into the mixture to help pick up the rest of the dry flour and combine until all the flour is absorbed. Continue to mix the shaggy dough for another minute, until you begin to feel the dough come together and develop a bit of strength. Cover the bowl for the 2-hour bulk fermentation.
During the bulk fermentation, we are going to perform a series of “stretch-and-folds,” in 30 minute intervals. There will be 3 in total before the dough is divided.
Stretch & Fold
After the first 30 min, we are going to perform some stretch & folds to develop the gluten structure (aka strength) in the dough.
Wet the surface of your table to prevent the dough from sticking to it and let the dough fall from the bowl onto the table. Use a wet scraper to scrape the remaining dough out, if needed.
With wet hands, take the top part of the dough, stretch it away from you and fold it over about 1/3 of the way. Now take the bottom of the dough mass, stretch it away from the center and fold it over and on top of the first fold. Do the same to the left and right side. You should end up with a dough that is now more square-like or envelope-shaped.
Because the gluten that forms with Einkorn flour is very extensible (stretchy), it may seem difficult to perform the folds the first time. If the dough is very slack (soft and loose), perform a second envelope fold. That should help develop a bit more tension in the dough.
To finish the process, we’ll take the top of the dough and fold it over 1/3 of the way to the center again. Next, instead of folding the bottom up, we’ll repeat the same motion from the top; folding it down over the remaining bottom third. After this second fold, you should have a mass of dough that has been “rolled” up, with the smooth side up.
With both hands wet, slide them underneath both the long sides the dough. Lift the dough mass up and place it back into the bowl. The ends of the dough should tuck themselves under, leaving a smooth surface on top.
Let the dough rest for 30 minutes before repeating this technique. With each fold, the dough should be easier to handle and the gluten development should be visible by the surface tension and overall dough strength.
During the final 30 min rest, preheat your oven to 500˚ F and prepare your bread loaf pans by spraying them with non-stick spray.
Wet Dividing
Turn the dough out onto a damp surface and divide the dough into two equal portions. With wet hands and a dough scraper, create the boules by stretching and folding the dough, turning the dough 90 degrees, and repeating until the surface tension allows the dough to form a rough ball.
Place your wet dough scraper on the edge of the boule at a 45˚ angle and gently pull the dough towards you until it becomes more oval-shaped. Place it into the prepared pans with the seam side down and repeat with the remaining dough. Let it proof for 90–120 min at room temperature.
Baking
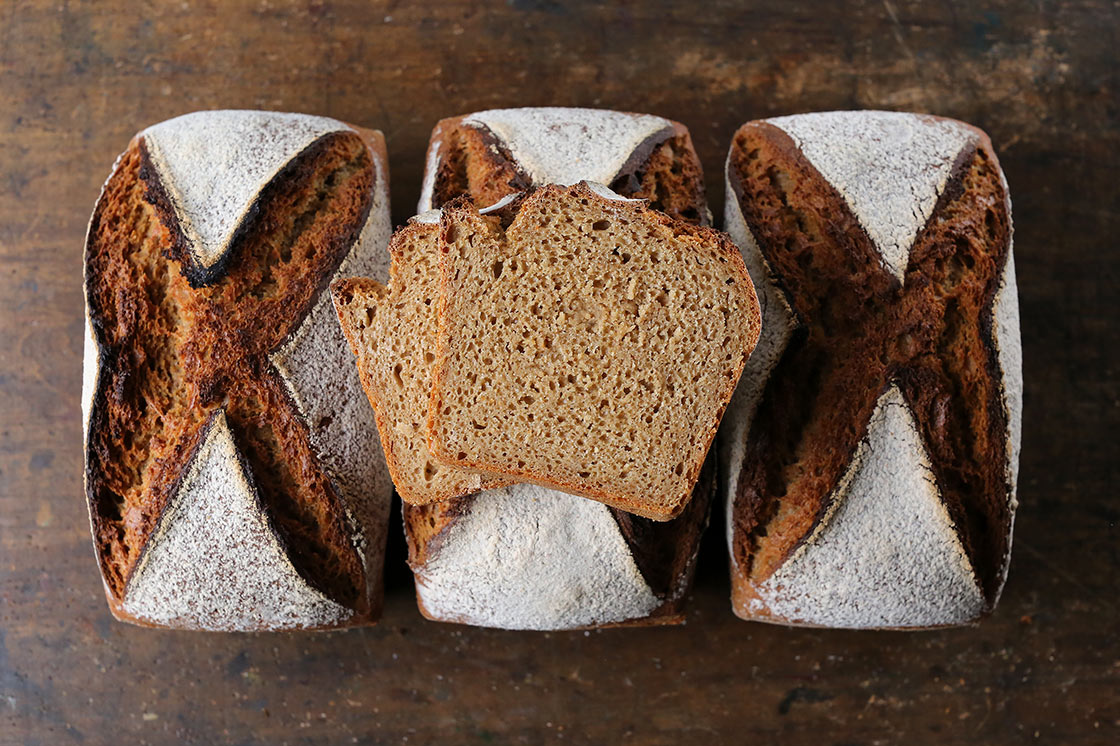
Sift flour over the top of each loaf, grab your bread lame (or standard utility blade if you don’t have one) and deeply score the tops with an “X”. Place them into the oven, and reduce the temperature to 475˚ F. Quickly add steam into the oven (see note under the technical table above for one way to do this) and close the oven door.
Bake the loaves for 35–50 min, rotating halfway into the bake. When they are done, the top of the bread should be visibly brown with the edges of the scored portions taking on a deep dark brown color.
Once they are done, take the loaves out of the oven and remove them from the pans immediately to prevent condensation from making the sides soggy.
Allow to finish cooling fully on a rack before slicing, at least 1 hr.

FROM THE MILL


