 If you’re like us, whenever you hear the word “healthy,” you automatically think “yeah, but how does it taste??” – the assumption being “probably not great.” Of course, healthy foods can taste delicious if they’re prepared right and use amazing ingredients.
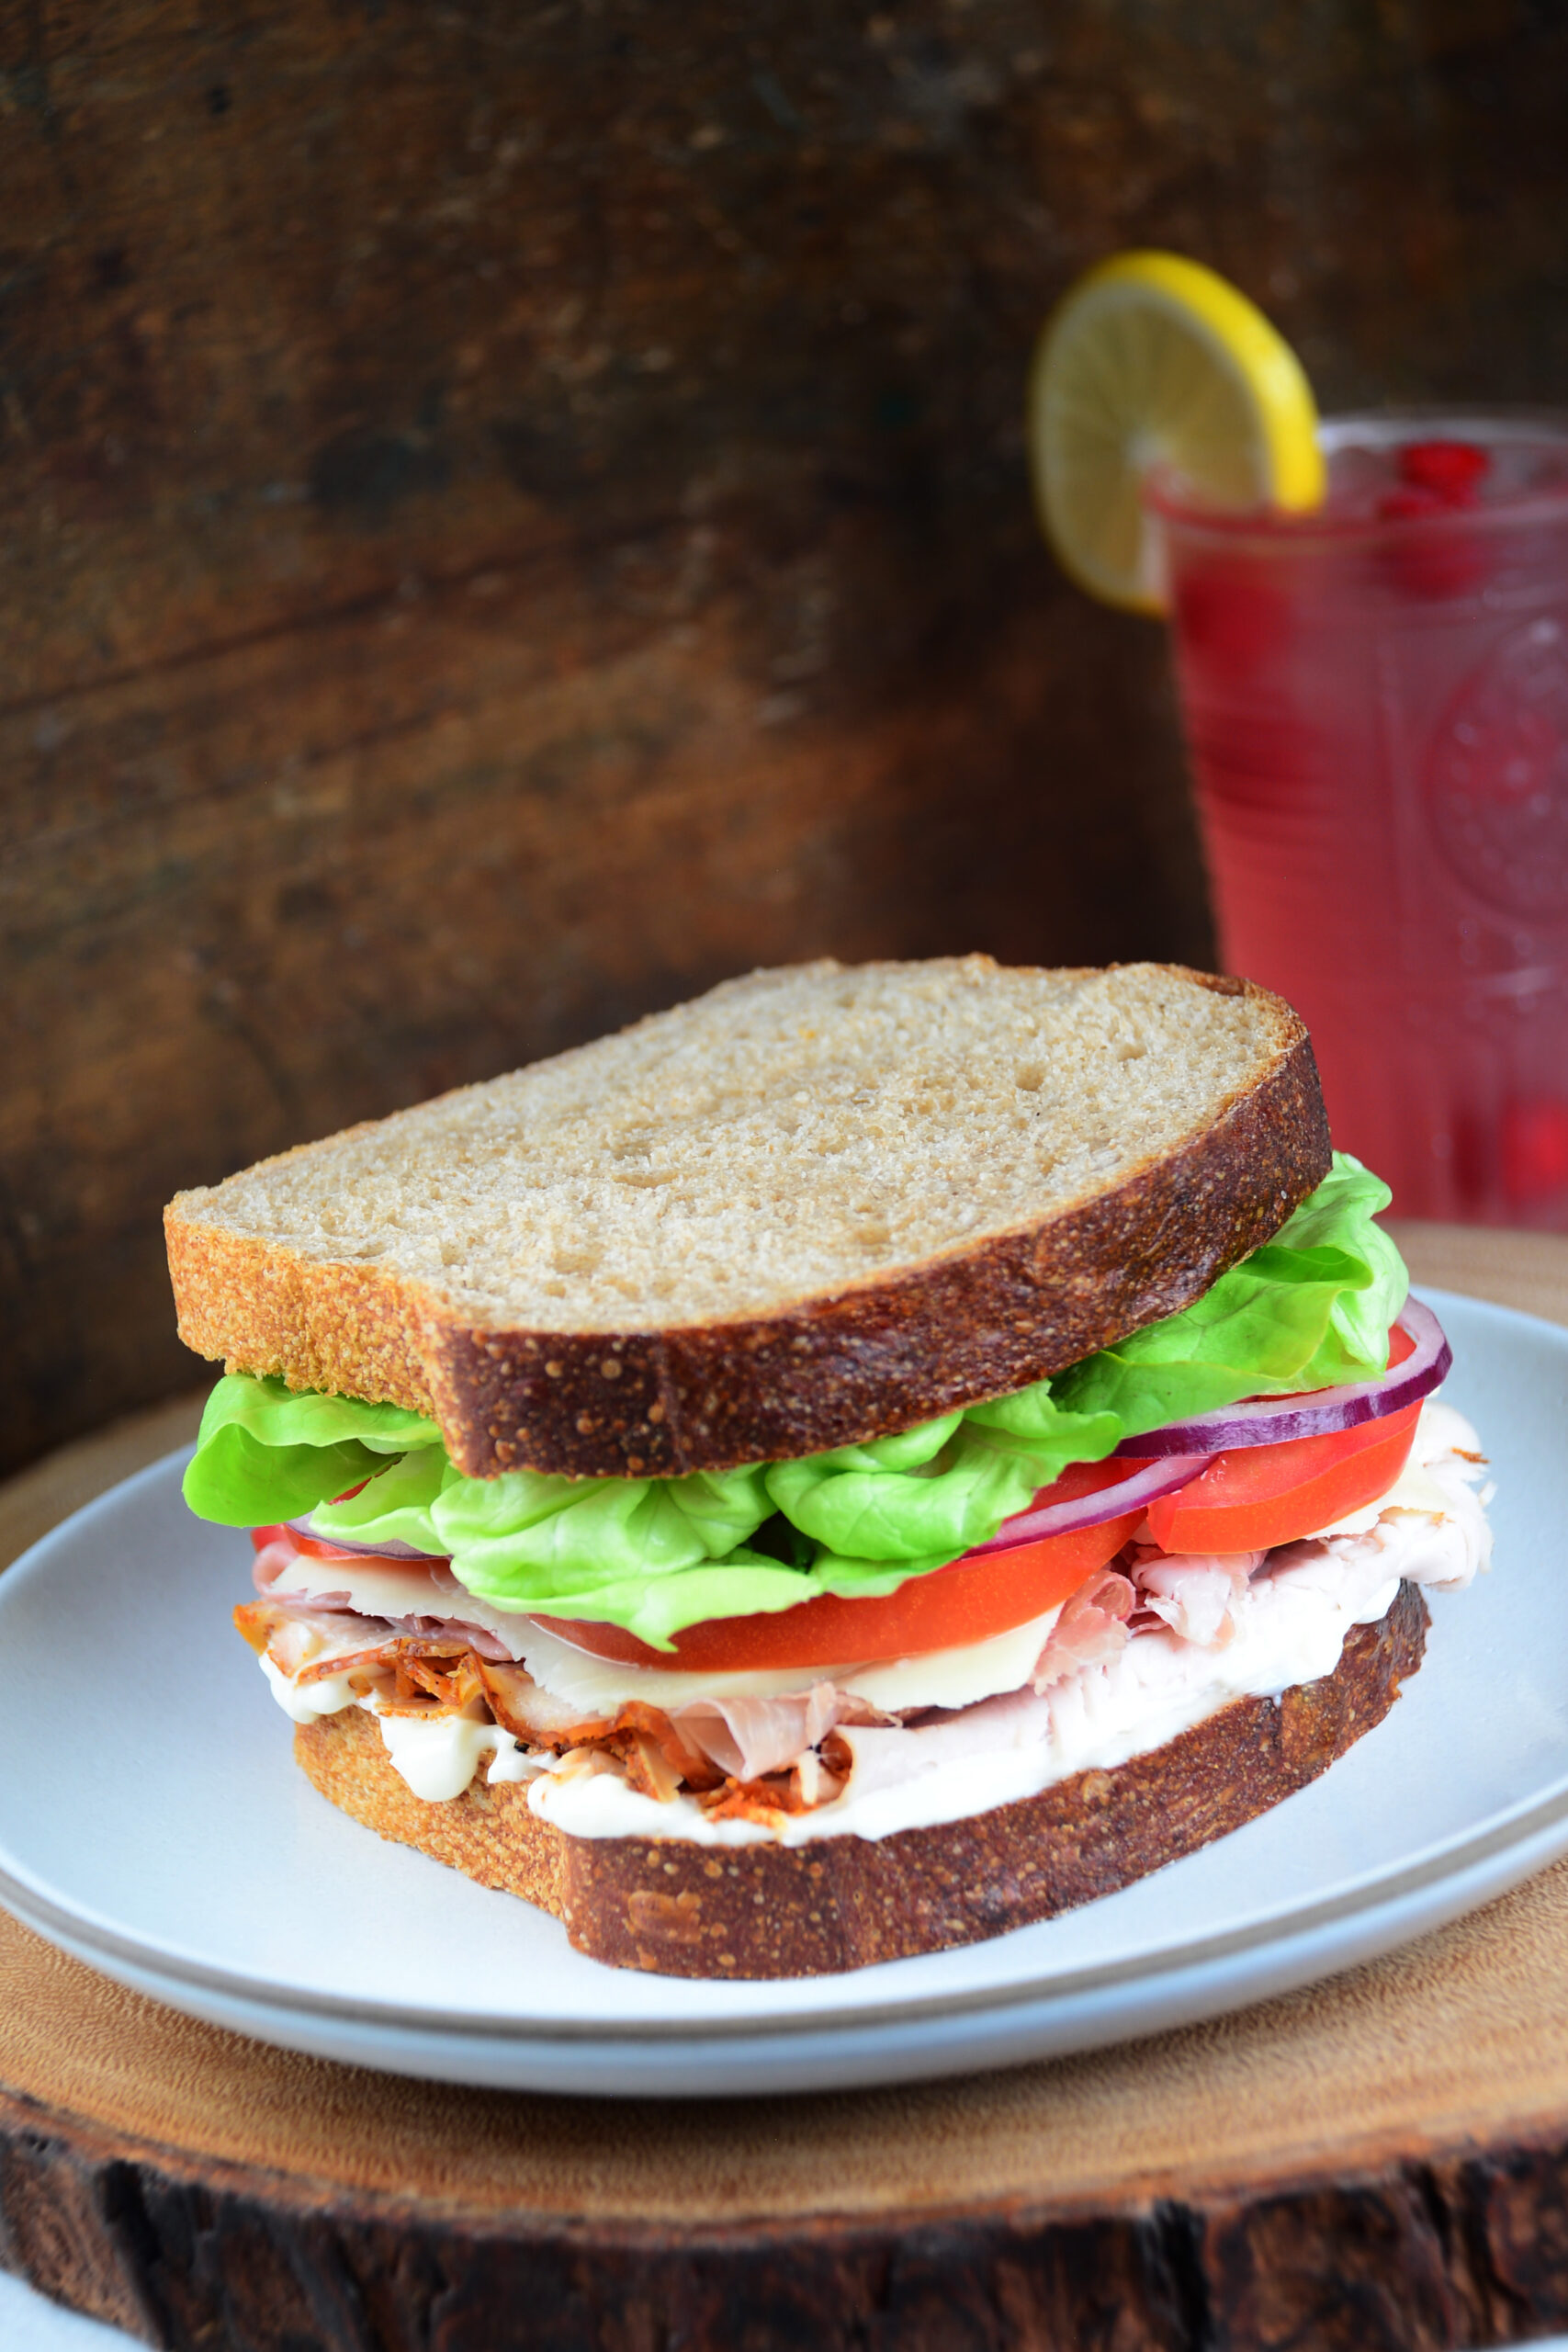
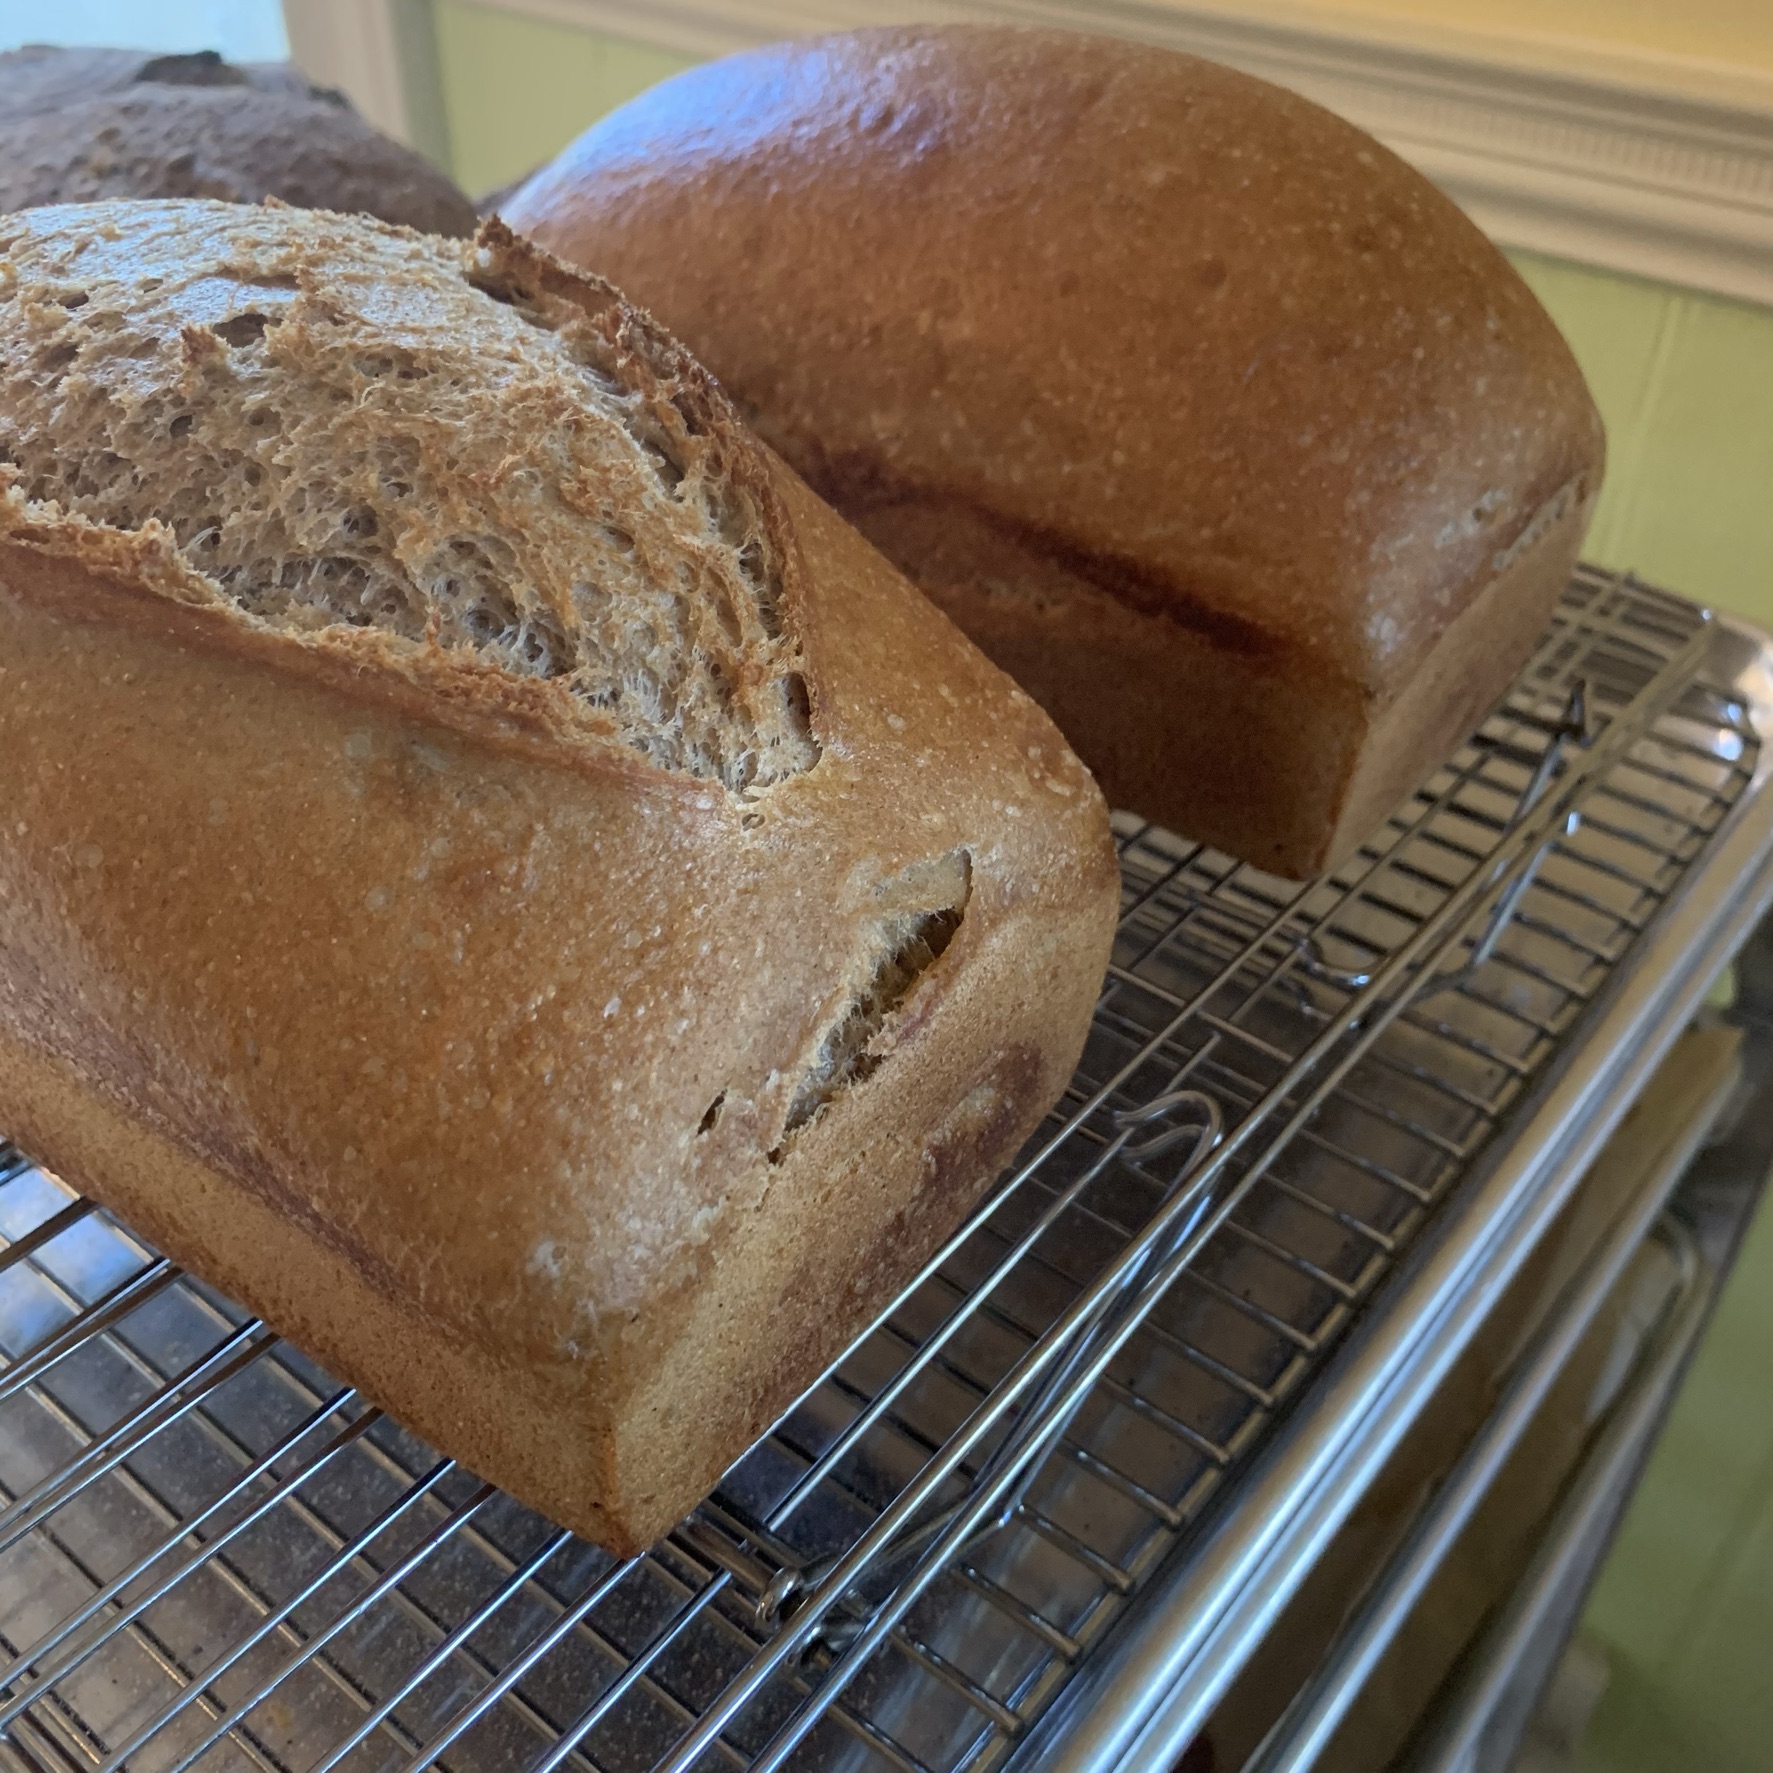
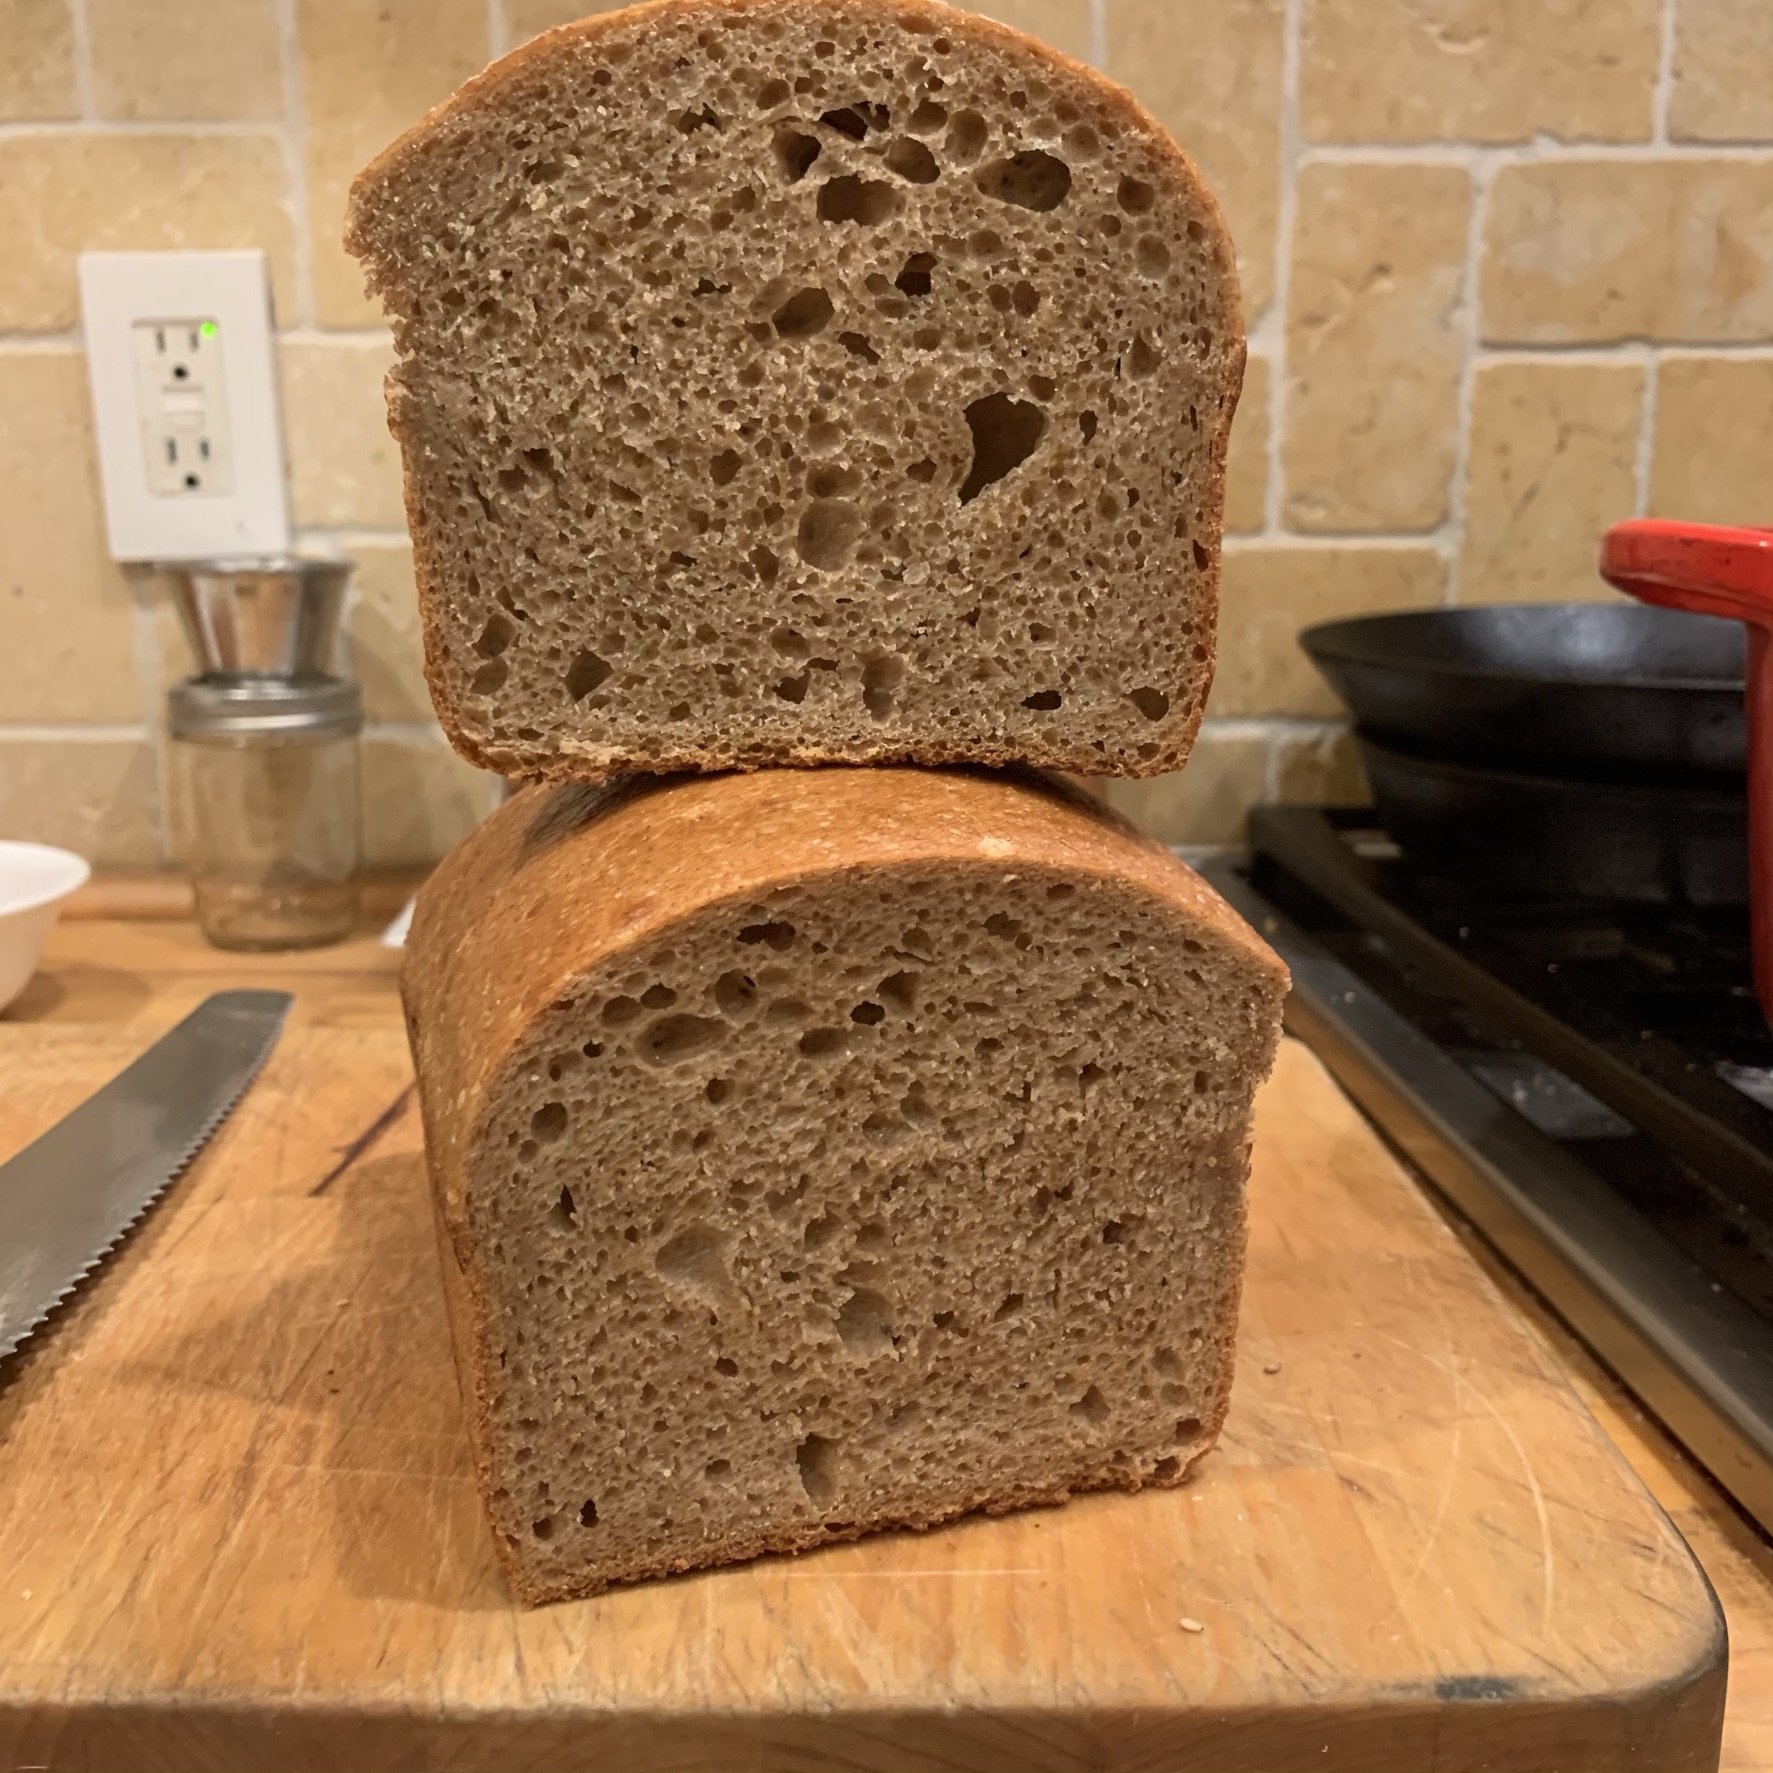
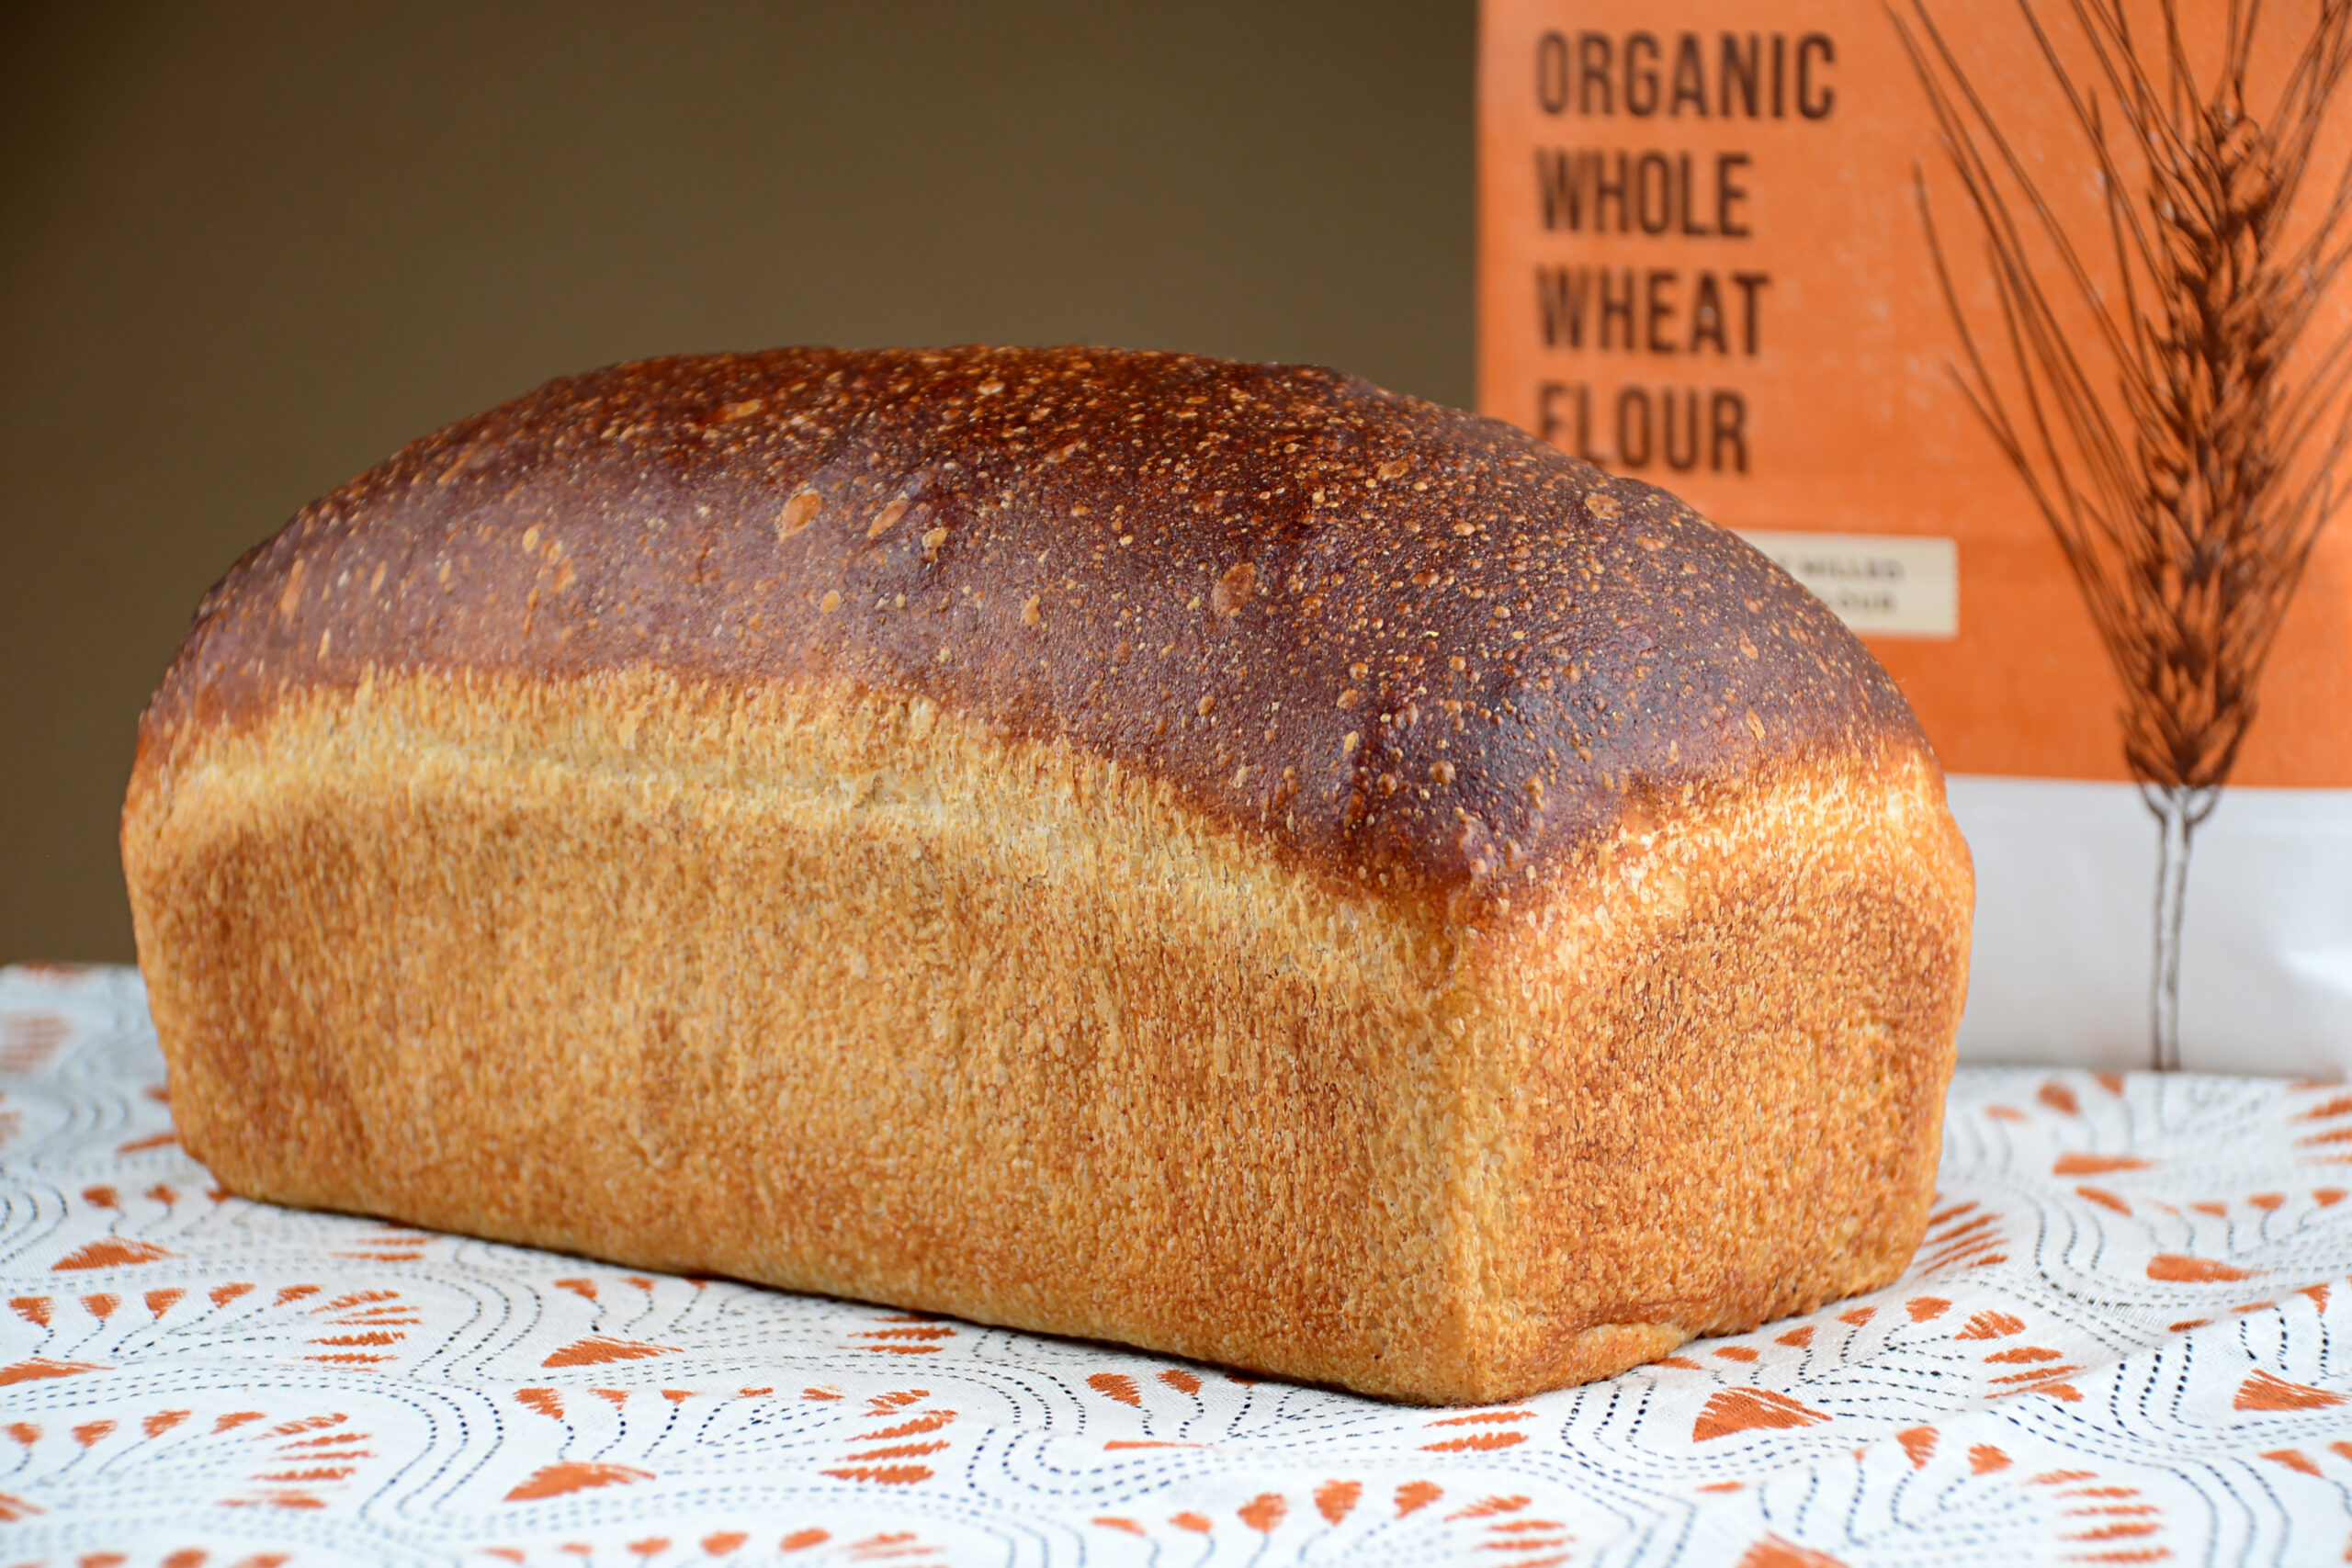
For example, this loaf of healthy sandwich bread is made with Organic 100% Whole Wheat Flour, but it tastes amazing! It’s soft, spongy and full of flavor, with a subtle sourdough tang. If you like white sourdough, this is a really good “in between” that can help introduce your palate to the use of whole wheat in sourdough breads.
Thinly sliced and packed with your favorite sandwich toppings is the classic use for this type of bread. But, if you want to really knock your socks off, grab a couple thick slices and make a grilled cheese sandwich… Wowza!
Formula
Number of Units: 2 loaves / Unit Weight: 900 grams / Total Weight: 1800 grams
| LEVAIN | Fermentation: 12-16 hours at 70-75˚F | |
|---|---|---|
| Baker’s % | Weight | |
| Bread Flour | 100 | 186 g |
| Water | 100 | 186 g |
| Sourdough | 10 | 18 g |
| Total | 210 | 390 g |
| FINAL DOUGH | Baker’s % | Weight |
|---|---|---|
| Bread Flour | 30 | 235 g |
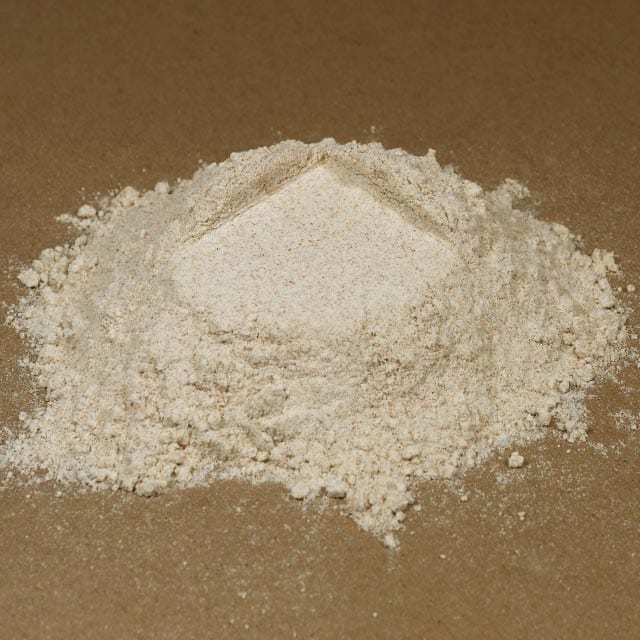
| Organic Whole Wheat “Hi-Pro Fine” Flour | 70 | 549 g |
| Water | 70 | 549 g |
| Salt | 2.5 | 20 g |
| Honey | 6.7 | 53 g |
| Levain | 50 | 392 g |
| Total | 229.7 | 1800 g |
| TECHNICAL | ||
|---|---|---|
| Dough Temperature | 70-75˚F | |
| Mixing Time* | Mixer: | Stand |
| First: | 3-5 min | |
| Second: | 3-4 min | |
| First Fermentation | 2 hrs | |
| Dividing | 900 g or 2 equal pieces | |
| Resting Time | 20 min | |
| Shaping | Round | |
| Final Fermentation | 1 hr @ rm temp, then 12-18 hrs in fridge | |
| Baking** | 35-40 min @ 425˚F | |
| Steam | Yes | |
*Mixing time can vary depending on mixer.
**Baking time and temp can vary depending on oven.
Process
Two Evenings Before Baking
In a medium bowl, mix all the ingredients for the Levain together until they are thoroughly combined and there is no visible dry flour in the bowl.
Cover the bowl in plastic wrap and let it sit in a warm place for 12-16 hours.
The Day Before
In a large mixing bowl, combine flours, and salt until they are thoroughly mixed.
Using a stand mixer, add your levain, honey, and 90-95% of the water into the bowl. Then add your dry ingredients and mix on low for 3-5 minutes. Near the end of the slow mix, add the remaining part of water into the bowl. This water will help pick up and hydrate the leftover dry flour in the bowl.
Once the dough doesn’t have any more visible dry flour, go ahead and increase the speed of the mixer to medium for 3-4 minutes. This stage will help to develop the gluten structures within the dough. The dough should be able to create a windowpane with slightly jagged tears. Cover the bowl with plastic wrap. The dough will be going through the first fermentation of 2 hours.
During this time, you want to develop the gluten with a series of “stretch and folds” every 30 minutes. Here’s how:
Wet the surface of your table and let the dough fall from the bowl onto the table, scraping the remaining dough out if needed. Take the top part of the dough, stretch it away from you and fold it over in thirds. Now take the bottom of the dough mass, stretch it away from the center and fold it over and on top of the first fold. Do the same to the left and right sides. You should end up with a dough that is now more square-like, or looks like an envelope. Then, take the top of the dough mass and fold it over the center, again in thirds, and continue the motion until it has rolled over and revealed the smooth side up. Finally, slide both hands underneath the halfway point of the dough, vertically. Lift the dough mass and place this back into the bowl. The end of the doughs should tuck itself under, leaving the smooth surface on the top.
Cover the bowl and let the dough rest for 30 min and repeat the folding technique until 1.5 hours have passed. With each fold, you should be able to start feeling the dough gaining strength and start seeing the surface of the dough becoming smoother.
After 2 hours, turn the dough out onto a lightly floured surface and divide it into two equal portions. Take care to not use too much flour as you are shaping each portion into a ball or a boule. You don’t want the dough to be too sticky, but you also do not want to have a lot of raw flour inside the dough. Let this rest for 20 min on the table. If there is a draft, cover the dough with a towel to prevent the surface from drying out.
After the boules have rested, move one of the pieces onto a damp table, stretch it horizontally and then fold the left and right side over themselves into thirds. Then, take the bottom of the dough and stretch it vertically. Take the top edge of the dough and begin tightly rolling it towards you, so that the outer surface of the dough is being stretched, but not tearing. Roll the log long enough to be placed into a sprayed 1 lb. loaf pan with the seam side down and repeat with the remaining dough. Cover and let it ferment for one hour at room temperature.
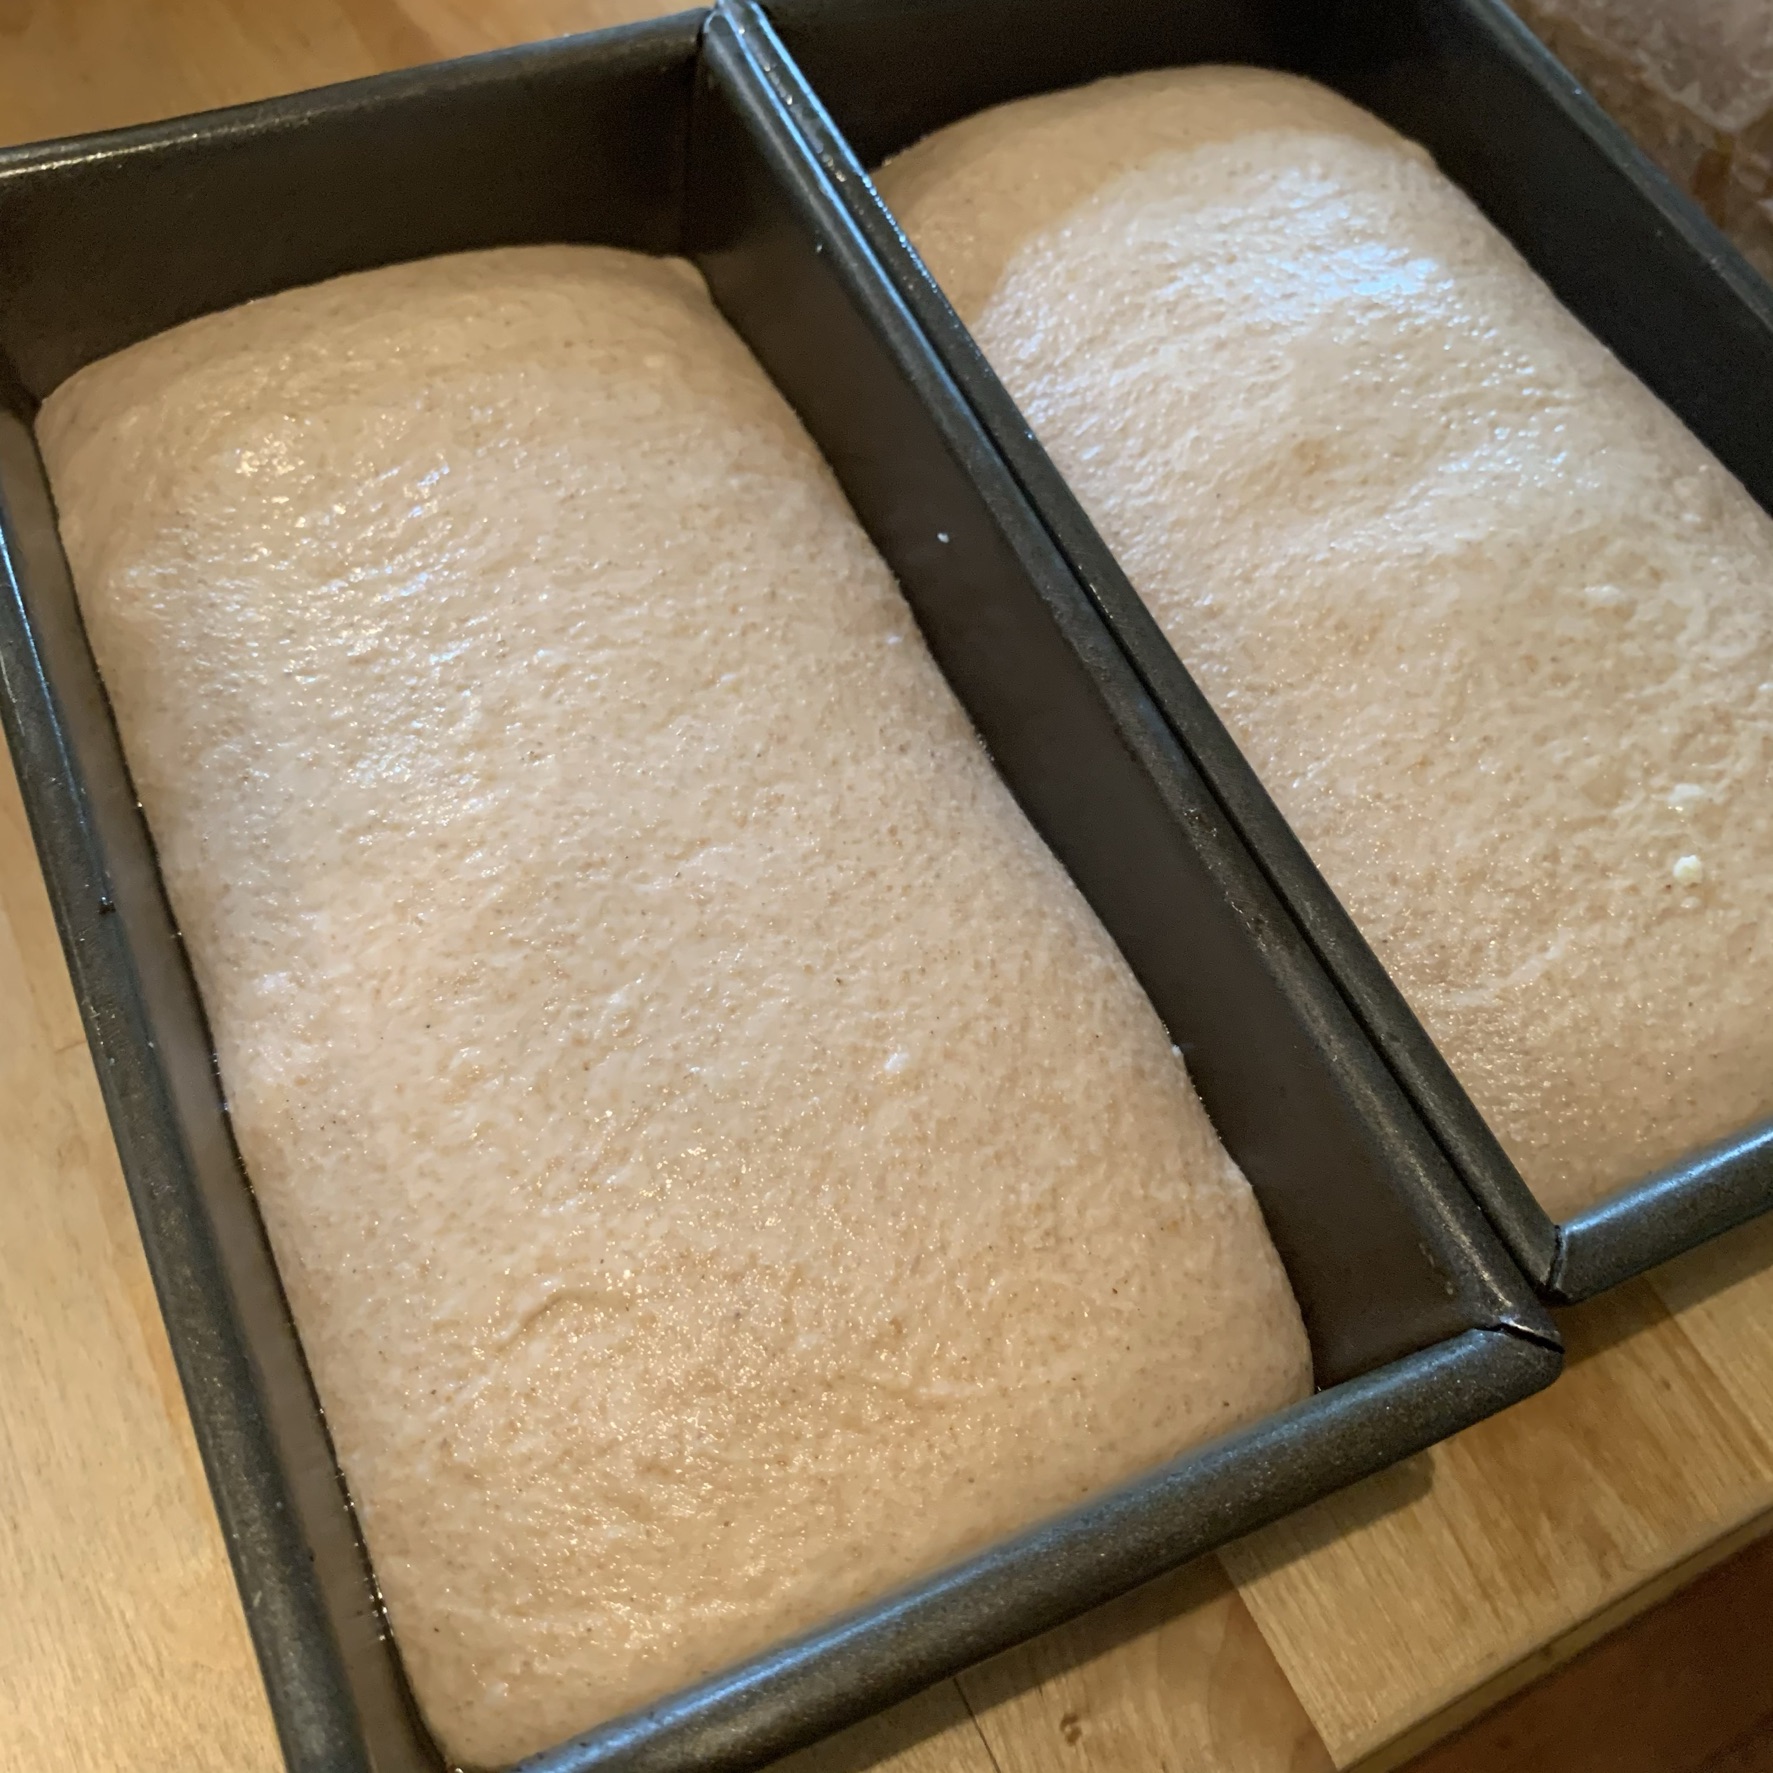
Once the dough has finished this fermentation, place it into the refrigerator for 12-18 hours, to complete the final fermentation.
Baking Day
Preheat your oven to 450˚F for about 1 hour prior to baking. After your oven has been preheated, take your dough out of the fridge, score the top of the loaves and place it into the oven. If you have the ability to add steam, this would be a great time to do that before the oven doors close.
Lower the temperature to 425˚F and bake for 20 min. Rotate the loaves and bake for an additional 15-20 min to ensure evenness.
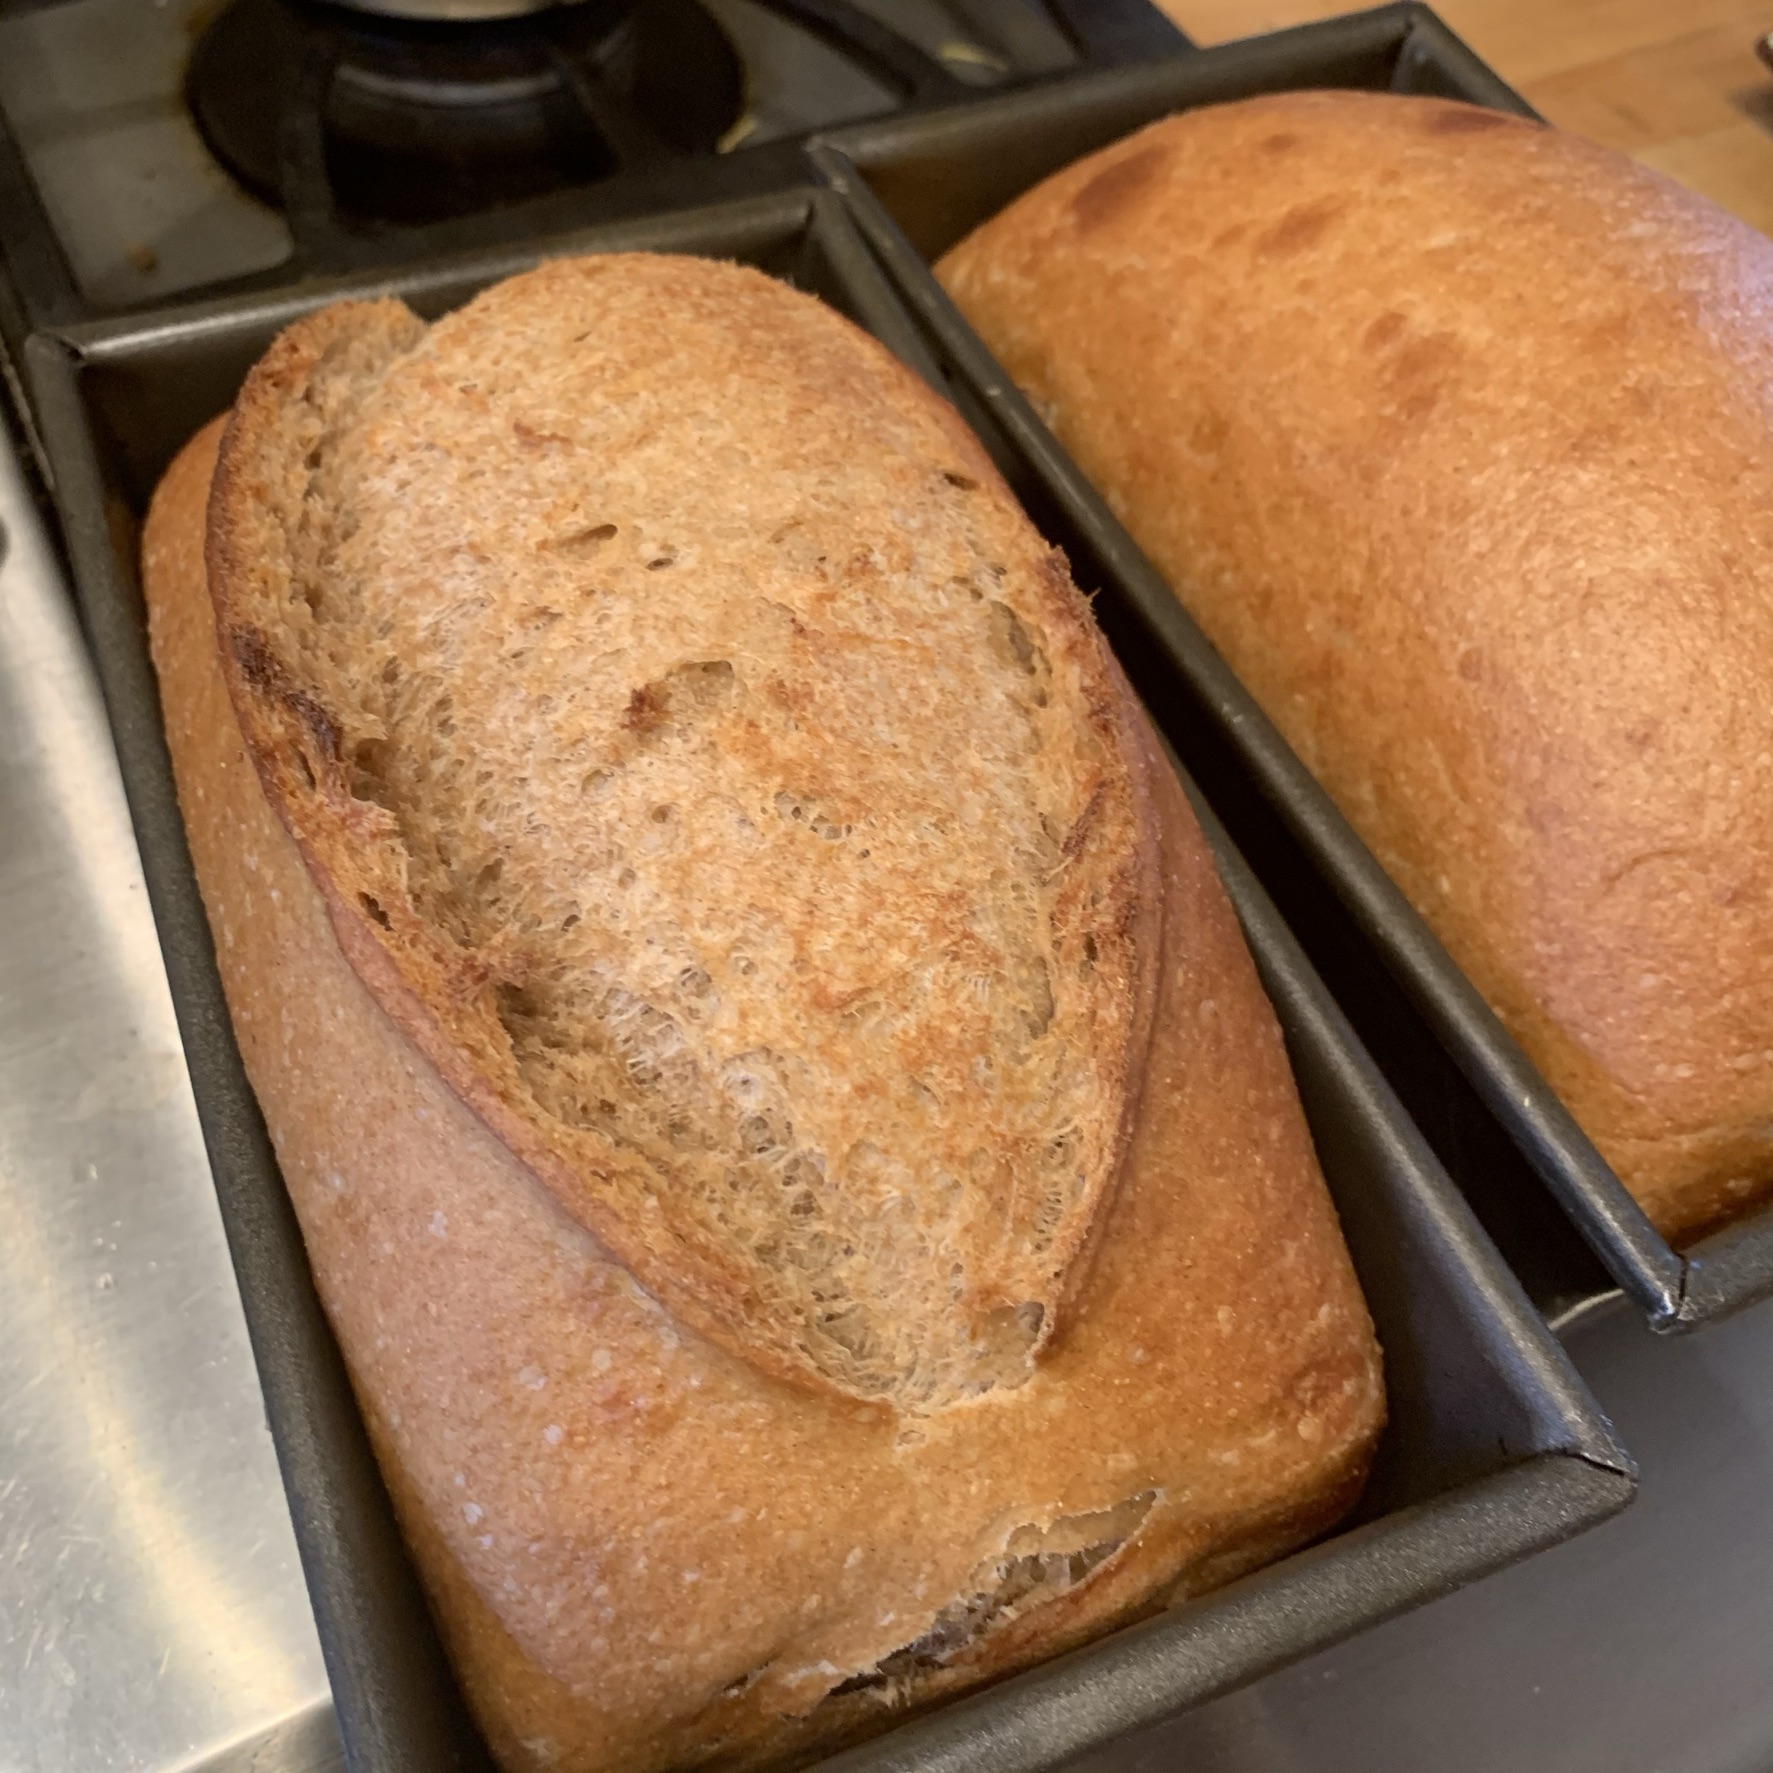

The top of the bread should be visibly golden brown and the internal temperature should reach 190˚ F. Remove the loaves from the oven and allow them to cool on a rack for about 1 min before removing the breads from the loaf pans to let them finish cooling. Allow the bread to cool completely before slicing.
FROM THE MILL