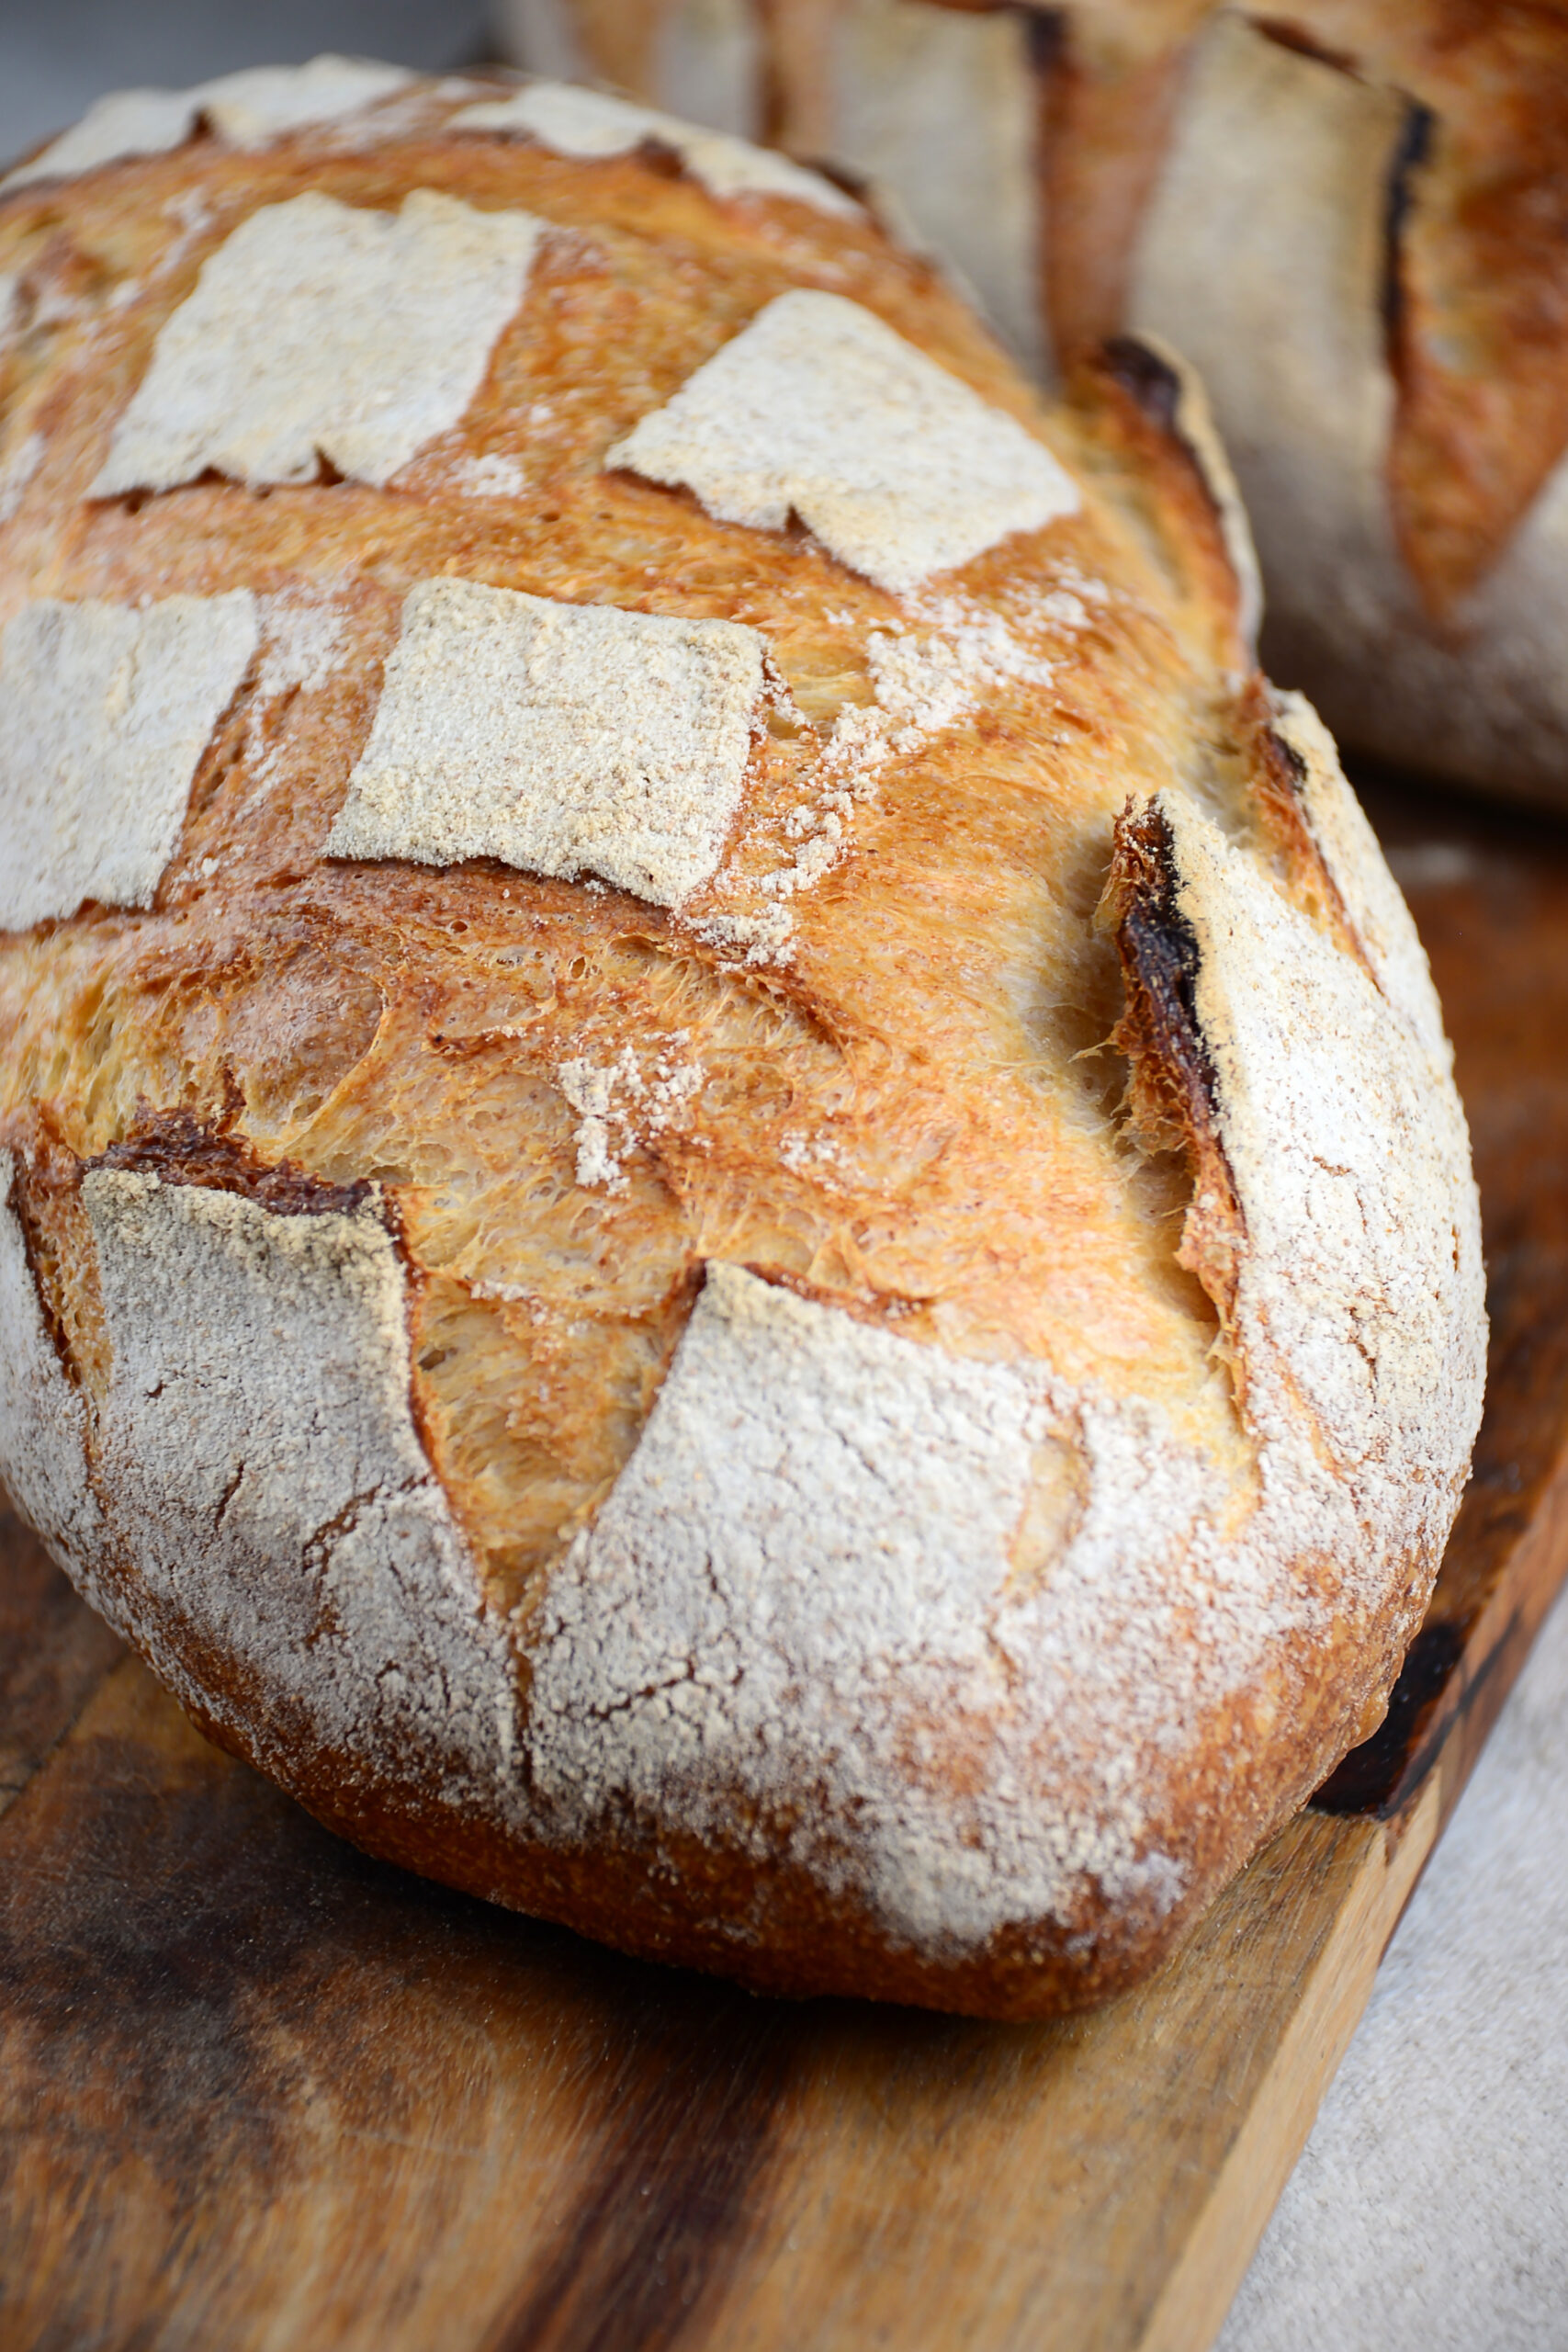
 Some people may think of this loaf as a “Country Bread,” but when we heard the term “Table Bread,” it made perfect sense. Similar to “Table Wine,” this delicious sourdough loaf belongs on the table of every home as a casual go-to bread for breakfast, lunch or dinner.
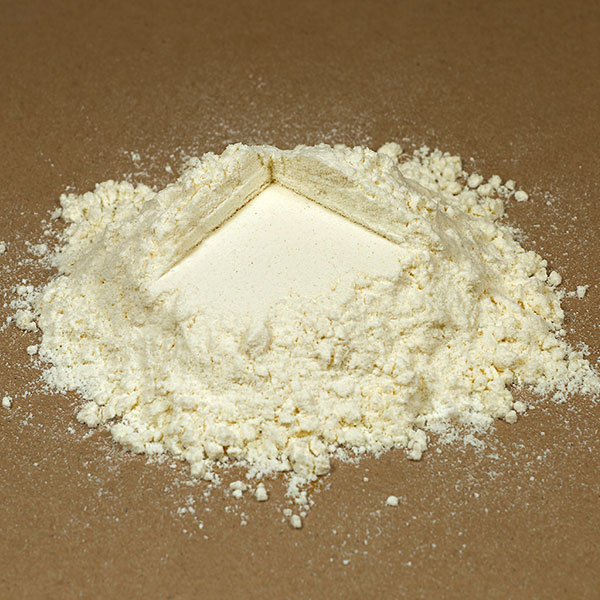
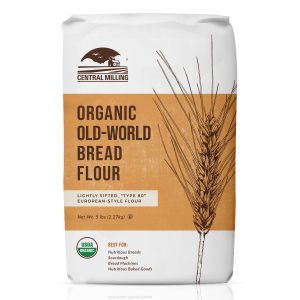
The Old-World Bread Flour used in this formula has been milled in a single stream and then sifted to have some of the bran removed. This results in a loaf that retains some of the amazing flavors of whole wheat but with the performance, one would expect from white bread flour.
This loaf also uses a technique called “double hydration.” When mixing a dough that has high hydration, this technique will help reduce the amount of time spent mixing the dough. The first addition of water is used to help hydrate the flour and develop gluten to where the dough has enough strength to withstand the second addition. If all the water were to be added at once, it would require longer mixing to develop strength in an otherwise slack dough.
Formula
Number of Units: 2 loaves / Unit Weight: 1050 grams / Total Weight: 2100 grams
| LEVAIN | Fermentation: 12-16 hours at 70-75˚F | |
|---|---|---|
| Baker’s % | Weight | |
| Organic “Type 80” Old-World Bread Flour | 100 | 180 g |
| Water | 100 | 180 g |
| Sourdough | 10 | 18 g |
| Salt | .2 | 0.4 g |
| Total | 210.2 | 378.4 g |
| FINAL DOUGH | Baker’s % | Weight |
|---|---|---|
| Organic “Type 80” Old-World Bread Flour | 100 | 945 g |
| Water 1 | 70 | 660 g |
| Salt | 2 | 23 g |
| Yeast | 0.1 | 1 g |
| Water 2 | 10 | 93 g |
| Levain | 40 | 378.4 g |
| Total | 222.1 | 2100.4 g |
| TECHNICAL | |||
|---|---|---|---|
| Dough Temperature | ~74–76˚F | ||
| Mixing Time* | Mixer: | Stand | |
| First: | 3-5 min | ||
| Second: | 3-4 min | ||
| First Fermentation | 2.5 hrs | ||
| Folds | 4, every 30 min | ||
| Dividing | 1050 g or 2 equal portions | ||
| Resting Time | 20 min | ||
| Shaping | Round | ||
| Final Fermentation | 1.5 hrs @ rm temp, then 12–16 hrs in fridge | ||
| Baking** | 25 min @ 450˚F + 25–35 min @ 425˚F | ||
| Steam?*** | Yes | ||
*Mixing time can vary depending on the mixer.
**Baking time and temperature can vary depending on your oven, especially if baking on stone or steel.
***There are many ways to create steam in a home oven, but one of the most effective is to pre-heat a shallow pan in oven with your stone or steel and, after placing the dough in the oven, pour a cup of ice into the hot pan.
Timing
Total Time: ~2 days / Active Time: ~35 min / Baking Time: 50–65 min
Process
Two Evenings Before Baking
In a medium bowl, mix all the ingredients for the Levain together until they are thoroughly combined and there is no visible dry flour in the bowl.
Cover the bowl in plastic wrap and let it sit in a warm place for 12–16 hours.
The Day Before Baking
In a large mixing bowl, combine flour, salt, and yeast until they are thoroughly mixed.
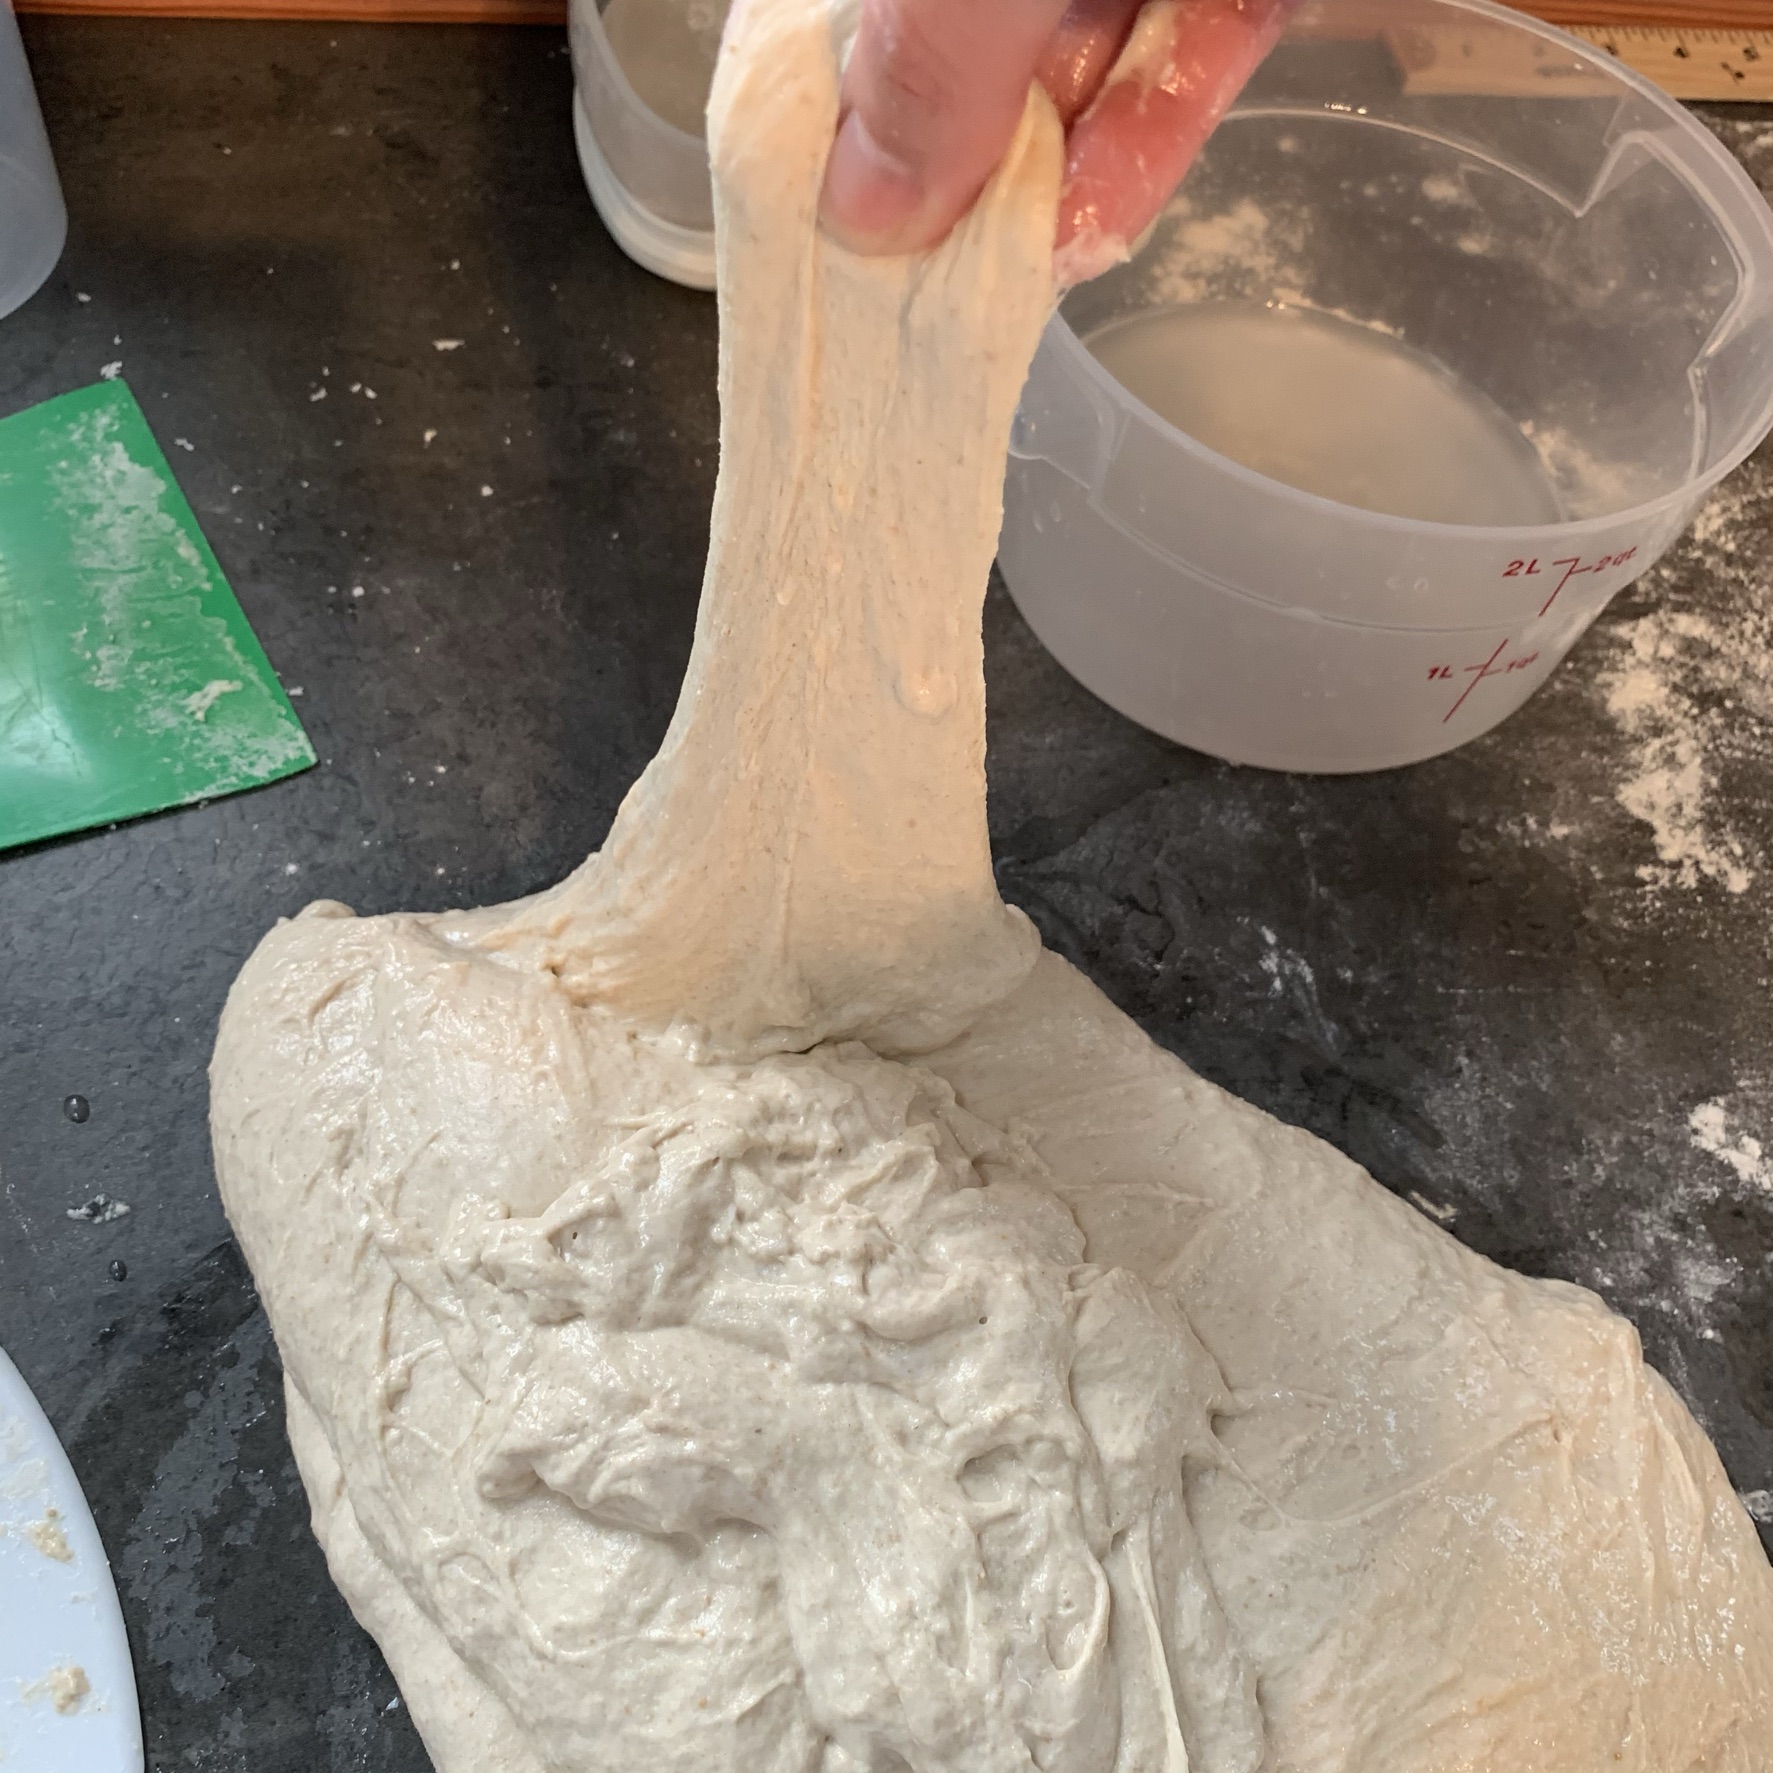
Add your levain to the dry ingredients and 90–95% of Water 1 and using a stand mixer, mix on low for 3-5 minutes. Near the end of the slow mix, add the remaining part of Water 1 into the bowl. This water will help pick up and hydrate the leftover dry flour in the bowl.
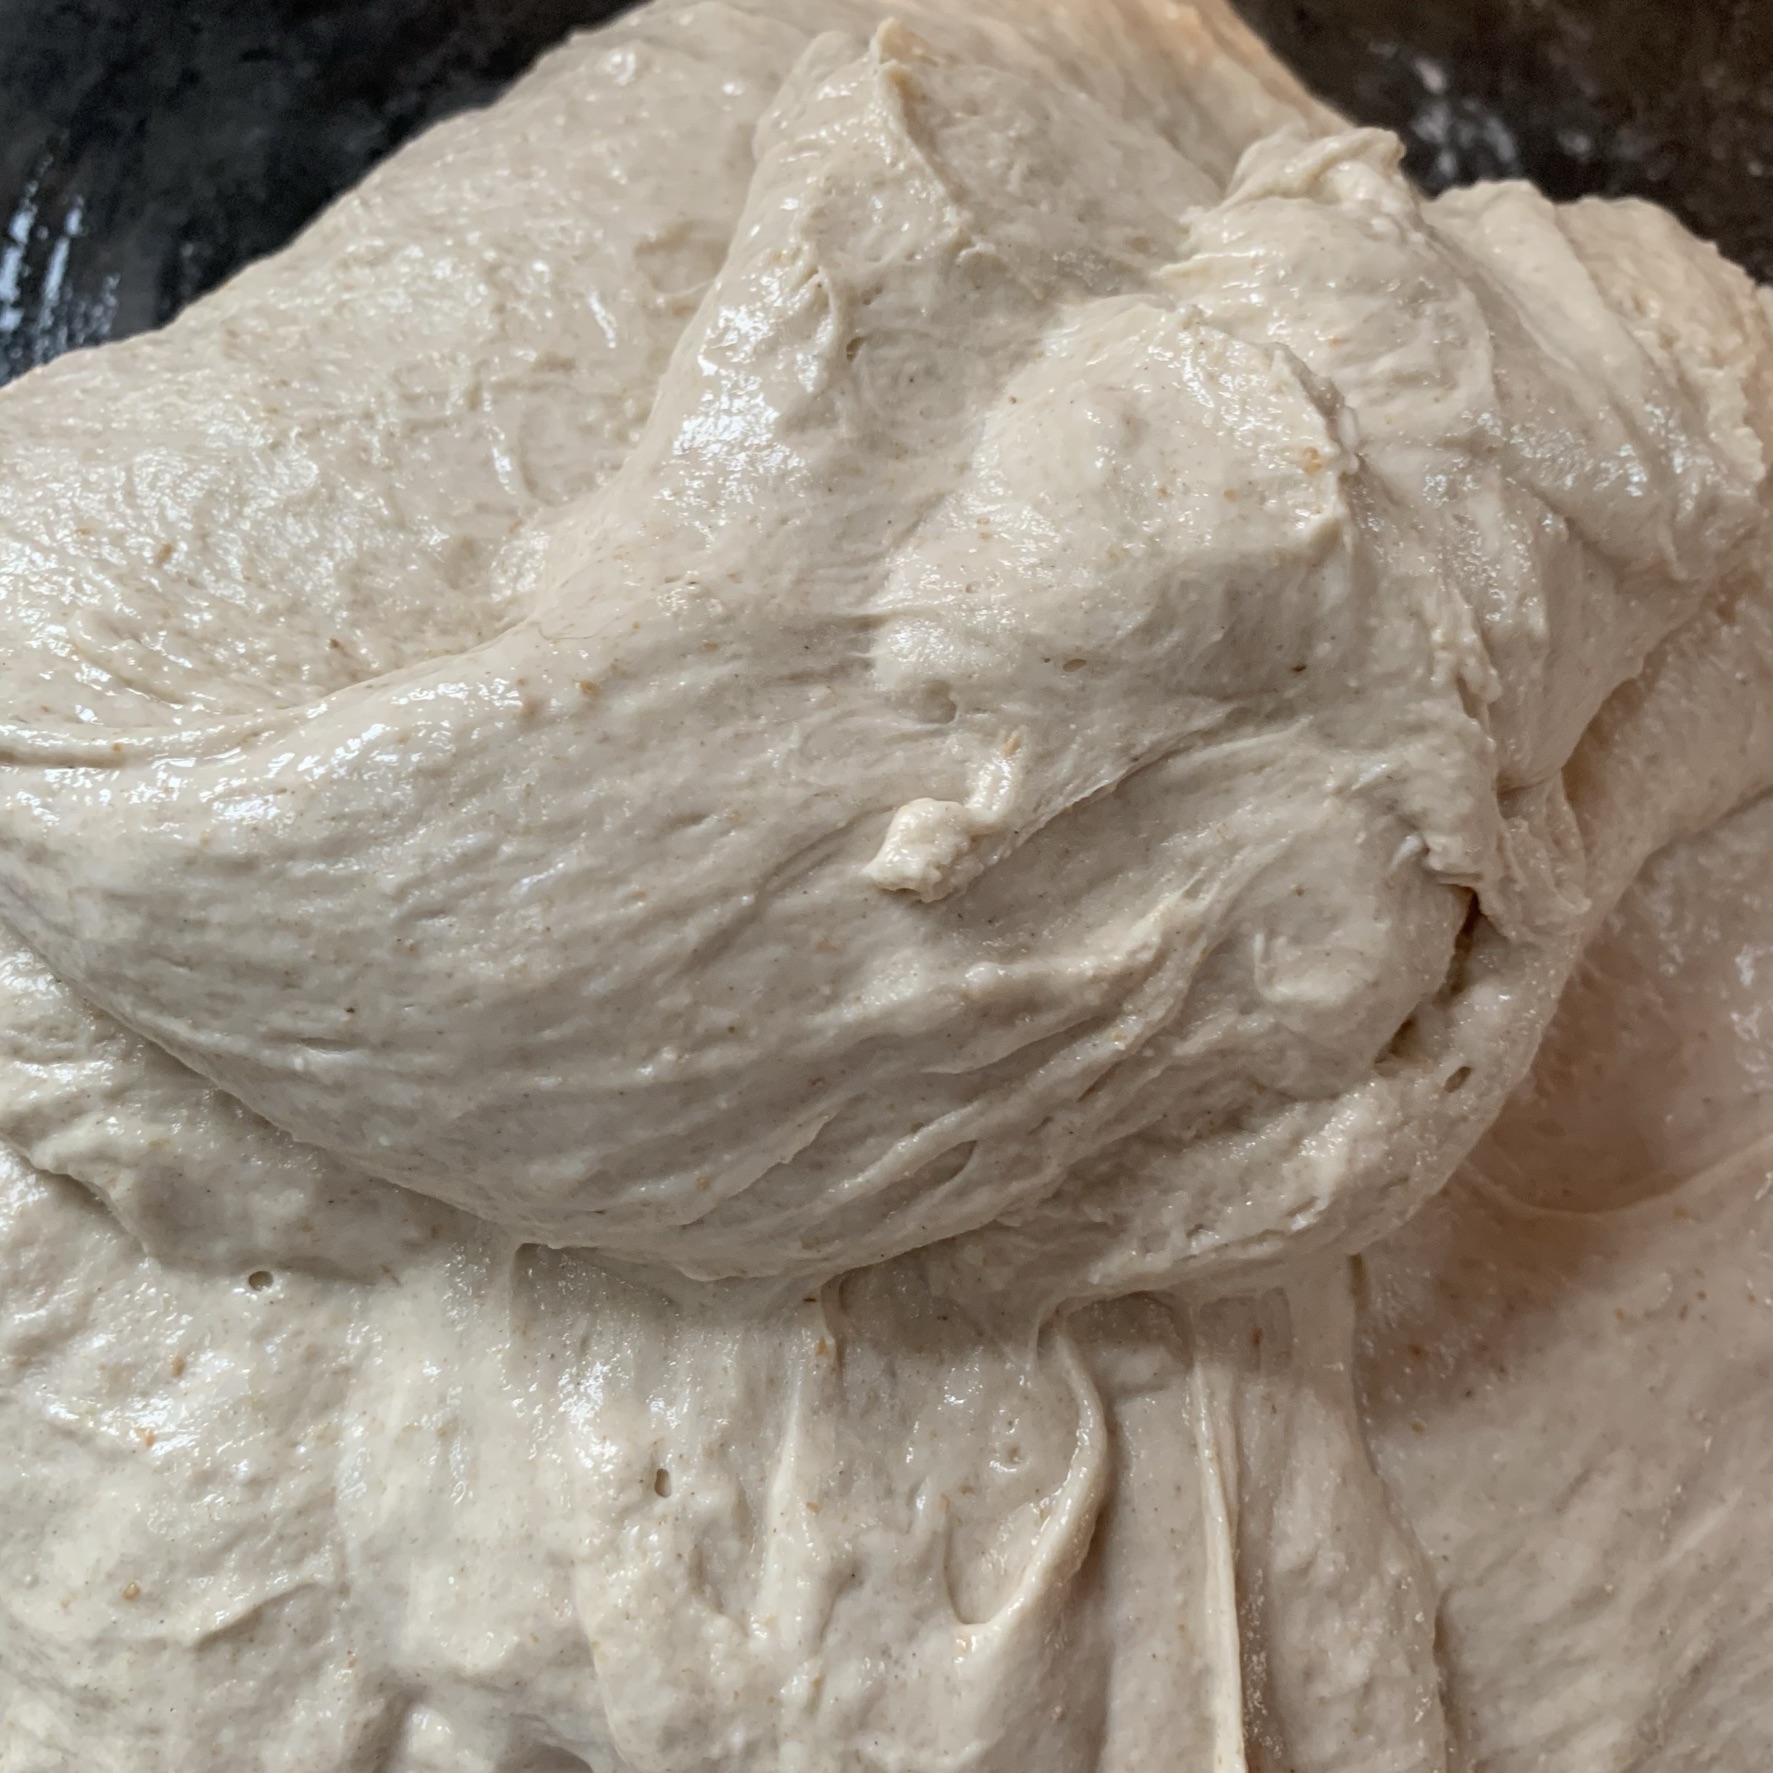
Once the dough doesn’t have any more visible dry flour, go ahead and increase the speed of the mixer to low/medium for 3–4 minutes. This stage will help to develop the gluten structures within the dough.
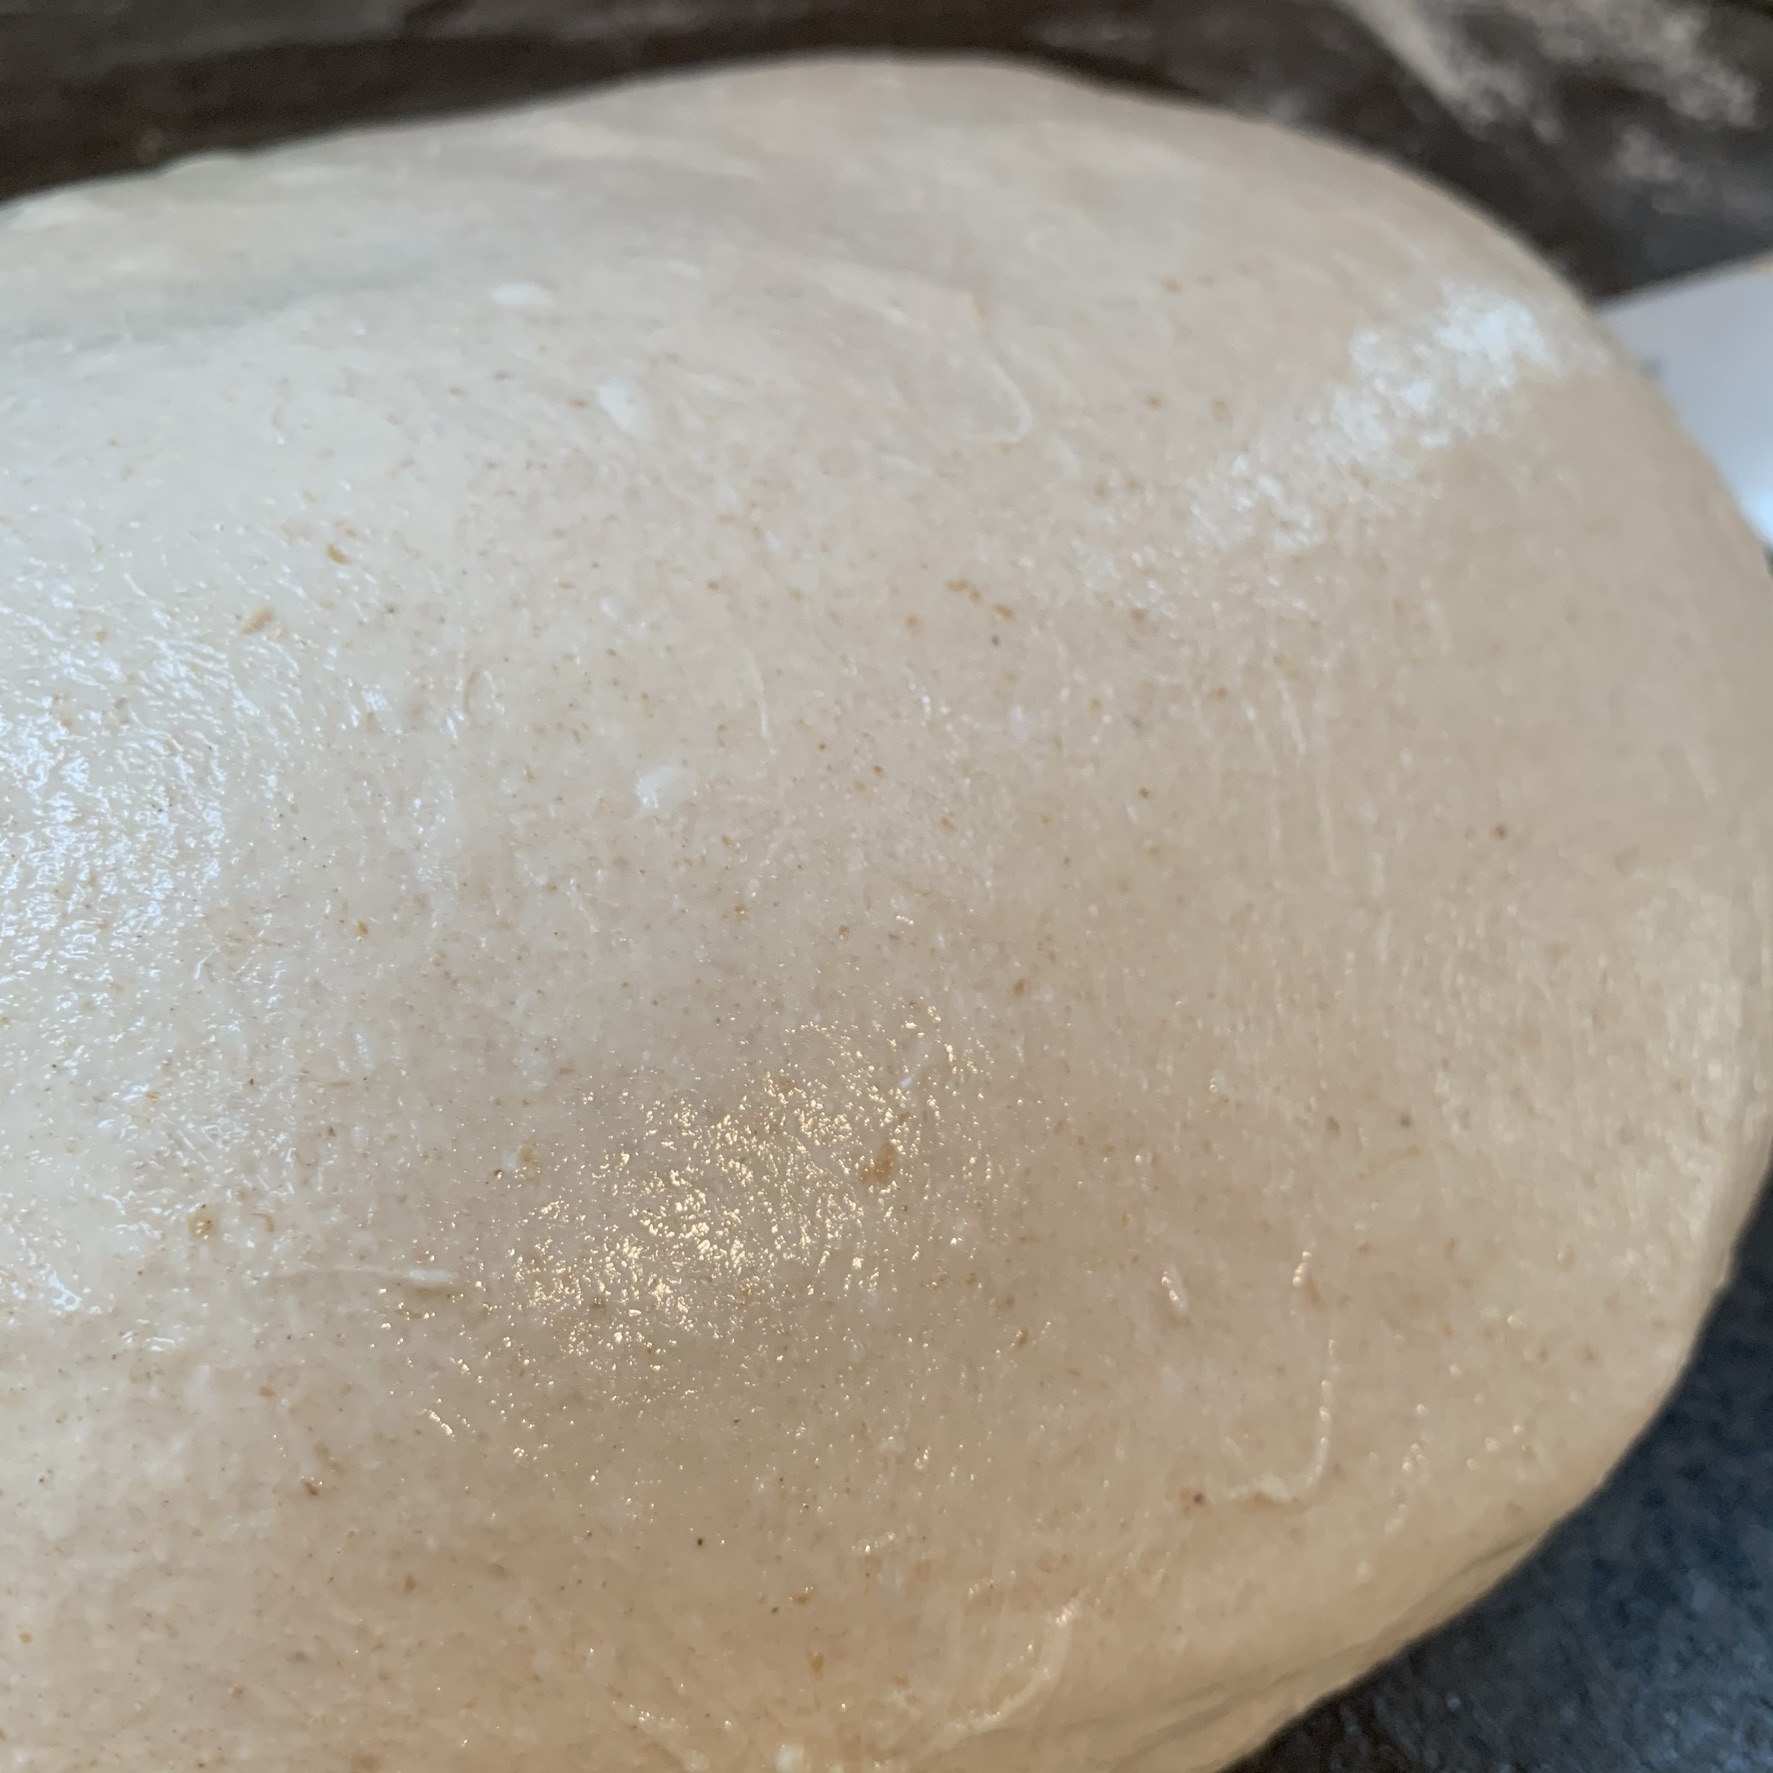
The dough should start developing a smoother surface, pull clean from the sides of the bowl, and has the ability to create a window pane with slightly jagged tear. When this happens, reduce the mixer speed to low and slowly add in Water 2. It should take about 3 minutes for the water to be fully incorporated into the dough.
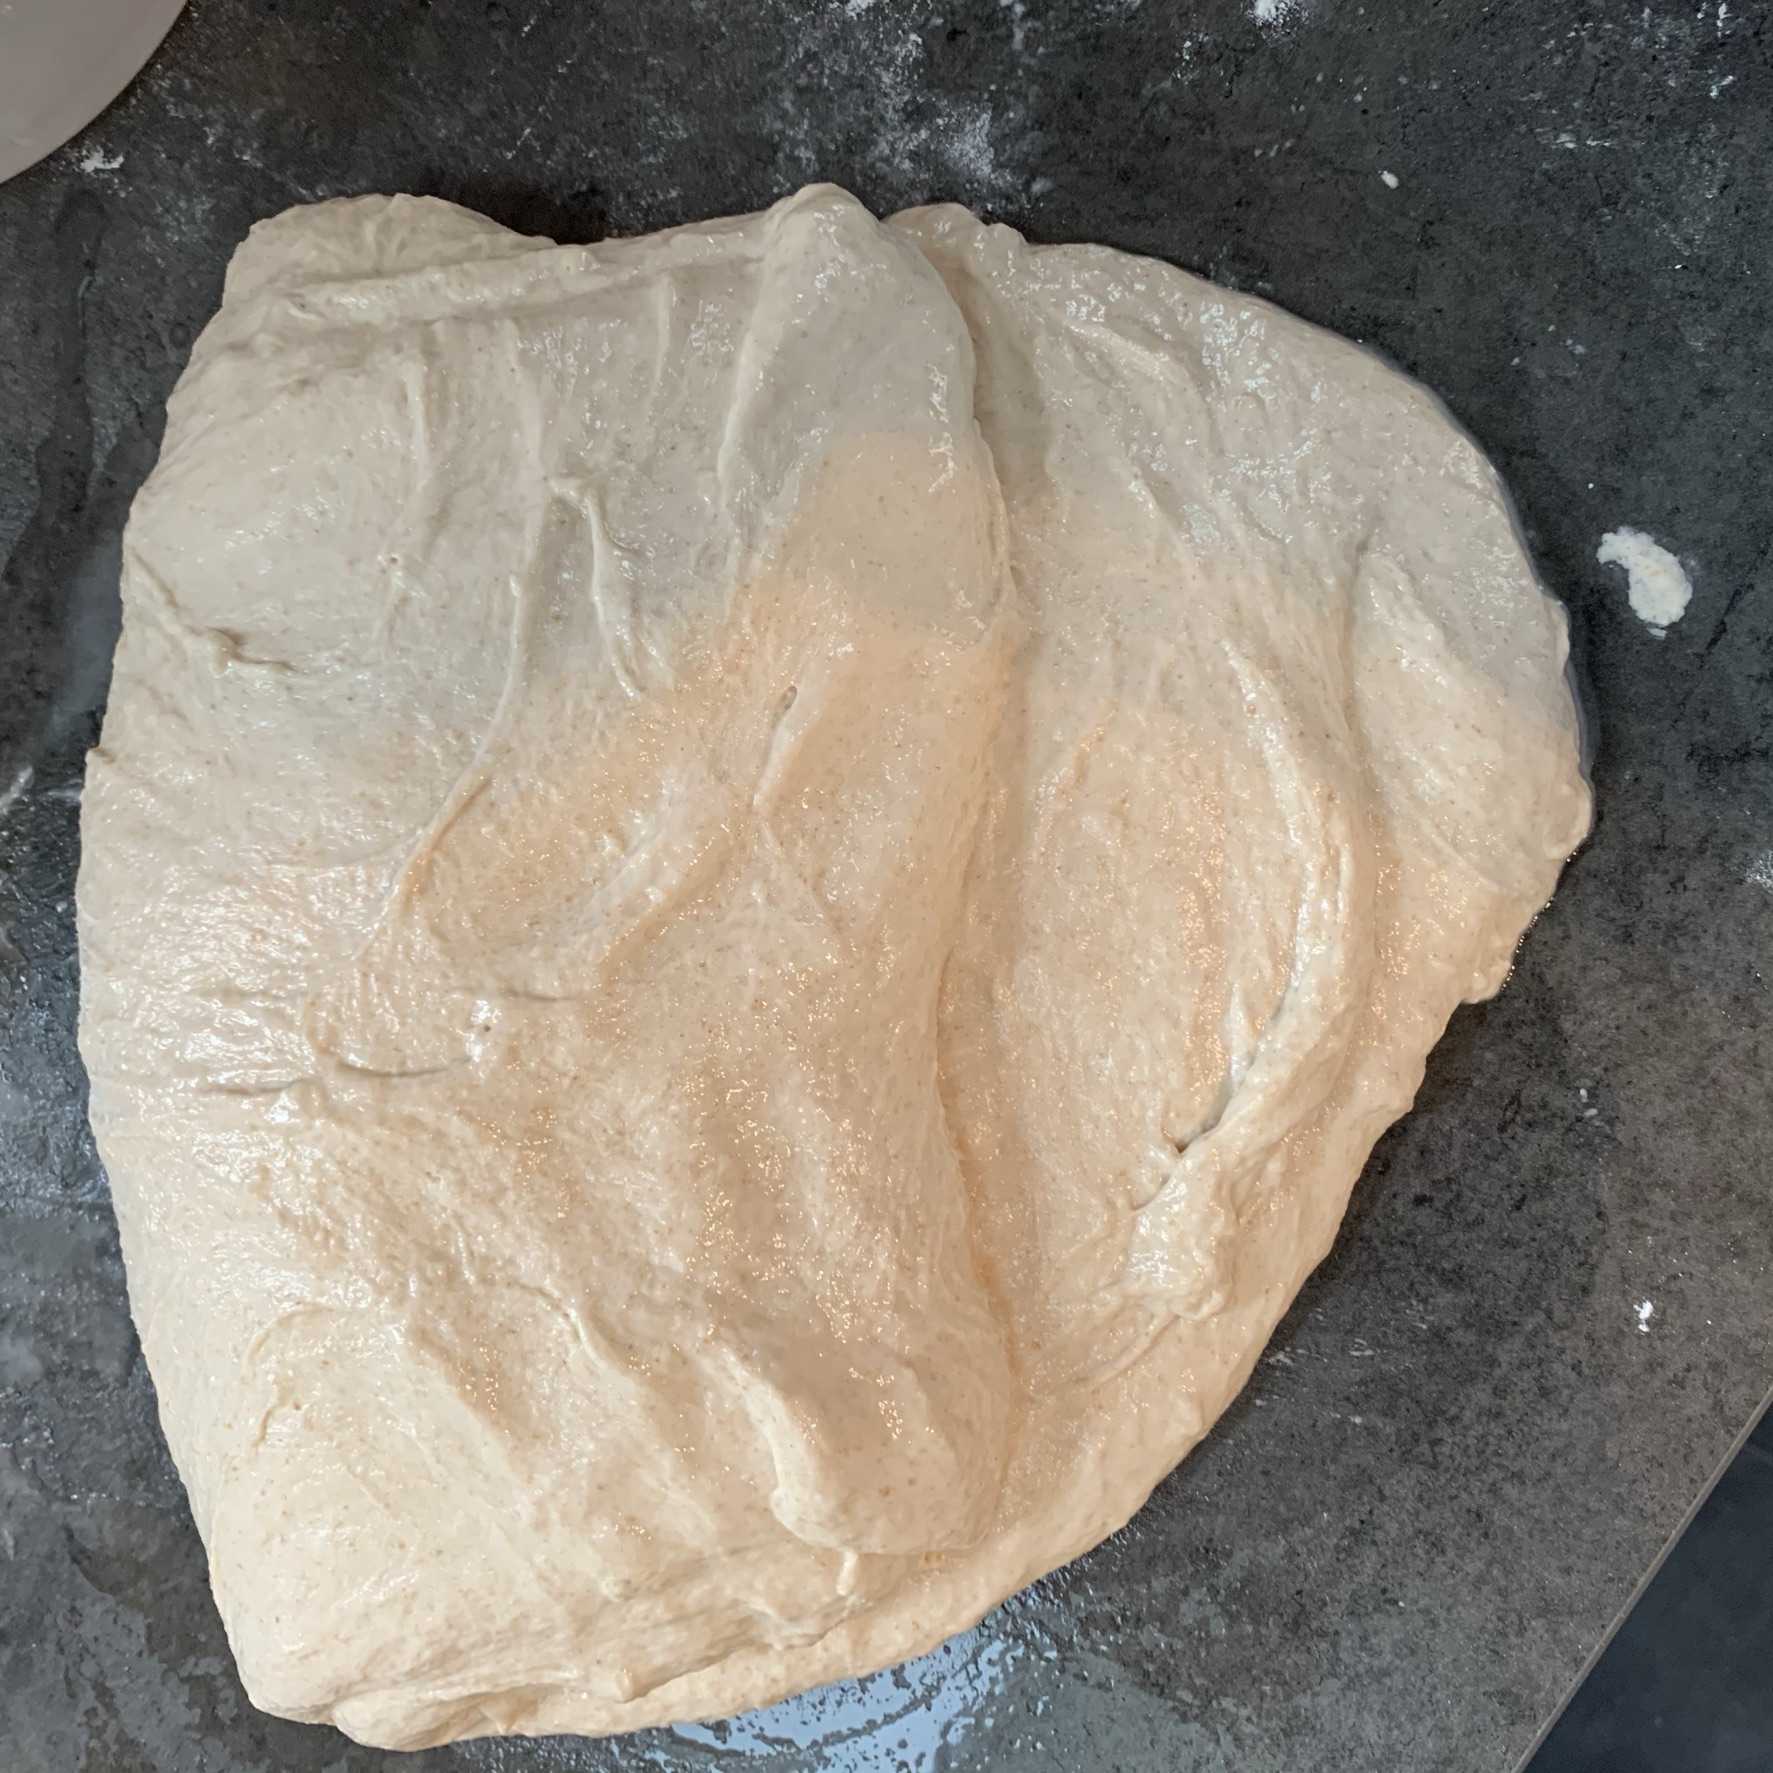
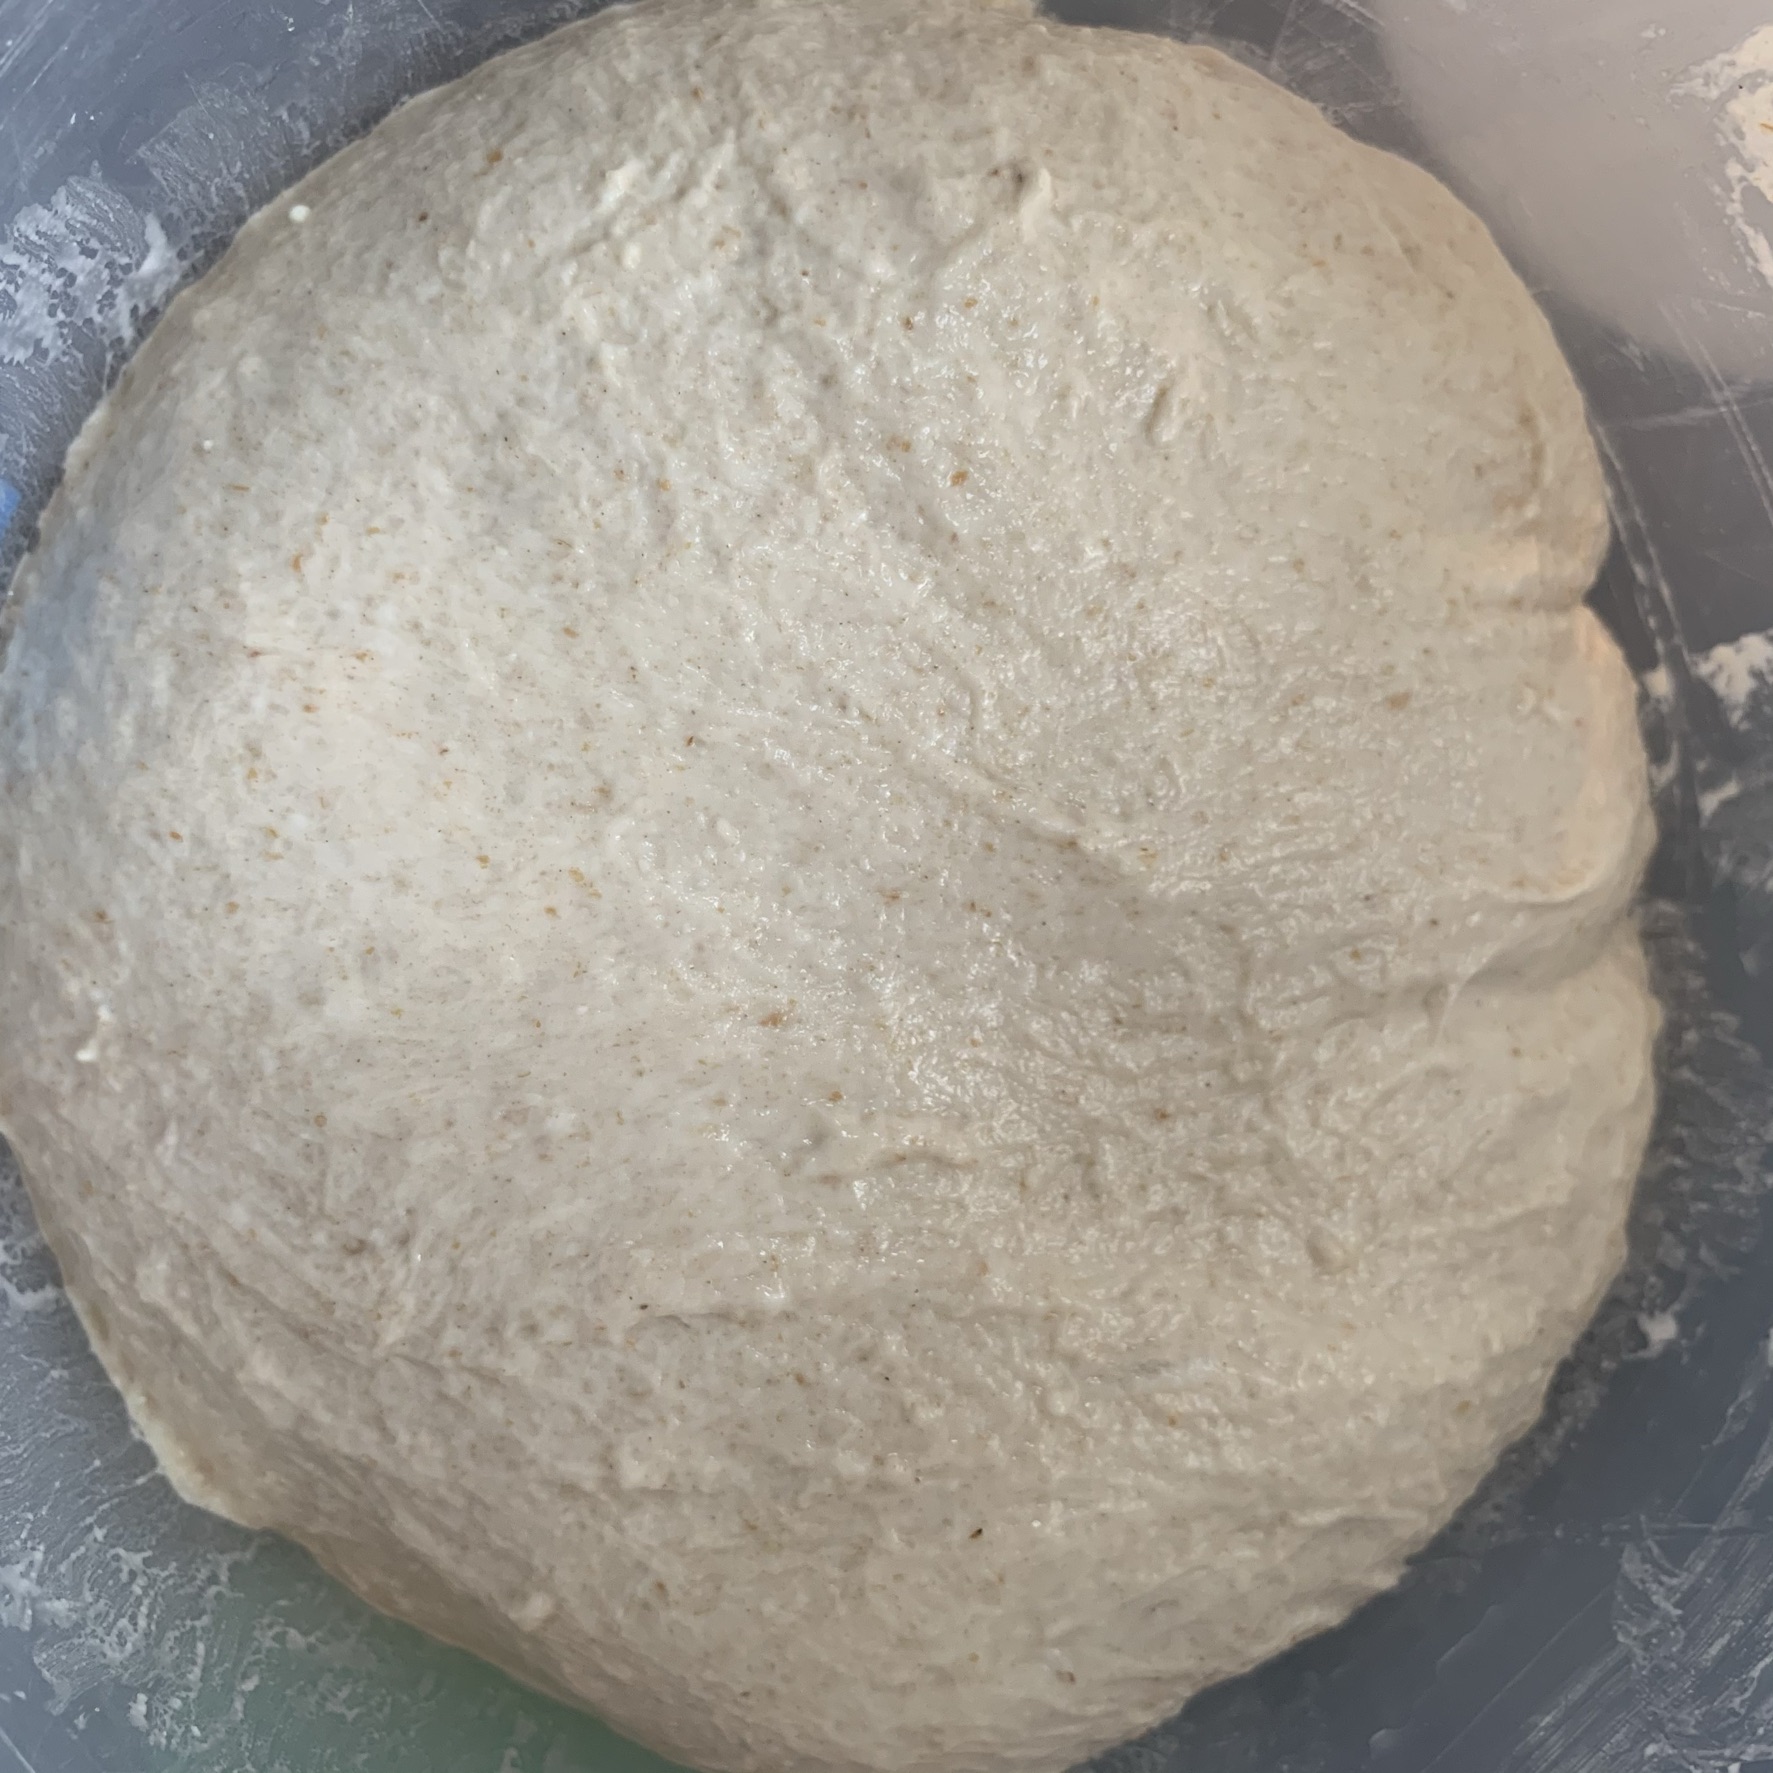
Once the water has been absorbed and the dough has gained some strength, stop the mixer and cover the bowl with plastic wrap. The dough will be going through the first fermentation of 2.5 hours. During this time, you will develop the gluten with a series of 4 “stretch and folds.”
After the dough has rested for 30 minutes, wet the surface of your table and let it fall from the bowl onto the table, scraping the remaining dough out if needed.
To complete your first stretch and fold, start by taking the top part of the dough and stretch it up and away from you. Fold it back on itself about 2/3 of the way to the edge of the dough (closest to you). Then, take the bottom of the dough, stretch it up and towards you. Fold it over / on top of the first fold, all the way to the edge (furthest from you). Repeat this process with the left and right sides. You should end up with a dough that is now more square-like, or looks like an envelope.
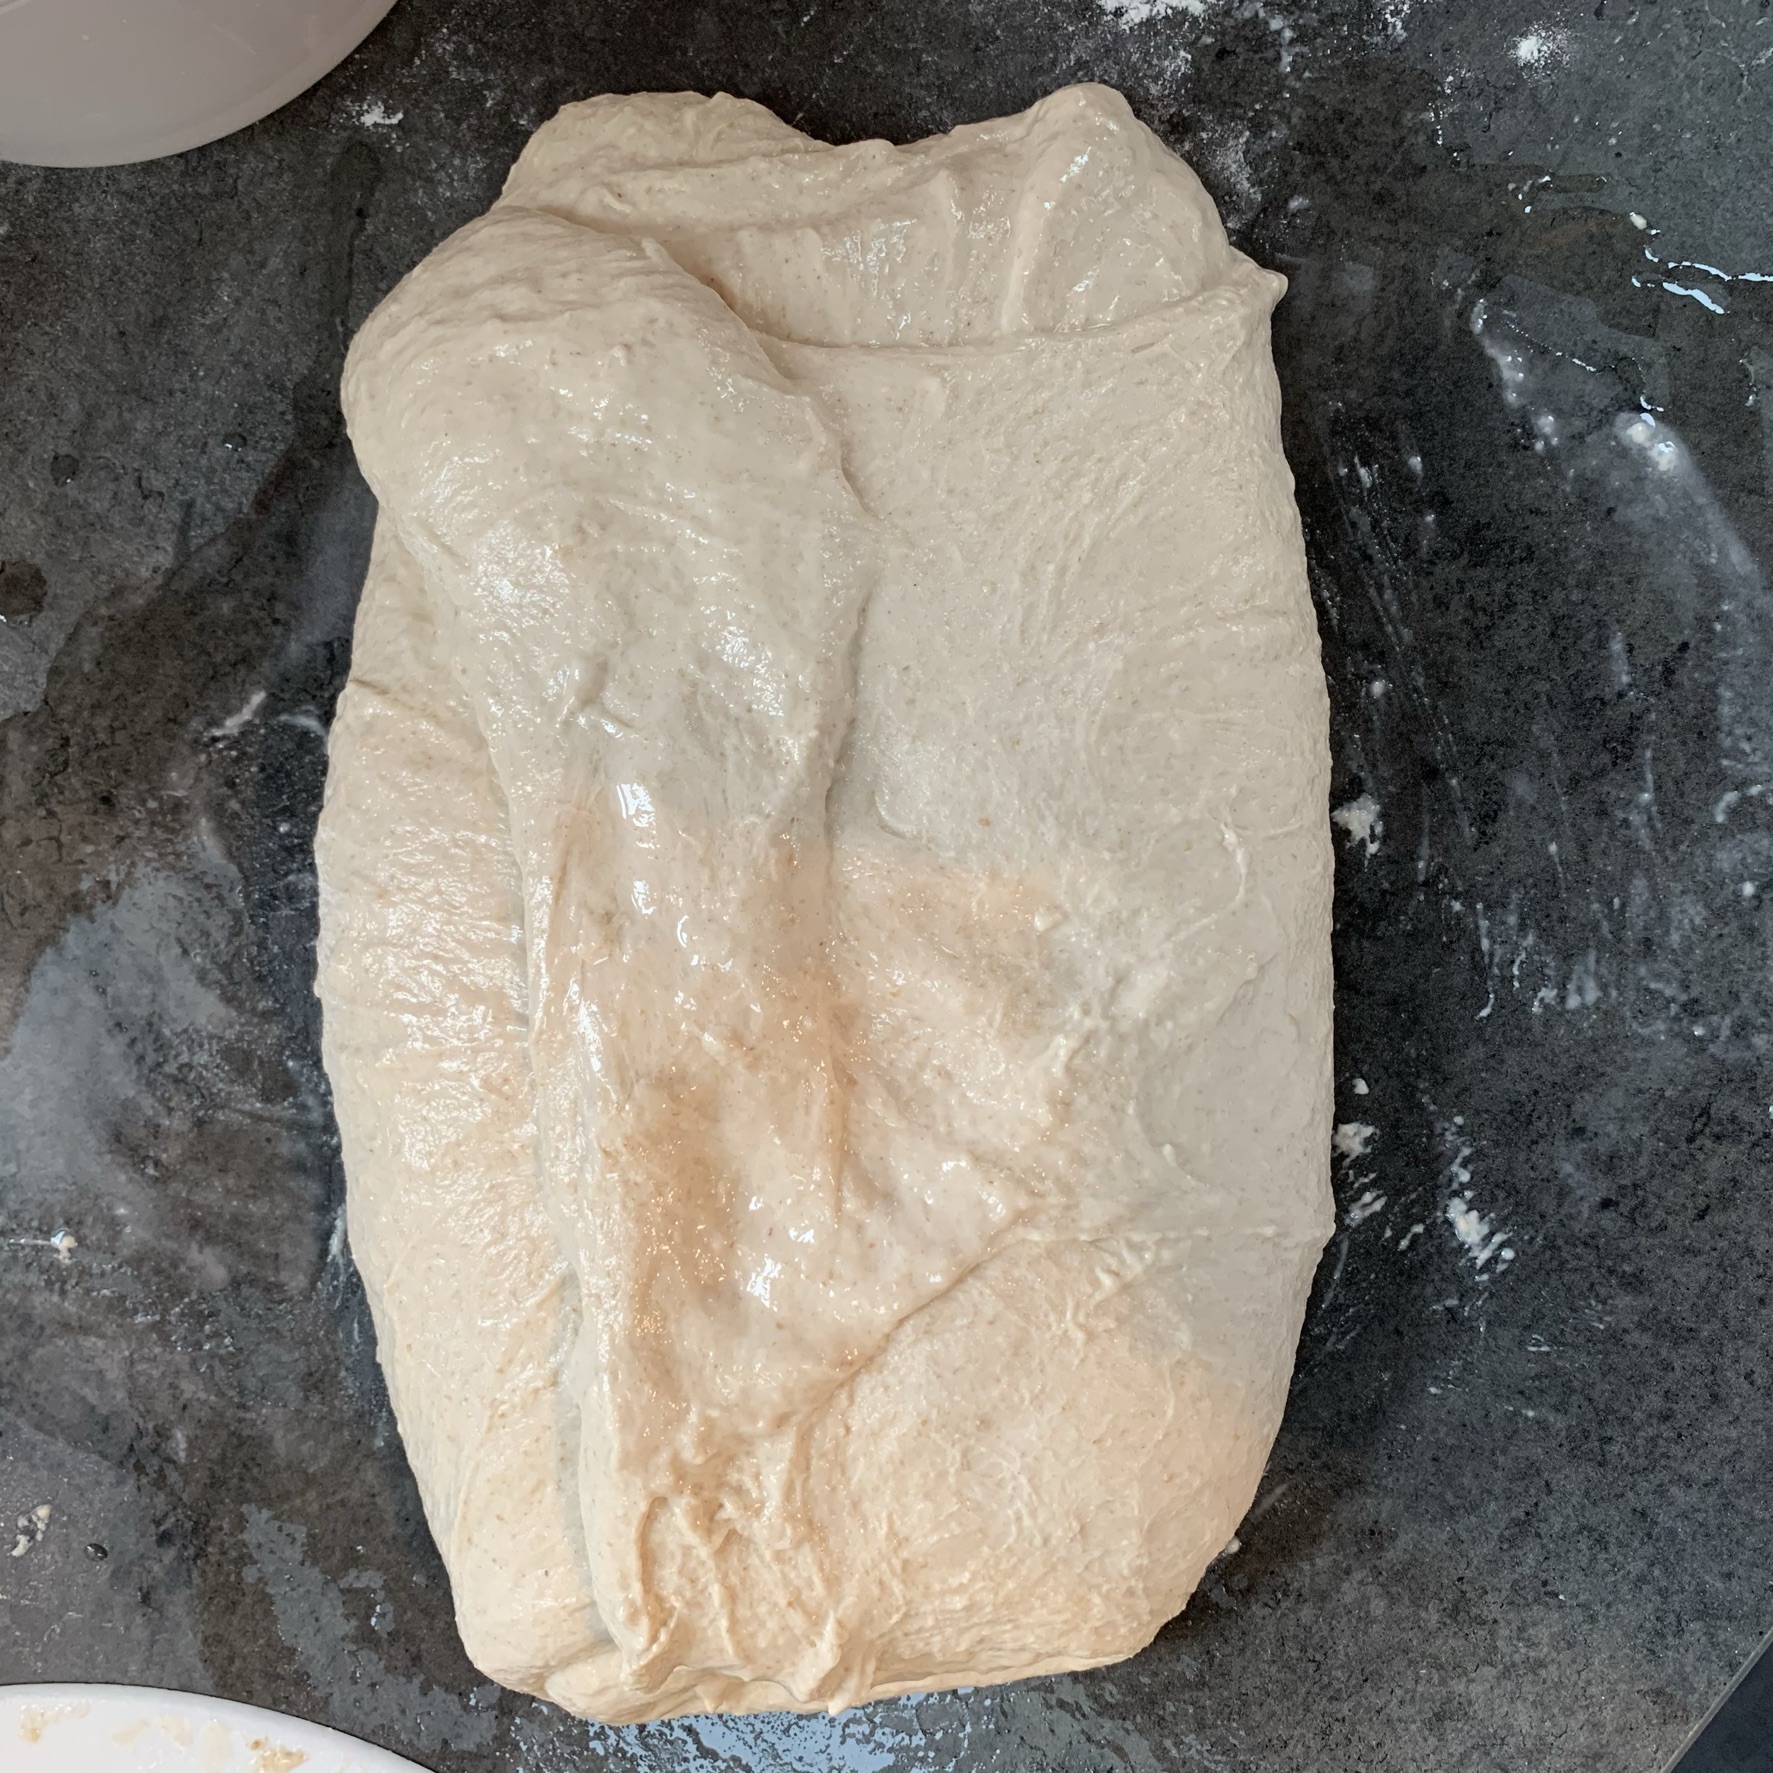
Now take the top of the dough mass and fold it over the center, again in thirds, this time continuing the “rolling” motion until it has rolled over with the smooth side up. With both hands, slide them underneath the halfway point of the dough, vertically. Lift the dough mass and place this back into the bowl. The ends of the dough should tuck under, leaving the smooth surface on the top.


Cover the bowl and let the dough rest for 30 min before repeating this technique again. With each fold, you should start feeling the dough gaining strength and seeing the surface of the dough becoming smoother.

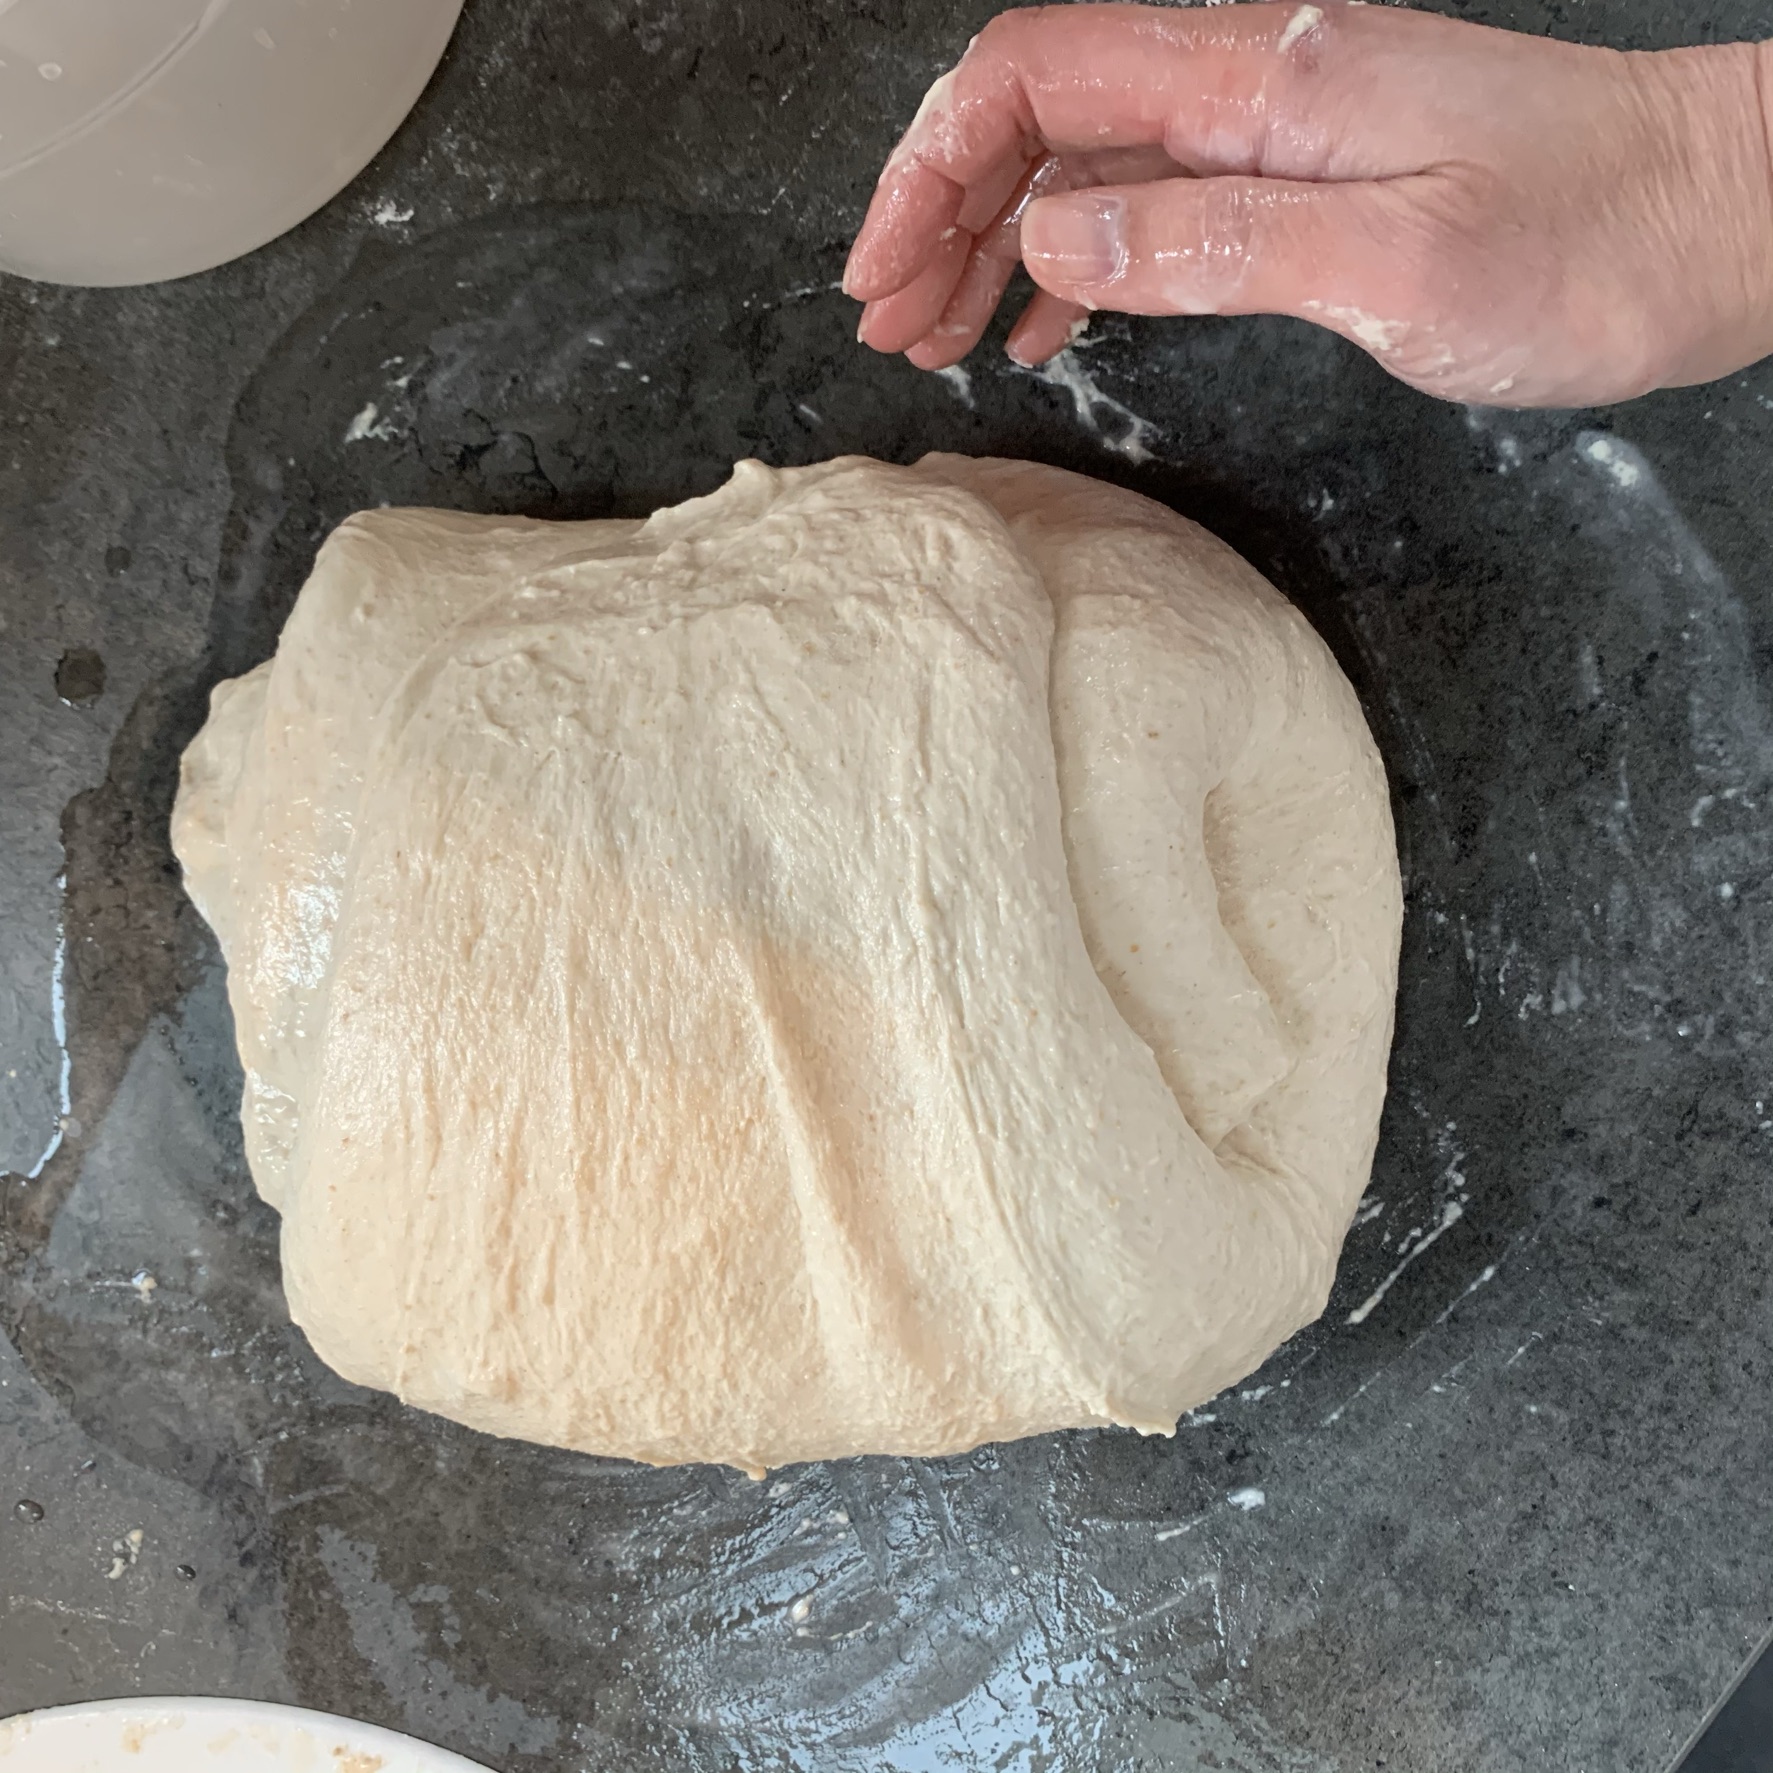
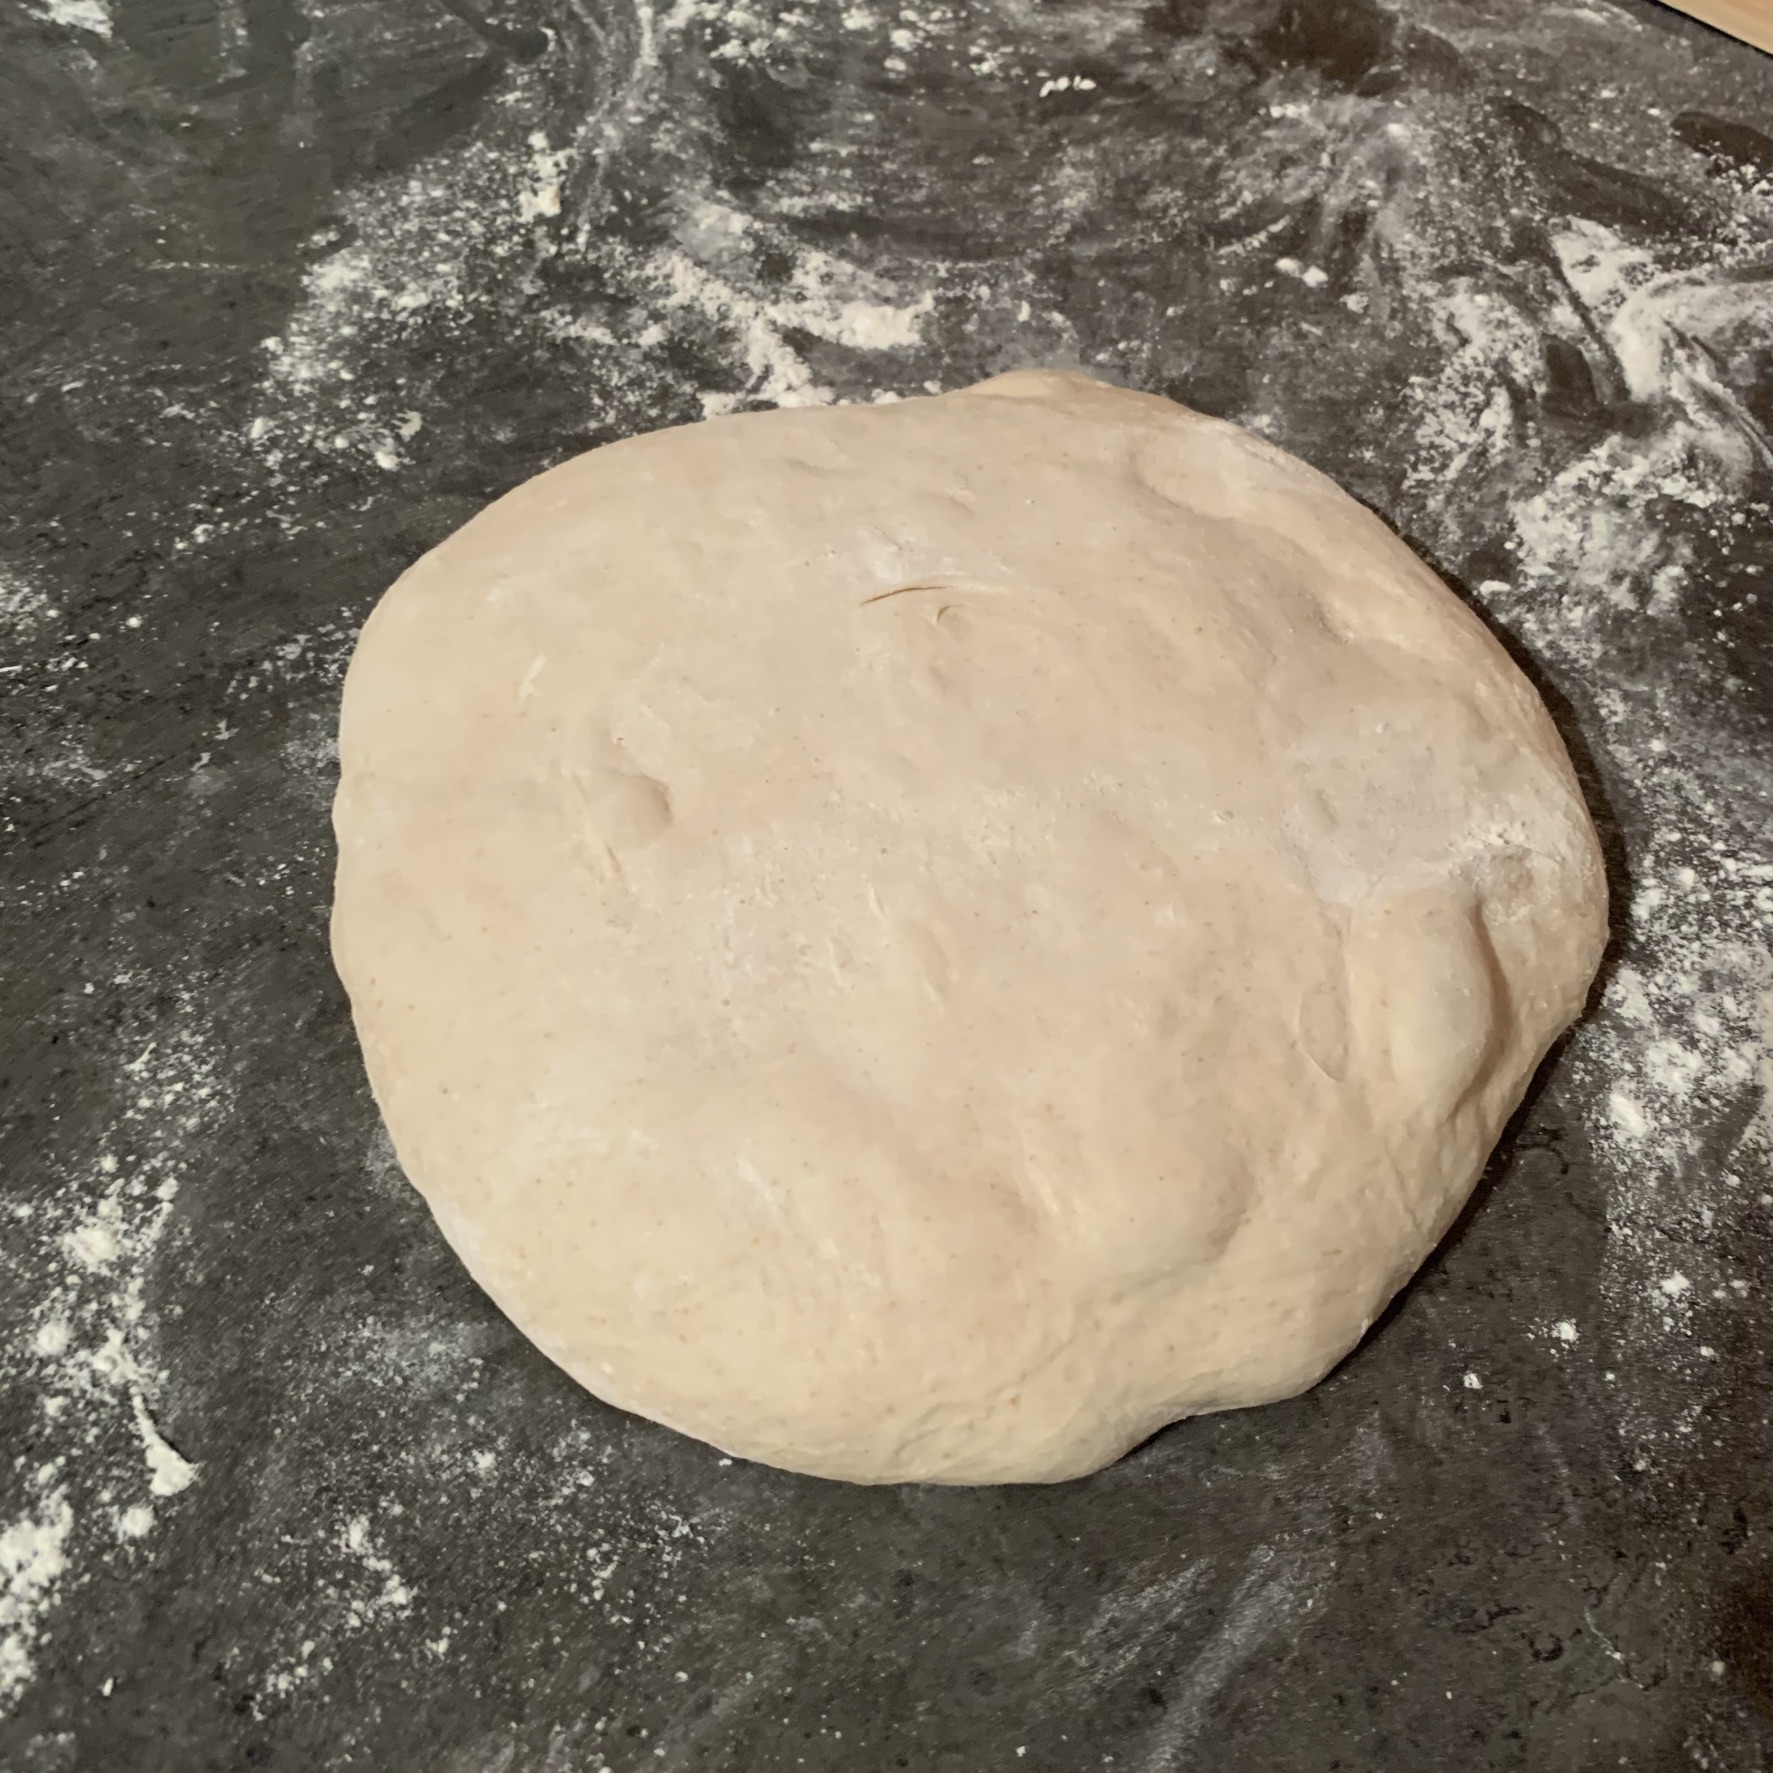
After the final fold, let the dough rest another 30 min. Then turn the dough out onto a lightly floured surface, divide it into two equal portions and pre-shape into round balls aka boules. Take care to not use too much flour as you are shaping. You don’t want the dough to be too sticky, but you also don’t want to have a lot of raw flour inside.
Let this rest for 20 min on the table. If there is a draft, cover the dough with a towel to prevent the surface from drying out.
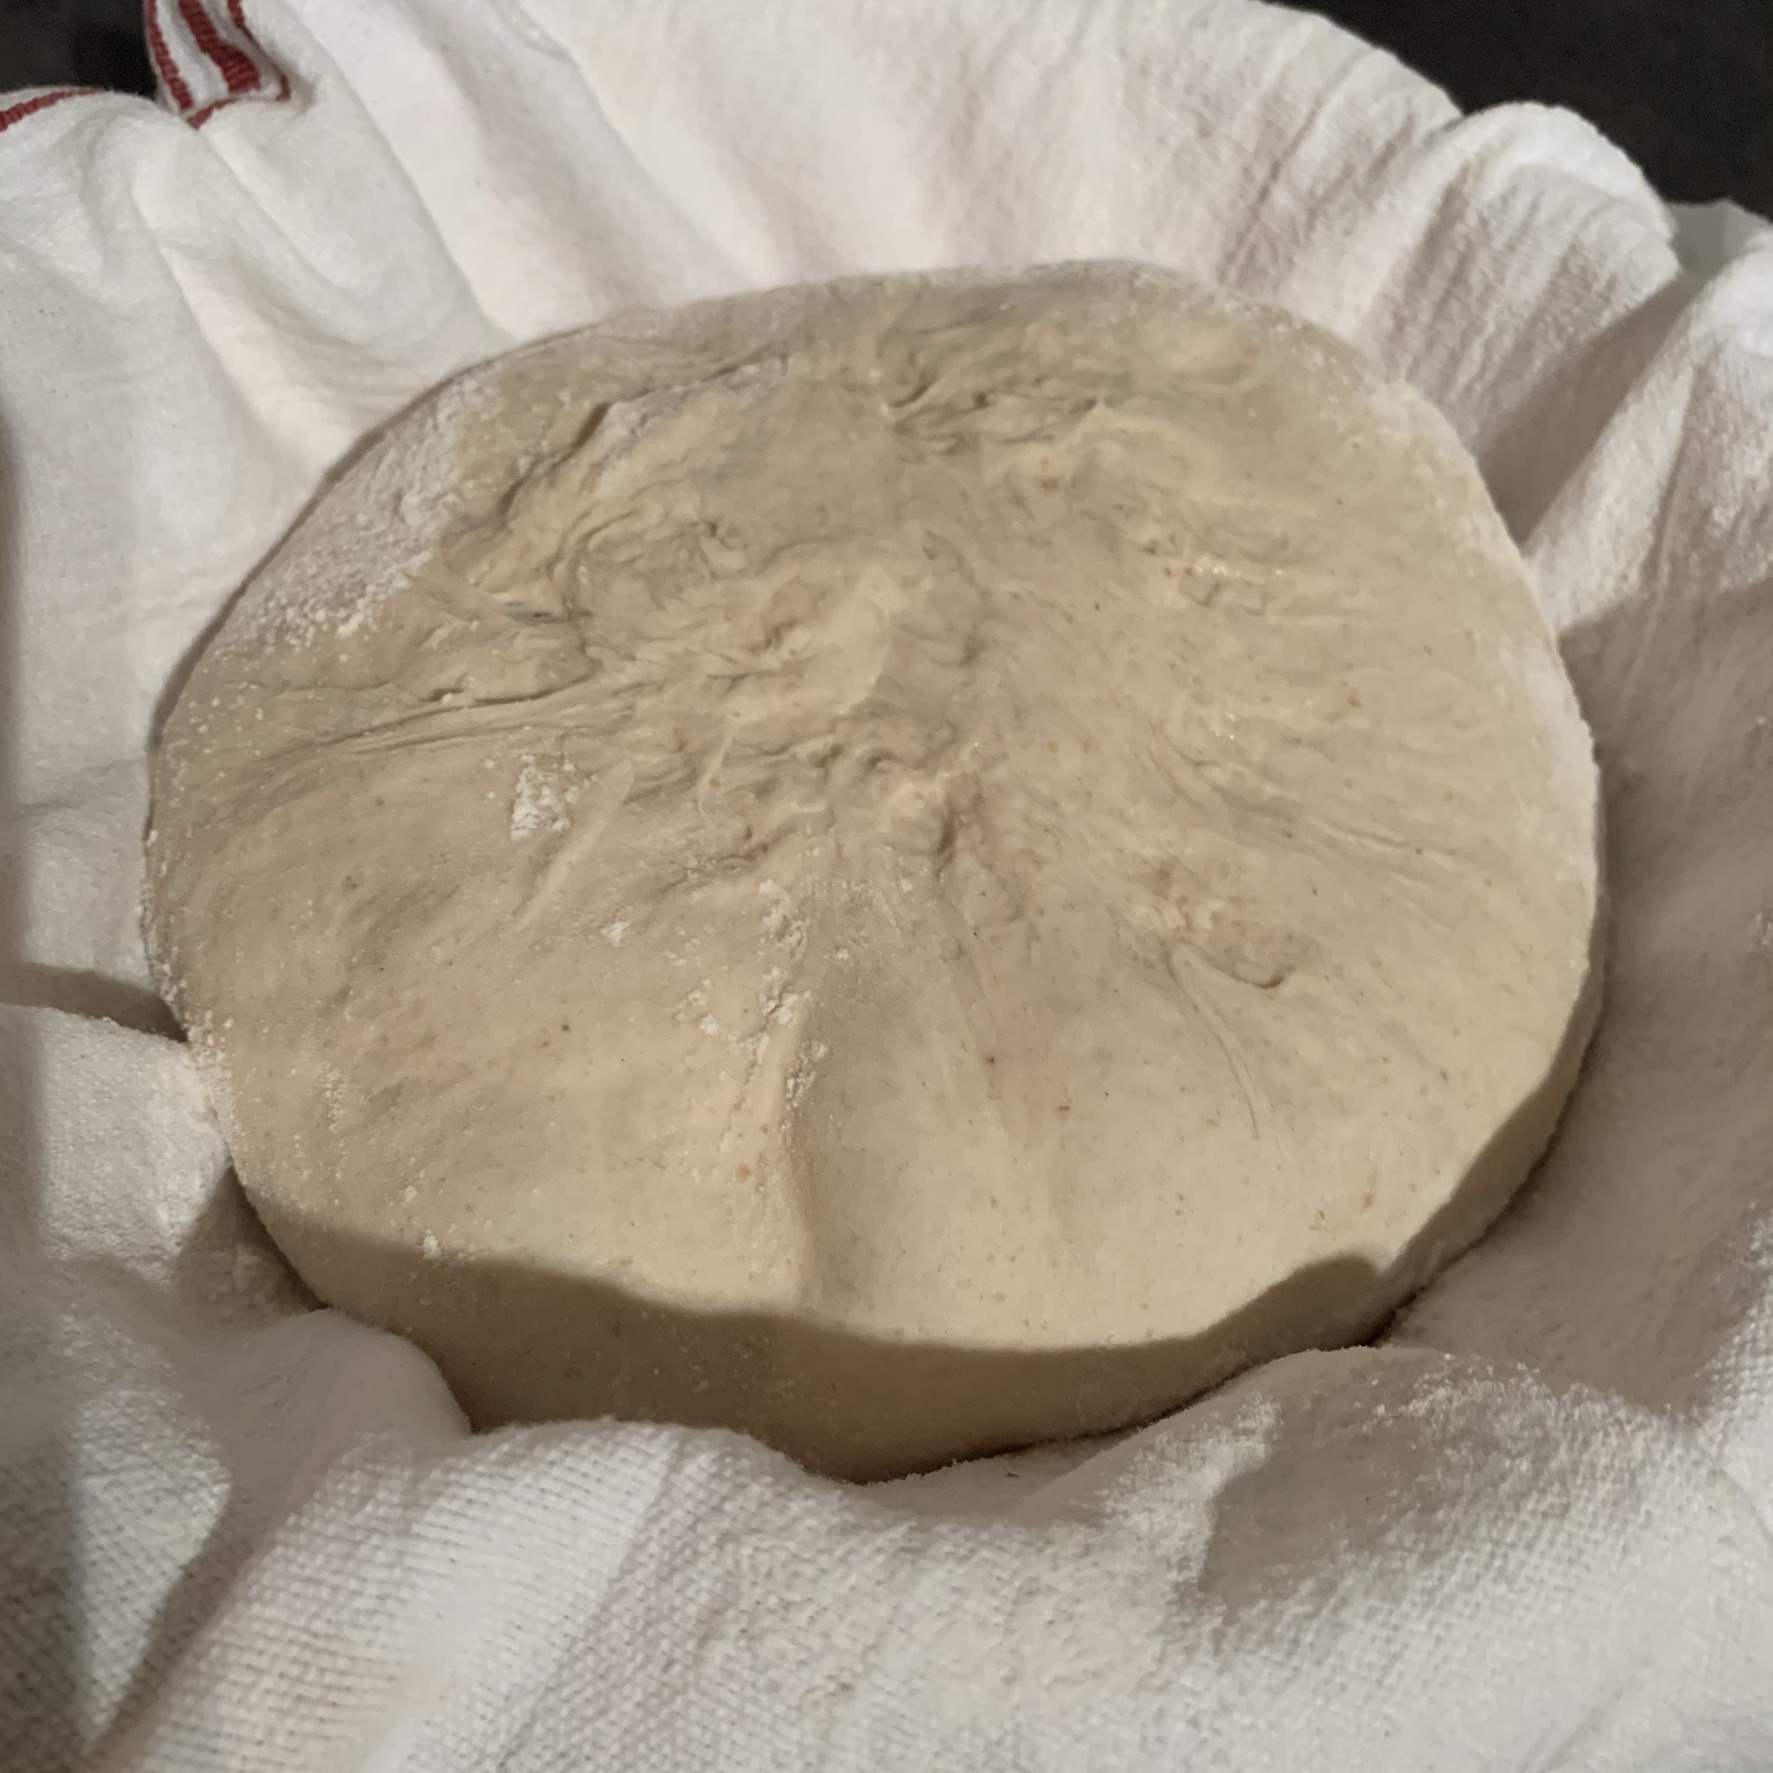
During this time, prepare a round proofing basket / banneton by either dusting the inside with flour or placing a linen cloth inside the form and dusting the cloth. Once the dough has finished resting, final shape into boules once more and place into the prepared form with the seam side up.
Cover the dough with a thick linen cloth and let the dough ferment a second time for 1.5 hours. Once the dough has finished the second fermentation, place it into the refrigerator for 12–16 hours.
Baking Day
This bread can be baked in a dutch oven or directly on a baking stone or steel. Either way, preheat your oven to 475˚F for at least an hour prior to baking with your dutch oven or stone/steel in the oven.
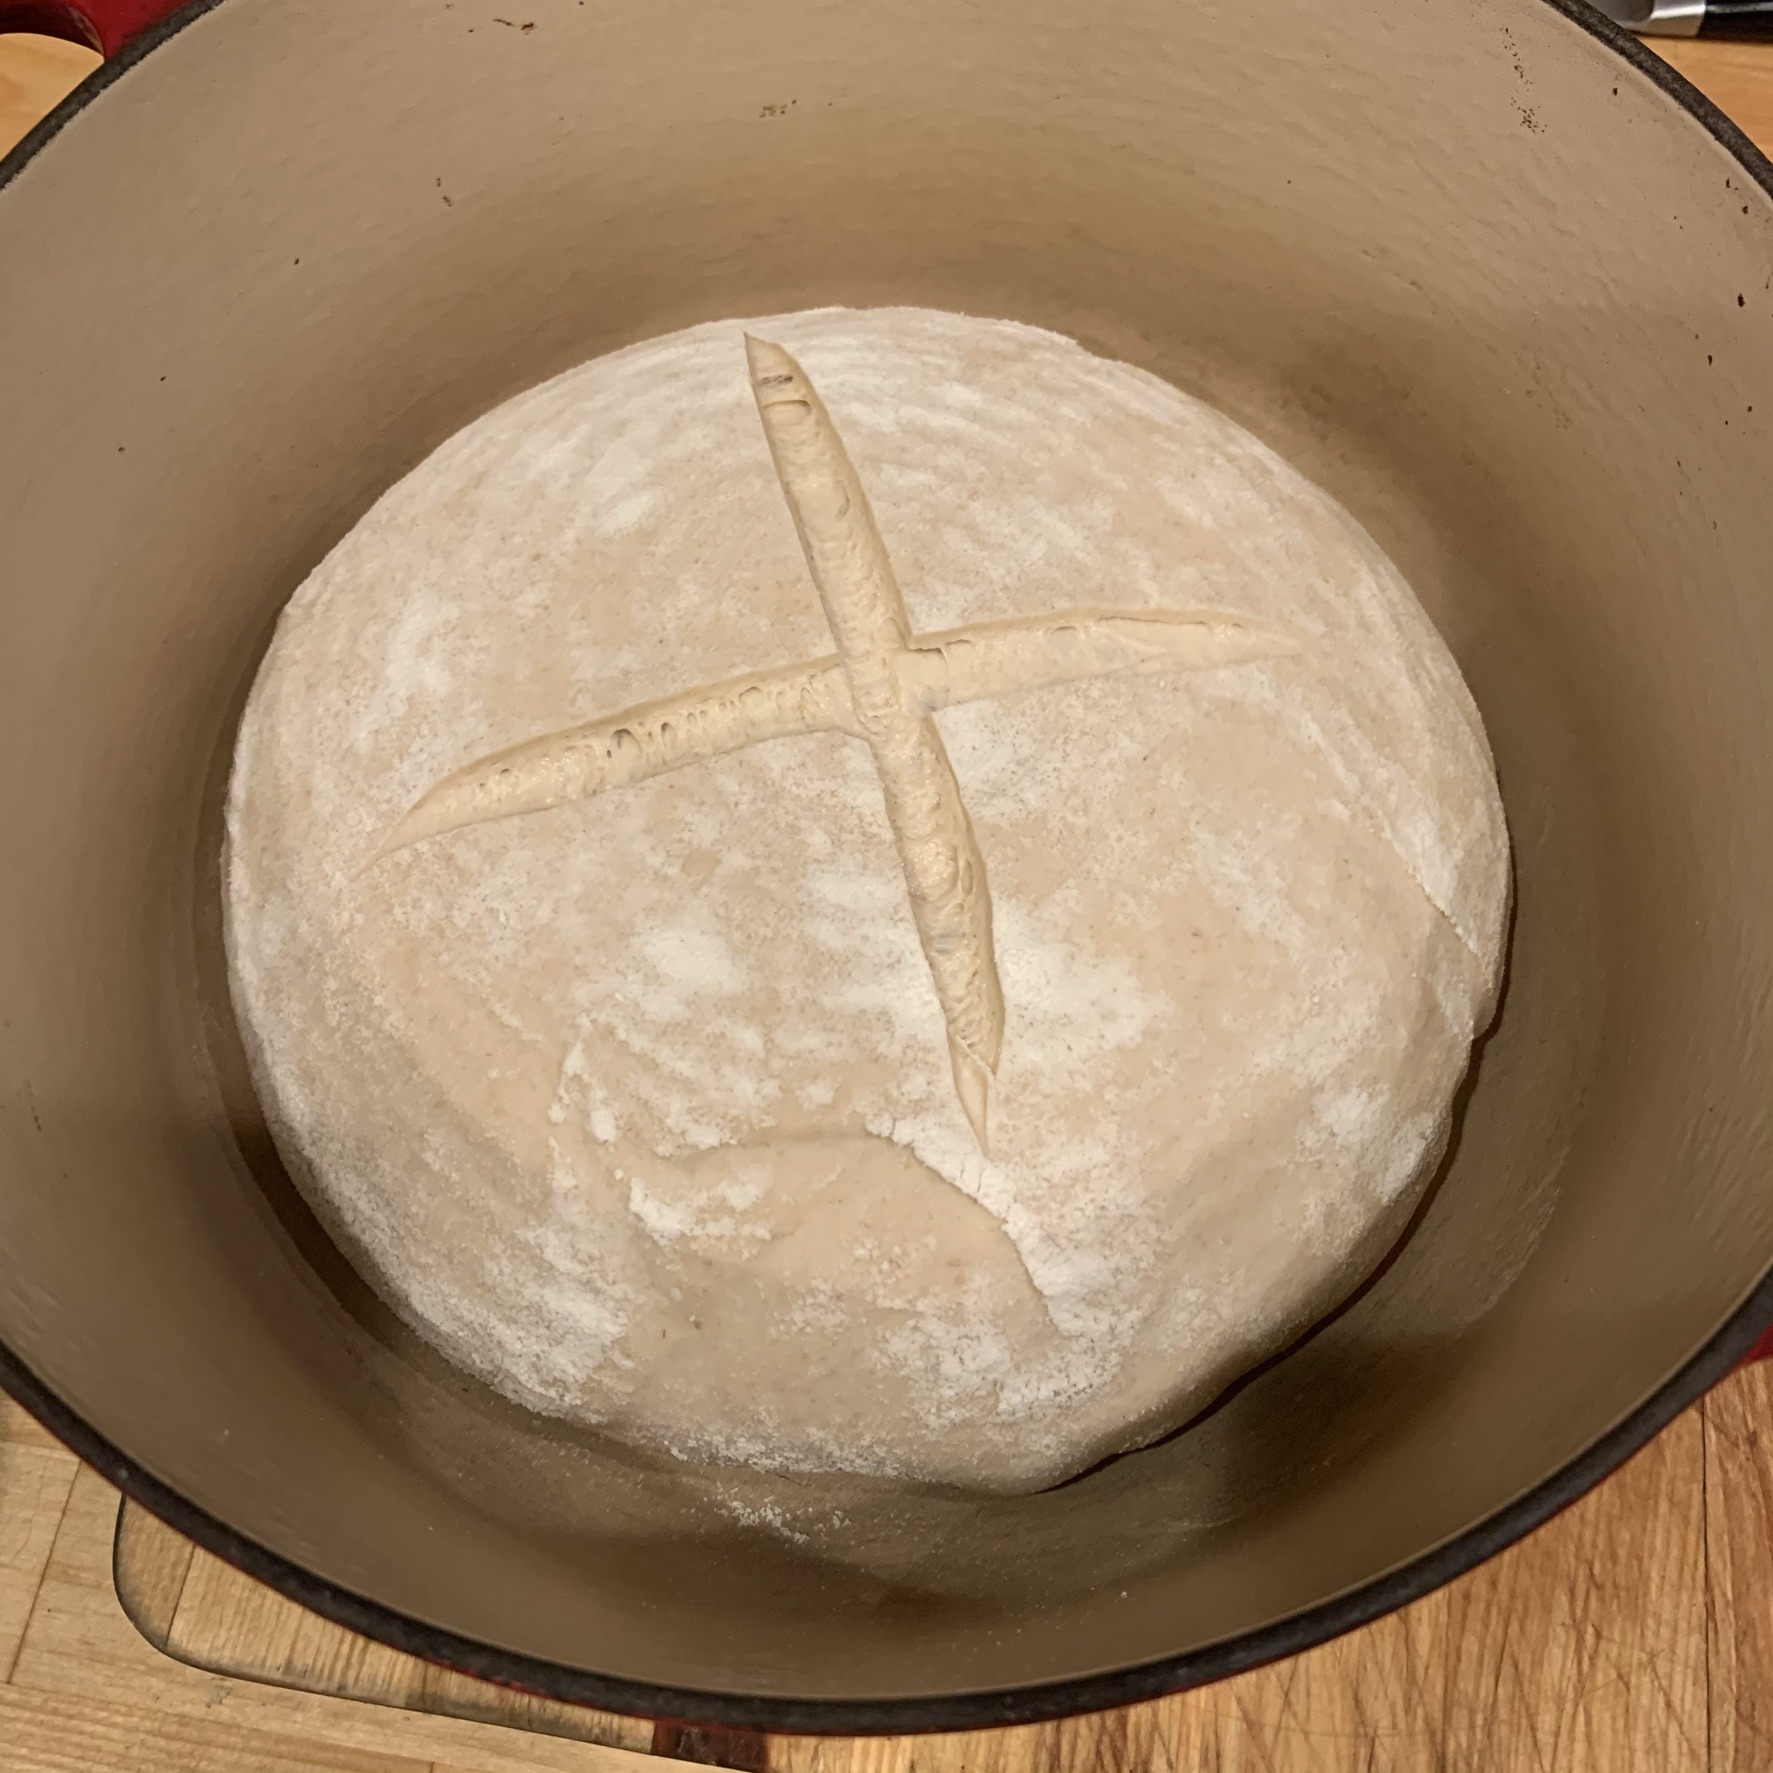
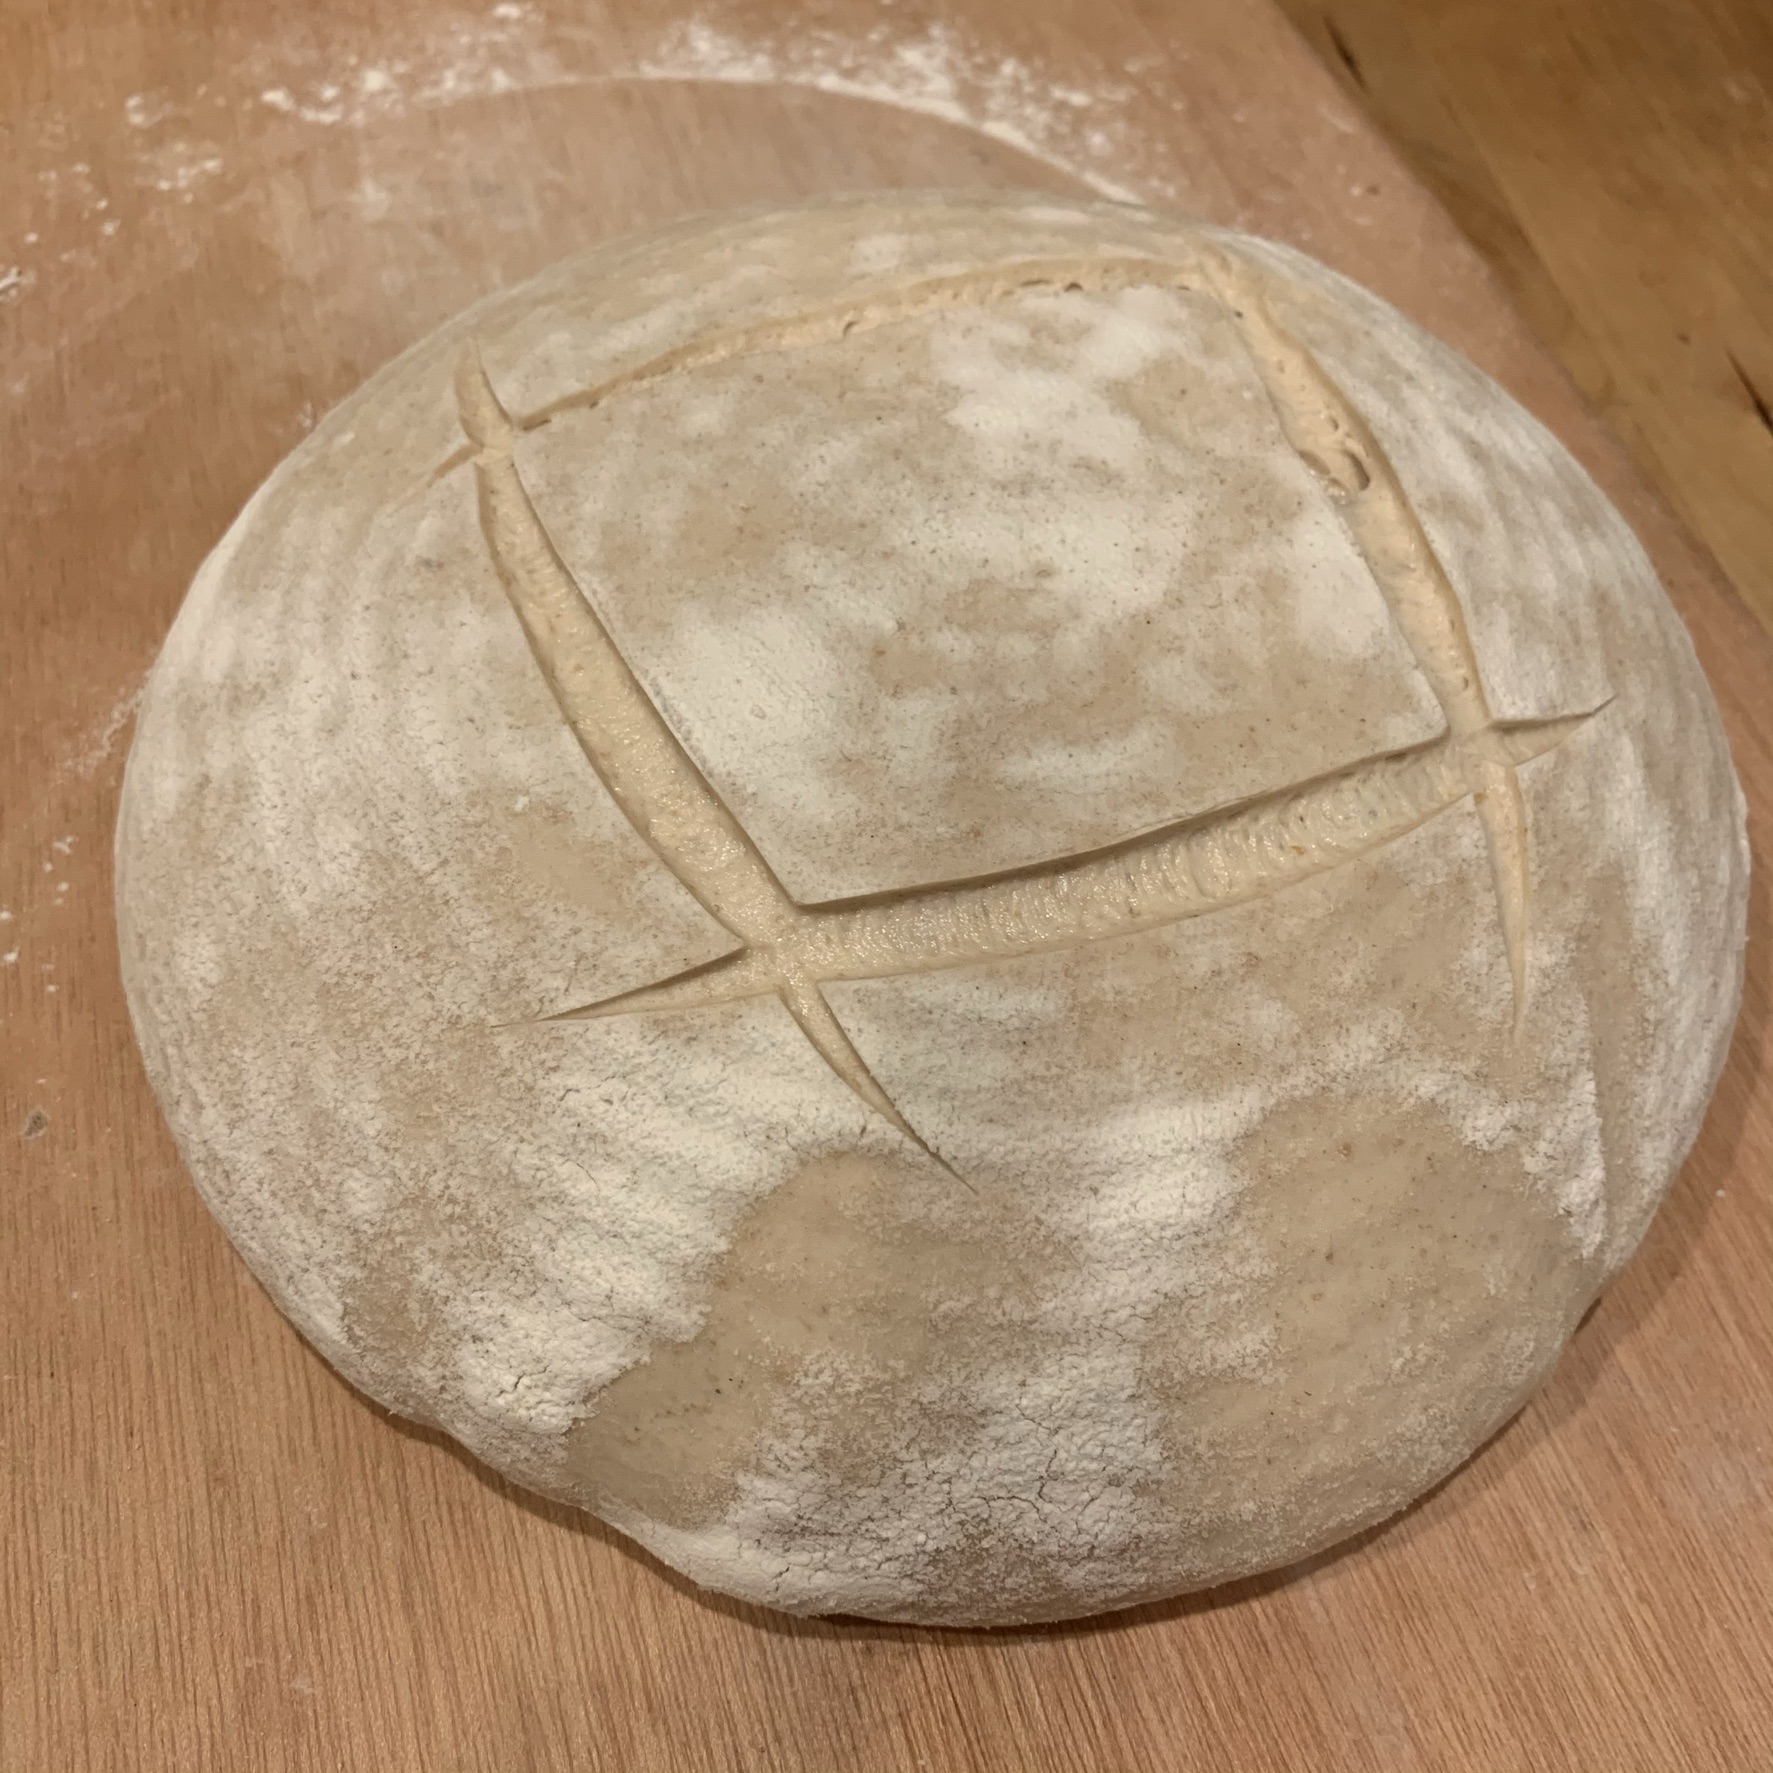
If you are baking in a dutch oven, gently turn the dough out onto a sheet of parchment or a silicone bread sling and score the top of the dough. Take the dutch oven out and remove the lid. Gently lower the dough into the dutch oven and cover with the lid. Place it back into the oven and lower the temperature to 450˚. After 25 min, remove the lid, lower the temp to 425˚ and continue baking for another 25–35 min.
If baking directly on a steel or stone, turn the dough gently onto a light dusted peel or sheet of parchment, , score the top of the dough and slide it onto the steel/stone. Quickly add steam into the oven (see note under the technical table above for one way to do this), close the oven door, and lower the oven temperature to 450˚. After 30 min, turn the bread, lower the temperature to 425˚, and bake for another 30 min.
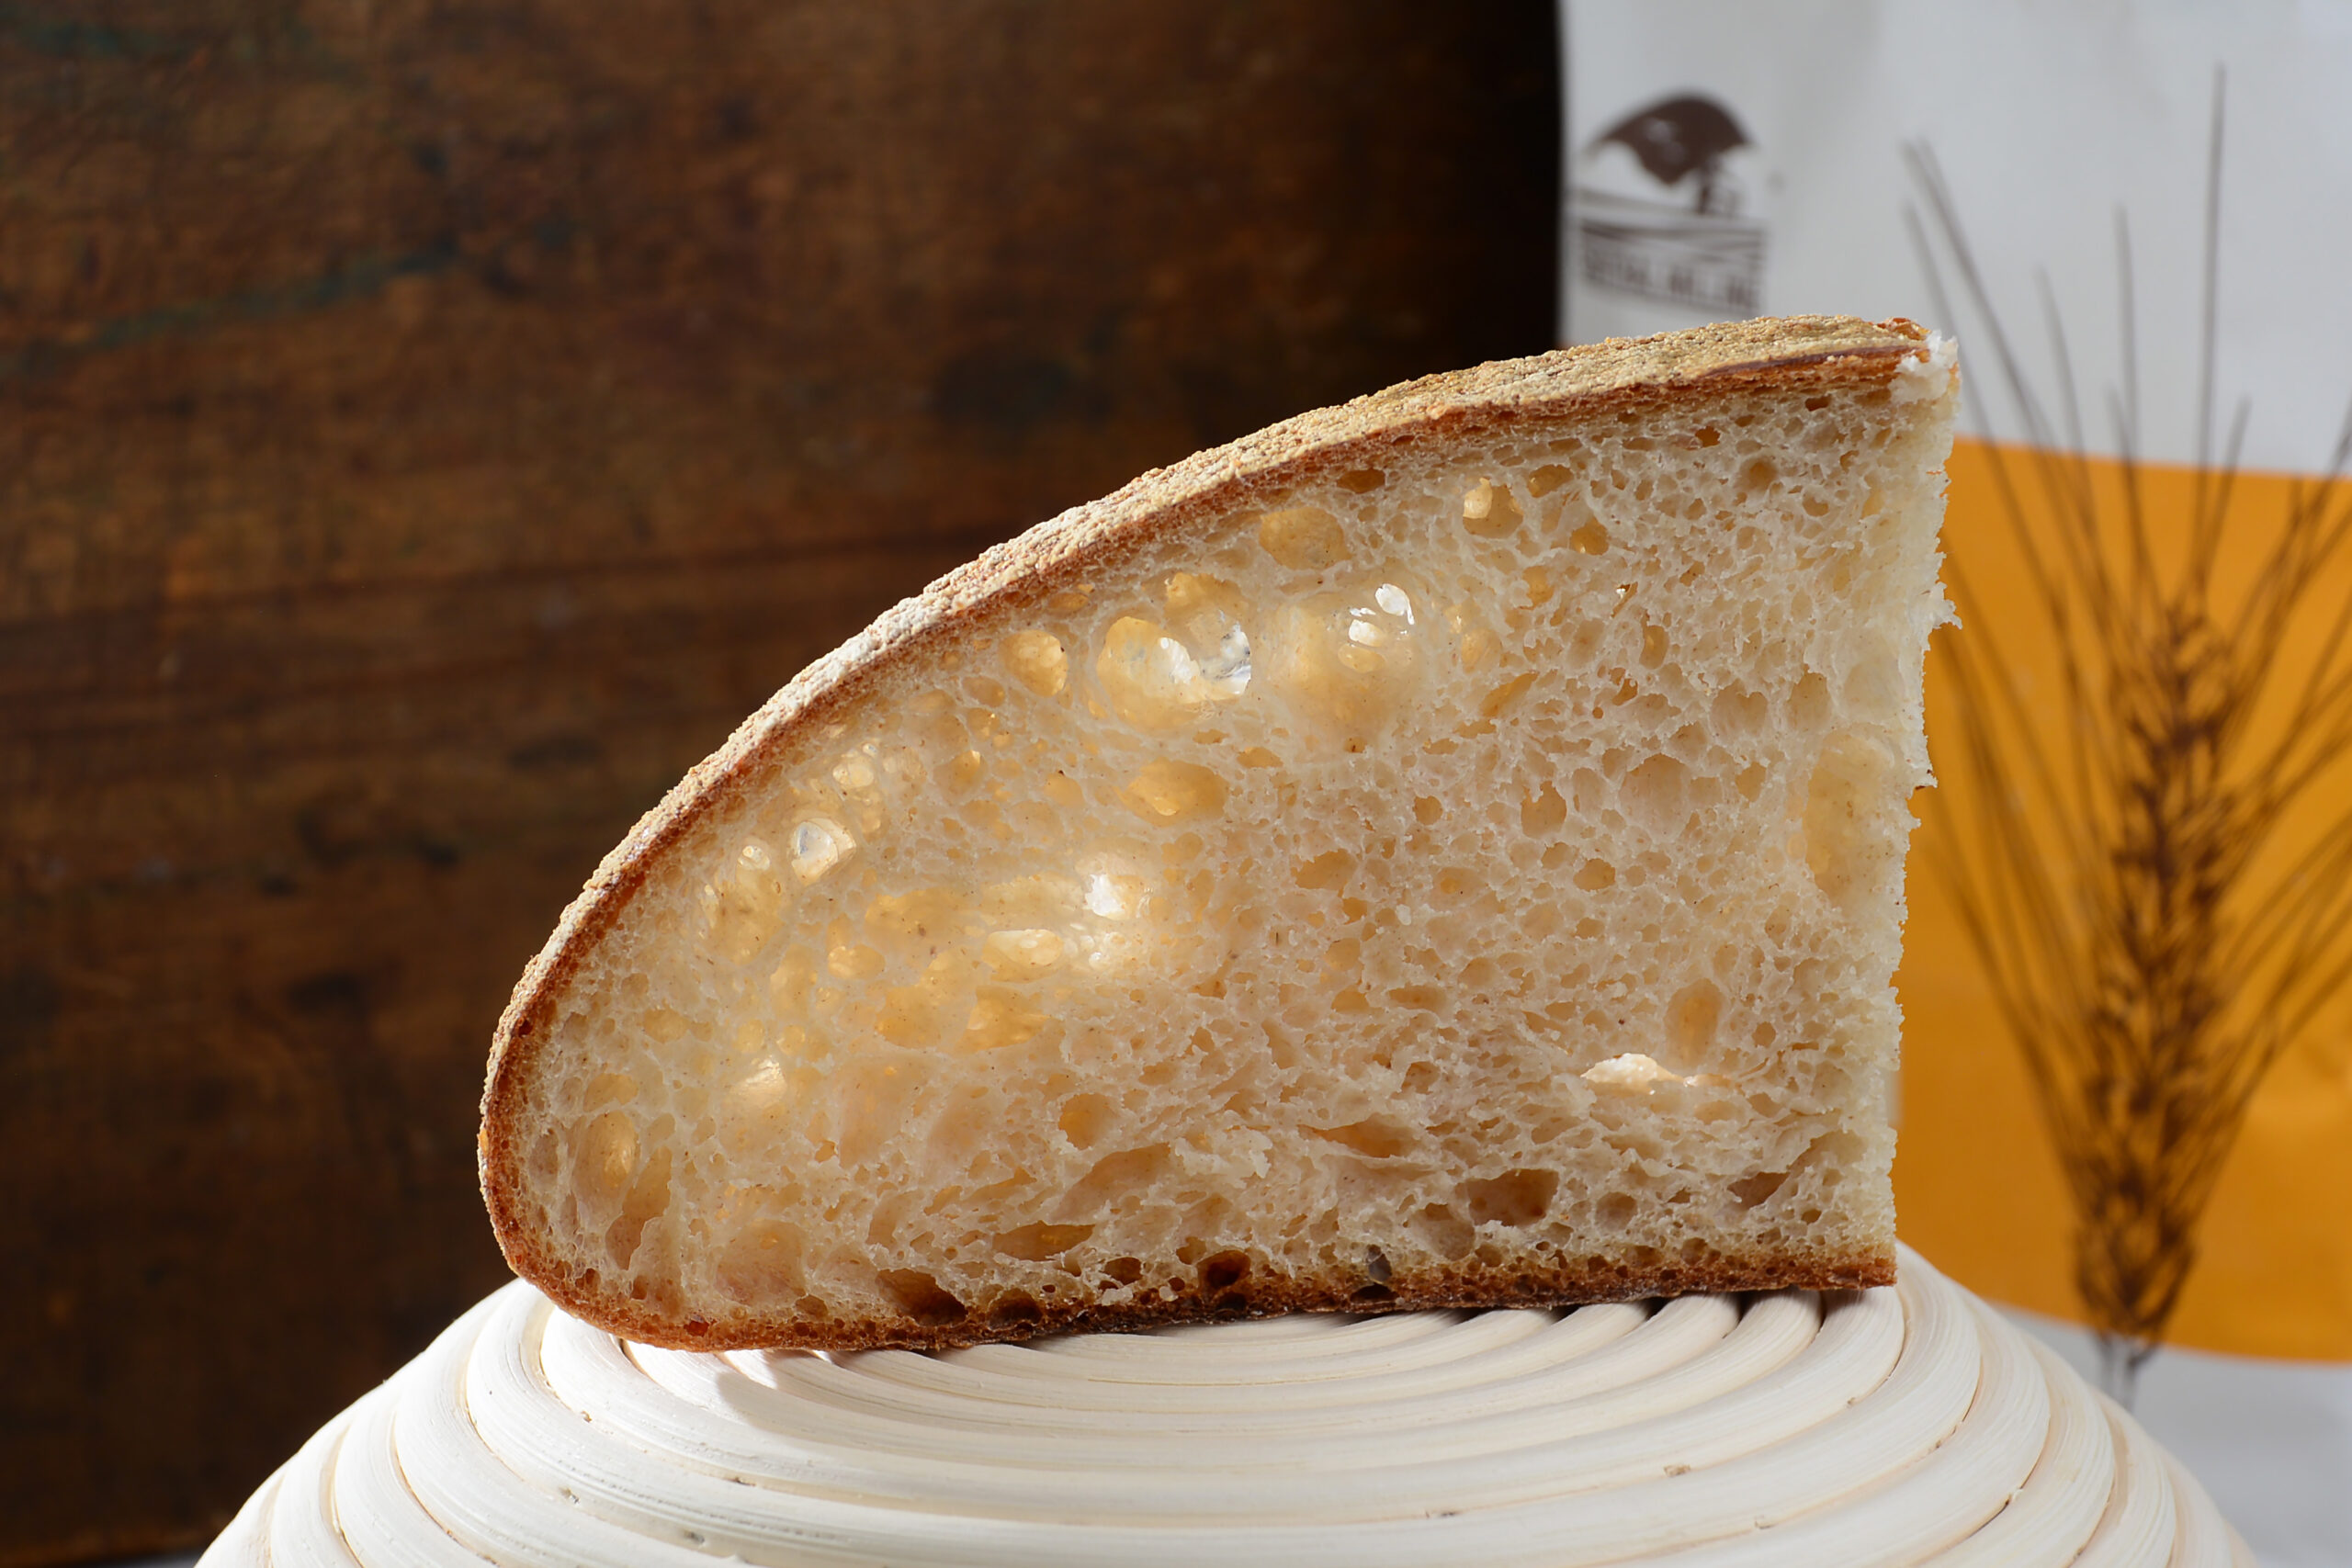
Either way, the crust should develop a dark golden color. The bottom of the bread should not be burnt, but when knocking on it, should sound like a hollow thud.
Take the bread out of the oven and place it onto a cooling rack and try to let it cool completely (1–2 hours) before cutting into it. This is the hard part. But, trust us, it’s worth it!
FROM THE MILL